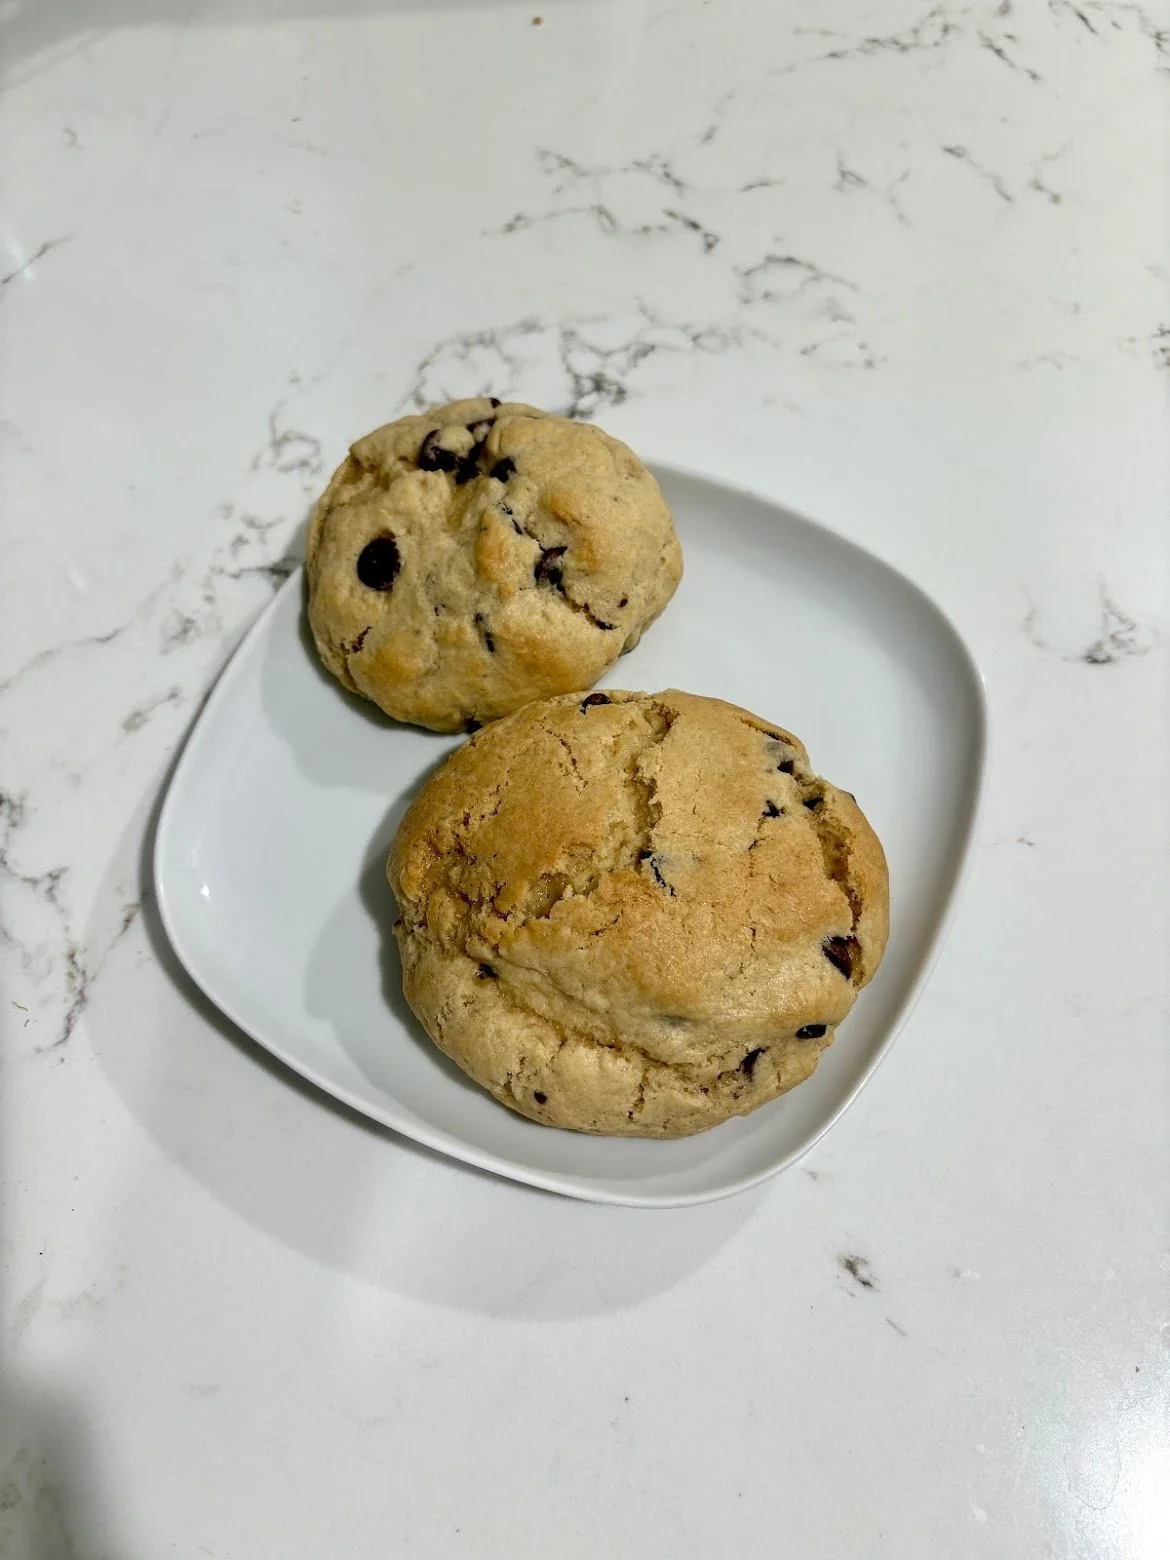
My go-to recipe for classic, chewy chocolate chip cookies. Crispy on the edges, chewy and gooey inside.


Ingredients
1/2 cup brown butter (1 stick, melted, browned)
1/2 cup brown sugar (packed)
1/2 cup white sugar
1 egg
1 teaspoon vanilla extract
1 1/4 cups all purpose flour
1/2 teaspoon baking soda
1/2 teaspoon salt
1/2 cup semi-sweet chocolate
Directions
To Prepare the Dough:
Melt butter on the stove until bubbling and browned. Cool in the bowl of a stand mixer.
Add brown sugar and white sugar and mix to dissolve.
Mix in the egg and vanilla extract (make sure the butter is cooled).
Add flour, baking soda, and salt.
Fold in chocolate chips (or chunks). For even more toffee-like flavor, chill for at least 24 hours.
To Bake:
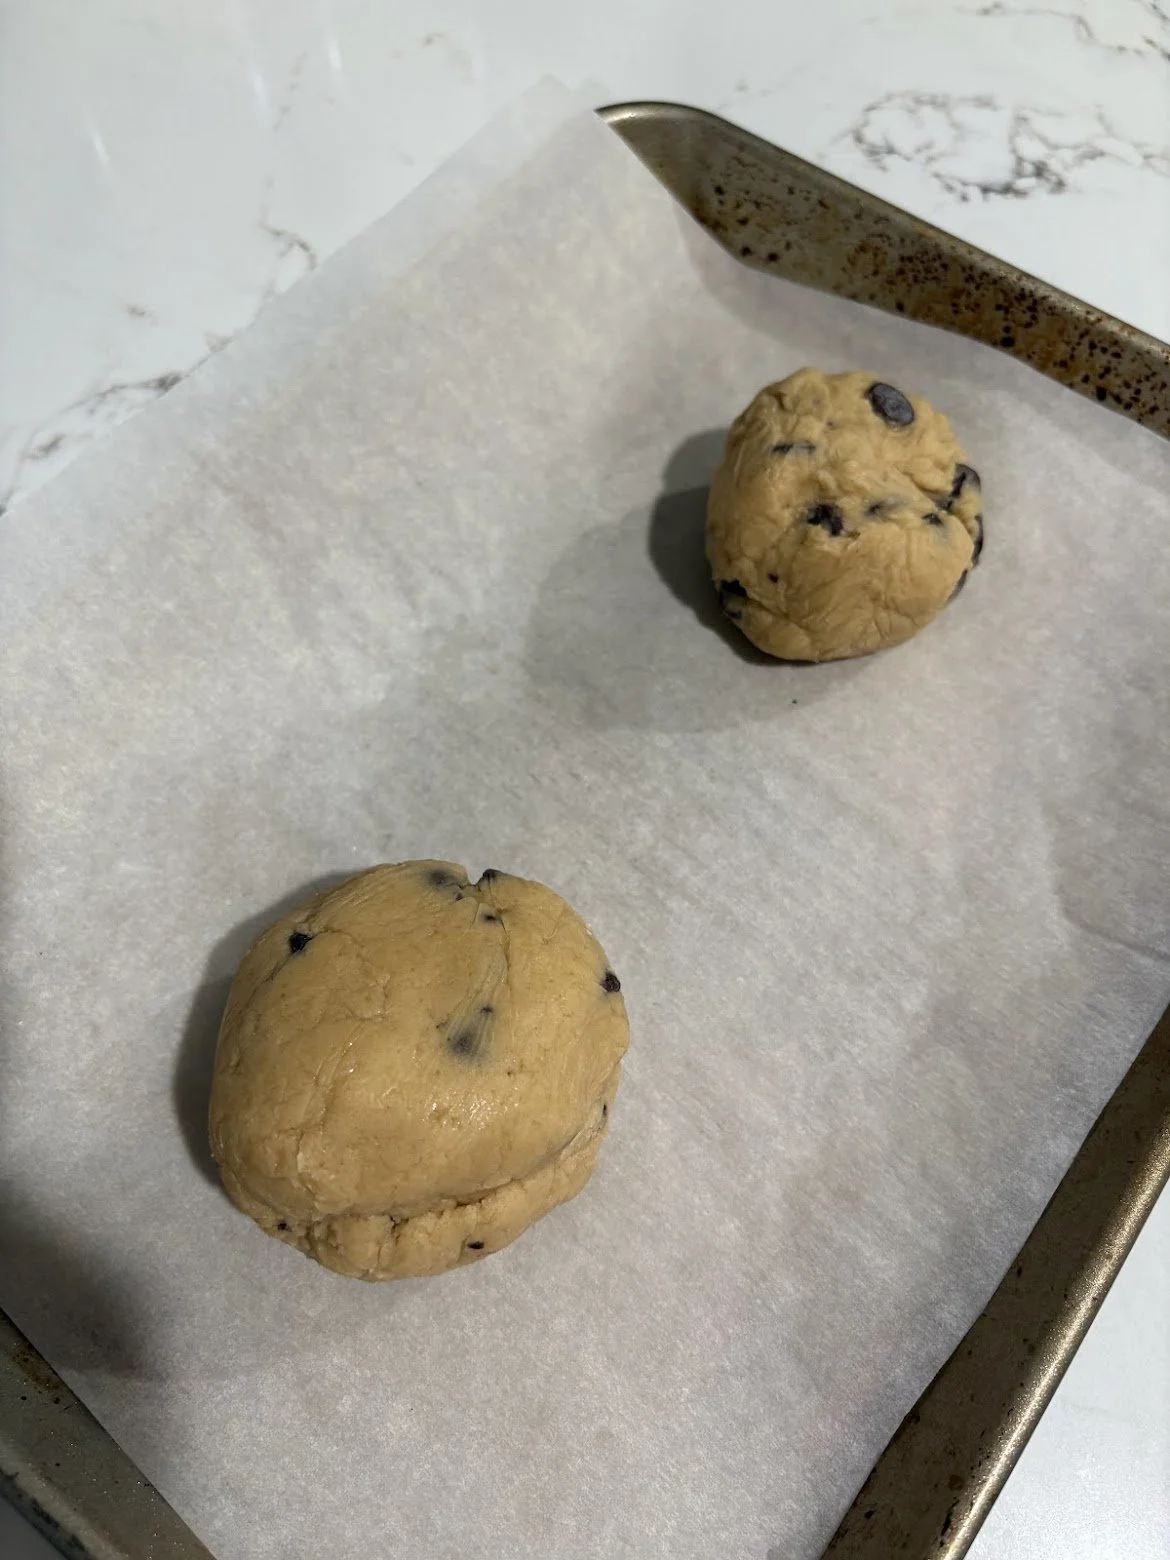
Preheat oven to 350 degrees. Line a baking sheet with parchment paper. Scoop 2 tbps of dough onto the baking sheet, leaving at least 4 in. of space between the cookies (these cookies will spread!).
Bake for about 11 mins.
Remove from oven and cool directly on the sheet. The cookies will continue cooking, revealing a delicate cracked crumb top and crispy golden edges.