The Frozen Garlic Hack That Saves Us Hours in the Kitchen

Some of the best kitchen tricks aren’t glamorous—they’re practical, repeatable, and make everyday cooking a little easier. One of our family’s favorite time-saving hacks is surprisingly simple: buying garlic in bulk, prepping it all at once, and freezing it for quick use throughout the week.

The Bulk Garlic Routine

Every few weeks, we pick up a 2-pound bag of fresh garlic (Costco is our go-to, but you can also grab peeled garlic online like this ready-to-use option on Amazon). Instead of peeling cloves as needed each night (a task that always seems to take longer than expected), we turn it into a family activity. Everyone gathers around the table, and it becomes a fun—sometimes competitive—game to see who can peel the fastest.

Once all the bulbs are peeled, the real magic begins:

  1. Toss the cloves into a food processor and pulse until finely chopped.

  2. Spread the chopped garlic flat into a freezer-safe gallon Ziploc bag (about one pound fits perfectly in each).

  3. Score the bag into squares with the back of a knife, spatula, or bench scraper

  4. Freeze the bag flat so the garlic is easy to store.

We repeat the same process with fresh ginger, so both staples are ready to go whenever we need them.

How It Saves Time

On busy weekdays, those frozen garlic (or ginger) squares are lifesavers. Just break off one or two and toss them straight into:

  • Stir fries

  • Soups

  • Garlic bread

  • Roasted vegetables

  • Pasta sauces

  • Even homemade garlic fries

Instead of pausing to peel, chop, or wash the cutting board, we’re cooking in seconds.

Fresh vs. Frozen Garlic

Of course, some recipes—like a simple bruschetta or delicate vinaigrette—will always taste best with freshly chopped garlic. But for weeknight meals where convenience is key, the time saved far outweighs the subtle difference in flavor.

A Small Hack, A Big Difference

This frozen garlic routine might feel like a mundane task, but it’s one of our biggest time savers in the kitchen. By setting aside an hour every few weeks, we free up countless hours during busy evenings. Plus, turning it into a family activity makes the prep time a little more fun.

So next time you’re at Costco (or your favorite grocery store), grab a big bag of garlic and give this hack a try. Future-you will thank you when dinner comes together in half the time.

Daphne ChankitchenComment
Instant Pot Bossam (Korean Boiled Pork Belly) Recipe

Ingredients

  • 3 lb Pork Belly (long strips)

  • 1/4 cup Doenjang (Korean fermented soy bean paste) or miso paste

  • 1 onion (peeled and halved)

  • 2 green onions (trimmed and halved)

  • 10-12 garlic cloves (1 entire head, halved)

  • 3 inch ginger (sliced thinly)

  • 1 Tbsp instant coffee or 1 cup regular coffee

  • 1 tsp peppercorns

  • 2 tsp salt

  • 1 Tbsp sugar

  • 6 cups water

Instant Pot Instructions

  • Place all ingredients in the Instant Pot: pork belly, doenjang, instant coffee, ginger, garlic, onion, salt, sugar, peppercorns

  • Add water

  • Turn on simmer mode to get it cooking for a few minutes

  • Lock the lid and set for manual mode.

  • Adjust cooking time according to thickness of pork belly:

    • 14 minutes: for skinny, short pork belly that's 1-2 inches thick

    • 16 minutes: for medium sized, meaty pork belly that's 2-3 inches thick

    • 18 minutes: for extra thick + meaty pork belly that's 3-4 inches thick

  • When the timer beeps, manually release the steam. When all the steam has released, open the lid. 

  • Use tongs to remove the pork belly from the Instant Pot container. This prevents the pork belly from overcooking.

  • When it’s cooled to room temperature, slice into thin strips and serve with rice, sesame oil, and salt

To serve and store

  • If you’re feeling fancy, arrange on a platter or in restaurant-style stainless steel bowls with long spoons and metal chopsticks. Serve alongside kimchi, butter lettuce or romaine lettuce, or your favorite banchan

  • Keep the pork belly submerged in the liquid until ready to serve

  • Store in the fridge (submerged in the liquid), skim off any fat that congeals, and reheat on the stove (with the liquid).

Note: Frozen pork belly cooks beautifully in the instant pot. Make sure that the pork belly strips are separated from each other (not in one big clump) and add 1 additional minute to the cook time.

Rustic Sourdough Recipe

This is the recipe that gave me the confidence to make sourdough and continues to deliver impressive, beautiful bakes and deep flavor. It’s a pure levain dough but I’ll admit that I sometimes add 1-2 tsp. of instant yeast to give it extra volume and large, gaseous bubbles. The long overnight bulk fermentation allows the dough to comfortably stretch and triple in volume by morning.

This recipe makes a single 1.5 lb. loaf within 2 days (day one for the levain, bulk fermentation overnight, day two for final proof and bake). I’ve added timestamps to make this sourdough as user-friendly as possible!

Recipe adapted from Flour Water Salt Yeast

Levain Ingredients

  • 50g mature, active levain (this is your starter)

  • 200g bread flour

  • 50g whole wheat flour

  • 200g water (85ºF-90ºF or 29ºC-32ºC)

  • I use this container

9AM: Make the levain

  • Mix by hand until just incorporated. Do not knead.

  • Cover and rest at room temperature for 7-9 hours. It should double in size and look gassy, sticky, and wet.

5PM: Mix the dough ingredients

  • 402g bread flour

  • 38g whole wheat flour

  • 342g water (90ºF-95ºF or 32ºC-35ºC)

  • 11g fine sea salt

  • 1-2 tsp instant yeast (optional if you want extra volume insurance)

  • 108g levain (what you made earlier)

  • I use this container

To begin making the dough:

  • Mix the bread flour and whole wheat flour by hand to incorporate. Add the water and salt. Mix until just incorporated. Cover and rest for 30 mins.

5:30PM: Mix the final dough

  • Add the instant yeast (optional) and levain evenly over the top of the dough. Massage and pinch the dough together to combine the ingredients. It’s sticky now but will get smoother over time. Cover and rest for 30 mins.

6:30PM–bedtime: Fold the dough 3-4 more times

  • Because overnight levain dough expands very slowly, the rest of the folds can happen anytime that’s convenient for you. Each time you fold, massage and pinch the dough to break apart the dry flour bits. This is when you knead, but it doesn’t have to be aggressive.

  • Cover with a damp kitchen towel and kiss your dough goodnight.

8AM: Shape the dough

  • When the dough is nearly triple its original volume (usually 12-15 hours after mixing), it’s ready to be divided.

  • Ease the dough out of the tub onto a lightly floured work surface. Peel any remaining dough out of the container too – that’s good stuff.

  • Fold the sides inward and roll the dough up into a little ball. Continue rolling it neatly into a tight ball.

  • Place the dough ball into a proofing basket, seam side up. Cover with a damp kitchen towel and rest for up to 4 hours.

12PM: Bake

  • Preheat the oven to 475ºF (245ºC).

  • Put a dutch oven on the middle rack. I like to put a baking tray on the bottom rack to protect the crust from getting too crisp.

  • Cut a sheet of parchment paper into a round.

  • Gentle ease the dough out of the proofing basket and onto the parchment paper.

  • Score the top with a bread lame or sharp knife.

  • Remove the hot dutch oven, carefully place the dough inside.

  • Bake for 25 mins. covered.

  • Remove the lid and continue baking for 25 mins uncovered.

  • Remove from the oven and cool completely on a wire rack.

Levain Bakery-Style Super Thick Chocolate Chip Cookies

My go-to recipe for super thicc, chonky cookies. Best when made ahead, chilled in the fridge for 24 hours, and baked in the toaster oven for 13 mins. Cakey on the outside, gooey inside, and able to hold their weight and shape when eaten a la mode.

Recipe adapted from Serious Eats

Ingredients

  • 4 ounces unsalted American butter (about 1/2 cup; 113 g), softened to about 65°F (18°C)

  • 4 ounces light brown sugar (about 1/2 cup, firmly packed; 113 g)

  • 3 1/2 ounces white sugar (about 1/2 cup; 100 g)

  • 1/2 ounce vanilla extract (about 1 tablespoon; 15 g)

  • 2 teaspoons (8 g) Diamond Crystal kosher salt; for table salt, use about half as much by volume or the same weight (plus more for sprinkling, if desired)

  • 1 1/4 teaspoons baking powder

  • 1 teaspoon baking soda

  • 2 large eggs (about 3 1/2 ounces; 100 g), straight from the fridge

  • 10 ounces all-purpose flour (about 2 1/4 cups, spooned; 283 g)

  • 8 ounces assorted chocolate chips (about 1 cup)

Directions

To Prepare the Dough:

  • Combine butter, light brown sugar, white sugar, vanilla extract, salt, baking powder, and baking soda in the bowl of a stand mixer fitted with a paddle attachment.

  • Mix on low to moisten, then increase speed to medium and beat until soft, fluffy, and pale, about 8 minutes; halfway through, pause to scrape bowl and beater with a flexible spatula.

  • With mixer running, add eggs one at a time, letting each incorporate fully before adding the next. Reduce speed to low, then add the flour all at once.

  • When flour is incorporated, add chocolate chips and keep mixing until dough is homogeneous.

  • Divide dough into 8 equal portions (about 6 ounces/170g each) and round each into a smooth ball. Wrap in plastic and refrigerate at least 12 hours before baking; if well protected from air, the dough can be kept in the fridge up to 1 week.

To Bake:

  • Adjust oven rack to middle position and preheat to 350°F (180°C). Line an aluminum half-sheet pan with parchment paper. When the oven comes to temperature, arrange up to 4 portions of cold dough on prepared pan, leaving ample space between them to account for spread. If you like, sprinkle with additional salt to taste.

  • Bake until cookies are puffed and lightly brown – 13 minutes for underbaked, gooey cookies and up to 22 minutes for well-done cookies.

  • Cool cookies directly on baking sheet until no warmer than 100°F (38°C) before serving. Enjoy warm, or within 12 hours. These cookies taste best when freshly baked.

  • Make ahead and storage: The portioned cookie dough can be wrapped tightly in plastic and refrigerated for up to 1 week. Alternatively, the portions can be individually wrapped, then placed in a freezer-safe zip-top bag and frozen for up to 6 months. Thaw frozen dough to 40°F (4°C), unwrap, and bake as directed.

Blog Refresh

After a 5 year hiatus from blogging, I’m committing to stepping back in.

Over the weekend, I had the sudden urge to read through all my old posts – a perfect time capsule of what married life was like when it was just the two of us, spending our weekends at Home Depot covered in paint, sawdust, and dirt. Grateful that I didn’t follow through on some early design ideas, like farmhouse sinks (a fleeting trend), mid-century modern steampunk-inspired light fixtures, or this kitchen island.

Life looks different now, but better in every way with two kiddos to lend their helping hands, dream up their playspaces, and add to the chaos in general.

This is our parenthood era. Cheerios in between the sofa couches. Fingerprints and tape on the windows. Nuggets and spaghetti on repeat. Time measured in Bluey episodes and “how many sleeps until that tomorrow?” (translation: how many days until it’s the day after tomorrow). Making milkbread on the weekends for DIY uncrustables on the weekdays. Running 2 miles in the mornings while rice cooks so that it finishes in time to pack my own lunch before commuting to the office. Friday nights at Costco with food court pizza. Saturdays at Disneyland. Eating Randy’s donuts in the Home Depot shopping cart. Folding laundry while each child follows me around the house, clinging to my legs like magnets. “Mommy, look! Mommy, you see this? Mommy, are you done yet? Mommy, are we there yet? Mommy, can you help me?” Followed by, “Alexa, play Jingle Bells by Mickey on Spotify!” “Alexa, turn on the lights!” “Alexa, STOP!”

I stopped blogging because I didn’t think it mattered, and I didn’t think our house was insta-worthy. But, after taking a step back, I realize this small corner of the internet is where I get to capture what matters most – my lived-in, loved-up house bursting with joy, play, and all the comforts of home. ❤️

Kid-Friendly Christmas Cookie Decorating Idea: Mini Hot Chocolate Mugs

Looking for a sweet, simple, and kid-approved holiday treat? These Mini Hot Chocolate Mug Cookies are the perfect Christmas activity. They’re fun for kids to decorate, require no baking skills, and look adorable on any holiday cookie tray. Best of all, they taste just as good as they look!

Ingredients You’ll Need

  • Jet-Puffed Marshmallows – the large size (these will be your “mugs”).

  • Small Round Chocolate Chip Cookies, Gingersnaps, or even Oreos – anything small and sturdy to make a great mug base.

  • Mini Pretzels or Candy Canes – their hooks are the perfect handles!

  • Confetti Sprinkles – red and green add a festive touch.

  • Tree Sprinkles – or any holiday-themed sprinkles for the mug fronts.

  • White & Chocolate Cookie Icing – to glue everything together and decorate.

  • Nutella – to resemble hot cocoa

  • White Sugar – for a festive dash of “fresh snow”

Step-by-Step Instructions

  1. Prepare the Mug Base
    Place one large marshmallow on top of a cookie using a small dab of icing to secure it. This becomes your little “mug.”

  2. Attach the Handle
    Carefully break a pretzel or mini candy cane so just the hook remains. Use white icing to “glue” it to the side of the marshmallow. Hold it in place for a few seconds until it sticks.

  3. Decorate the Front
    Add a tree-shaped sprinkle (or any fun holiday sprinkle) to the front of the marshmallow mug with a dab of icing.

  4. Top It Off
    Pipe white icing on top of the marshmallow to mimic whipped cream, or add Nutella to resemble hot cocoa.

  5. Sprinkle with Festivity
    While the icing is still wet, add red and green confetti sprinkles or sugar on top for a dash of holiday spirit and “fresh snow.” The kids also liked using Twizzlers as skis.

Tips for Success

  • Break candy canes gently so the hook stays intact.

  • Let the handles dry for a few minutes before moving the cookies.

  • Set out bowls of sprinkles so kids can decorate their own mugs however they like.

A Fun Family Tradition

These Mini Hot Chocolate Mug Cookies aren’t just a treat – they’re a holiday memory in the making. Kids love assembling them, and they’re the perfect addition to a Christmas party, cookie decorating contest, classroom celebration, or cozy night at home with cocoa.

Daphne ChanrecipesComment
Renovations Continued: Two Bedroom additions + One Bathroom

In November 2023, we broke ground on transforming our beloved playground space into something much more functional for our growing needs.

Let’s rewind. This is what the space looked like when we bought the house. After about four years of dirt, weeds, and overgrown trees, we poured concrete to level it out.

Then we added turf and built a playground swingset. That was our Covid home improvement project.

From Playground to Practical: Our Home Expansion Journey

This project started with some bittersweet moments. The backyard playground had been home to so many memories—birthday parties, pizza nights, and summer barbecues. Letting go of that space wasn’t easy, but with two kids quickly outgrowing our 2-bedroom, 2-bathroom house, we knew it was time. The vision: convert the playground area into two bedrooms (one for each child), plus a shared bathroom with a shower and a closet for a stacked laundry unit.

Designing a New Flow

One of the first big decisions was to close up the kitchen windows. It was tough saying goodbye to all that natural light, but it allowed us to create a cohesive hallway that would connect the new bedrooms and bathroom seamlessly into the rest of the home.

During construction, we paused our ADU rentals to repurpose it as a storage room and office space.

Weathering the Holidays

The hardest stretch came during the holidays. With gaping holes in the house, constant rain, and too many leaks to count, it was far from cozy. Still, we kept reminding ourselves of the long-term vision and pushed forward (with lots of buckets and towels).

Watching It Come Together

By March, the transformation started to fall into place. The drywall was repaired, and the new floors went in.

Finishing Touches

In early May, we added a sliding farmhouse door to separate the new space—a beautiful design detail that also provided extra soundproofing for the kids’ nap times.

The following weekend, we assembled Maven’s new IKEA bunk bed, making her room feel complete. And by mid-May, we installed IKEA cabinets in the kitchen—a huge win. While it was sad to lose the natural light from the kitchen windows, the added storage more than made up for it.

We also carved out a closet for the laundry unit. Originally, we installed doors to conceal it, but they clashed with the front-load washer and dryer, so we eventually removed them for practicality.

A Home That Fits Us

Looking back, the journey from November to May was full of challenges—rainstorms, leaks, and dust everywhere again—but also full of excitement as we watched our vision become reality. Now, our kids each have their own room, we’ve gained an extra functional bathroom, and the kitchen is more practical than ever.

It wasn’t just a remodel; it was a step toward making our house truly fit our family. ❤️

Installing Drought-Tolerant Landscaping

After finishing the garage conversion, repainting the front exterior, and re-doing the driveway last summer, we finally completed the last piece of the renovation puzzle – landscaping! It became one of my personal projects while on maternity leave. A fun mix of exploring designs, meeting with landscapers, and researching the LADWP WaterWise Turf Replacement Rebate.

We knew we wanted something low maintenance, considering how much work we put into the backyard (and still have so much to go). The yard is south-facing which means it gets a lot of sun, and it slopes downwards toward the sidewalk. I set to work researching and memorizing which plants I liked, planning different height and color combinations, and creating mocks in Photoshop to see how it would all tie together with the house color and driveway pavers. Having a completely blank slate did feel a little overwhelming, so here are a few directions I explored.

As we did more research on the LADWP Turf Replacement Rebate, we realized that we would have to follow a certain set of parameters in order to qualify. This included choosing non-invasive drought-tolerant plants, using mulch as ground coverage, and installing some sort of rainwater feature like a river rock bed. Like any home project, we quickly learned some very specific terminology like “berms” (basically mounds of dirt) and worked closely with Anthony & Son Landscaping in order to meet all the requirements.

We really enjoyed Anthony’s quick communication and attention to detail. He even brought over samples of the mulch and gravel before he got to work so we could make some decisions in-person (like choosing the color of the river rock).

It was a 3-day job with a lot of manual labor. On the first day, a crew of about 8 guys came to clear all the weeds and level the ground by hand.

The second day was dedicated to laying down weed fabric and carefully planning and placing the river rocks. I kind of assumed they would just dump the bag of rocks on top of the dirt, but Anthony made sure it was carefully arranged with an aesthetically pleasing assortment of small and large rocks.

And finally, the third day was spent laying down the mulch and installing the plants. They look small now, but they’ll fill out over time. I’ve also been propagating succulents in the backyard, so we’ll transplant them to the front yard when they’re big enough.

We’re so happy with the final result, and we’ve had lots of neighbors stop, stare, and share compliments. The curb appeal has made such a huge difference in making our house feel complete, and it feels like the whole neighborhood has enjoyed watched our little ugly duckling house since Day 1, blossoming into a beautiful swan that’s now the envy of the block (left: what the house looked like when we bought it, right: how it looks today).

Our Most-Used Newborn Products & Essentials

Maven is just about to turn 3 months old, and we’ve already learned so much about what we actually needed during this newborn phase. Of course there are the basics like a crib, sterilizer, bottles, and stuff like that. But these are some of our favorite nice-to-haves that we’ve highly recommended to our friends and family.

Baby Bjorn Mini Carrier

We’re big fans of anything Baby Bjorn. Maven is old enough now to be either back-facing or front-facing, and she loves coming along for the ride while we do chores or dance around the house. Sometimes she’ll even start sucking on the fabric. And if we want to change things up, I’ll carry her in the Moby wrap (I’m actually wearing her in it right now as I type). It’s easier for her to fall asleep in it because it’s like a long comfortable scarf.

Baby Bjorn Bouncer

When we need to give our backs a break or want to eat dinner more easily together, we’ll place Maven in this bouncer. Since it’s made of the same material as the Baby Bjorn carrier, it feels very familiar to her and sometimes she’ll fall asleep in it. We attached the Tiny Love stroller arch to it for more sensory stimulation, and soon she’ll be able to bounce herself in it.

Snoo

Ok, the hype is real. Maven consistently sleeps for about two 5-hour stretches during the night, and there have been a few times where she slept 9-10 hrs straight in this thing. It’s stylish, easy to assemble and clean, and has seriously given us a helping hand at soothing her back to sleep. Plus, it gives us a lot of peace of mind, knowing that she’s securely fastened throughout the night with no chance of rolling over onto her stomach. It’s magical.

Pacifier leash

I never realized how much pacifiers go missing or fall on the floor, but of course Amazon has a ton of options for pacifier leashes to solve this problem. We went with this one which came in a pack of two. The teething beads kind of look like a cute necklace, and Maven likes to practice grabbing onto them.

Breast shells

Another cool invention that no one tells you about. These have helped me save about 1 oz. of milk a day that would otherwise have soaked into my shirt and been wasted. Every day, Alex and I say out loud, “We’re so glad we bought these.”

IMG_4284.gif


Skip Hop Farmstand Playmat

We laid this out on the guest bed in the nursery, and Maven looks forward to it every day. We wiggle her arms and legs, brush different textured toys against her skin, and practice tummy time with her on this. I can’t wait to watch her start interacting with it more, learning the numbers, and being tall enough to play with the toys that hang from the top.


Skip Hop tub

We were tempted to get a foam flower sink insert (those pictures are sooo adorable), but after reading more reviews, we’re so happy with this Skip Hop tub (we have the gray one). We place it on the kitchen counter near the sink which makes bath time even easier and faster. She loves sitting in the little seat and hasn’t cried at all.


Kirkland Baby Wipes and Diapers

We’ve always been proud Costco shoppers and regularly went even before having a baby. After trying several diaper and baby wipe brands, we can confidently say that the Costco brand ones are our favorite. The diapers are durable, unscented, fit well, and have a cute print. The baby wipes are easy to pull out of the packaging, moist, soft, and large. Seriously, get them!

Installing Central Air Conditioning

It goes without saying that our house is a fixer. It’s been a labor of love and we’re slowly wrapping up the interior house projects (jk, it never ends). And so it was finally time to invest in central air conditioning. And like always, it had its fair share of surprises and big decisions.

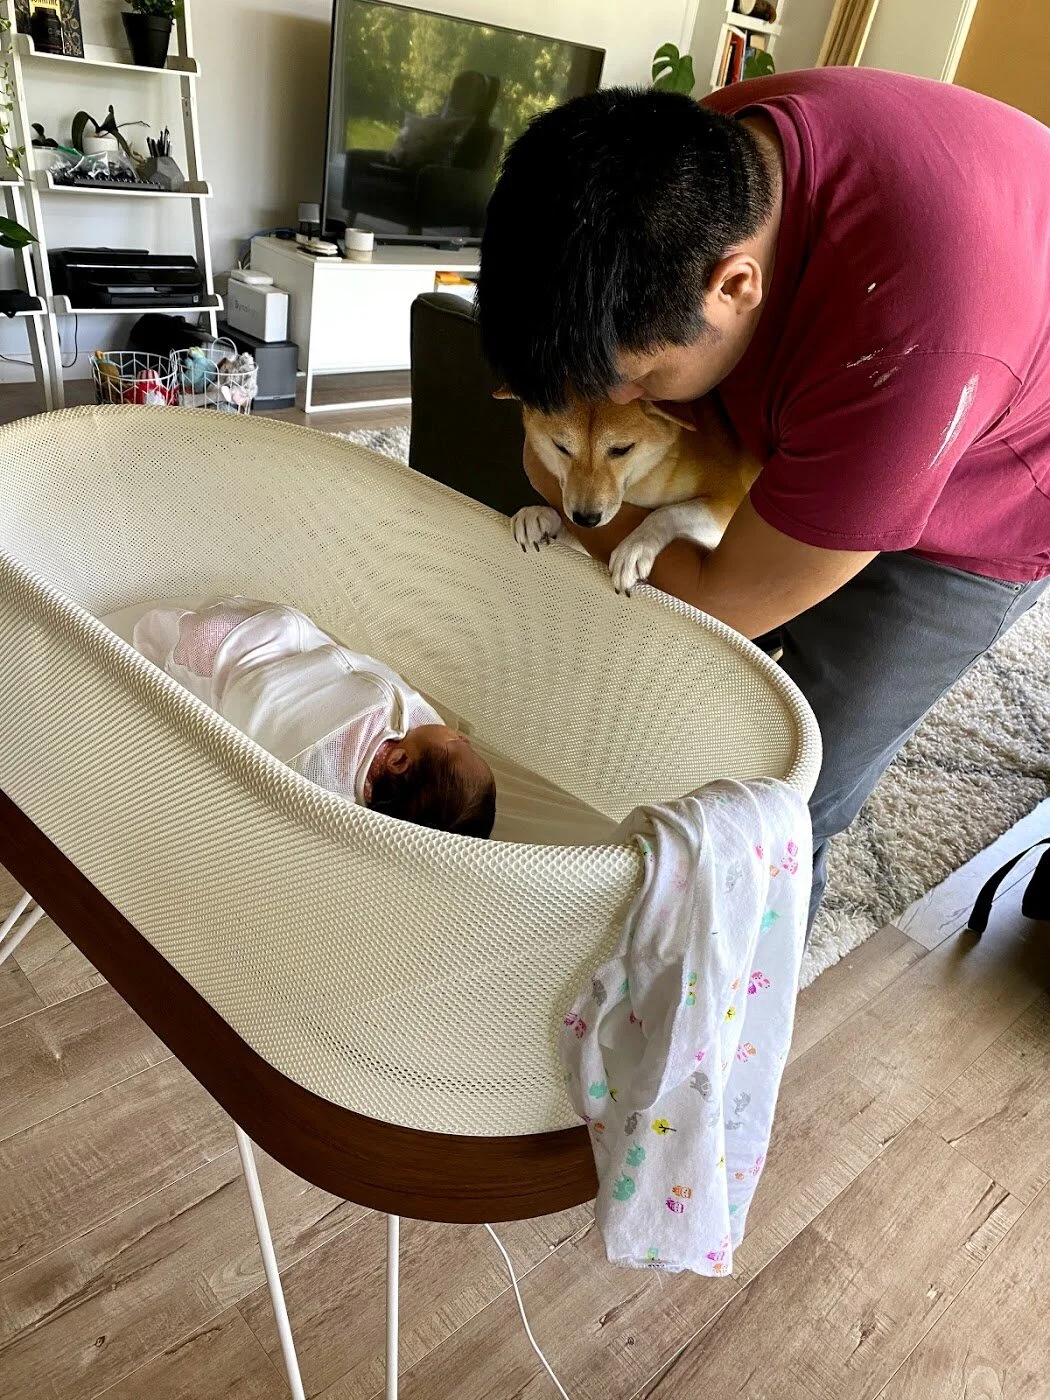
When we bought the house, it didn’t have a gas line or central AC. For the past two years, we’ve been relying on fans, a semi-broken portable AC unit, and opening the windows. But now with a newborn, temperature regulation is a must.

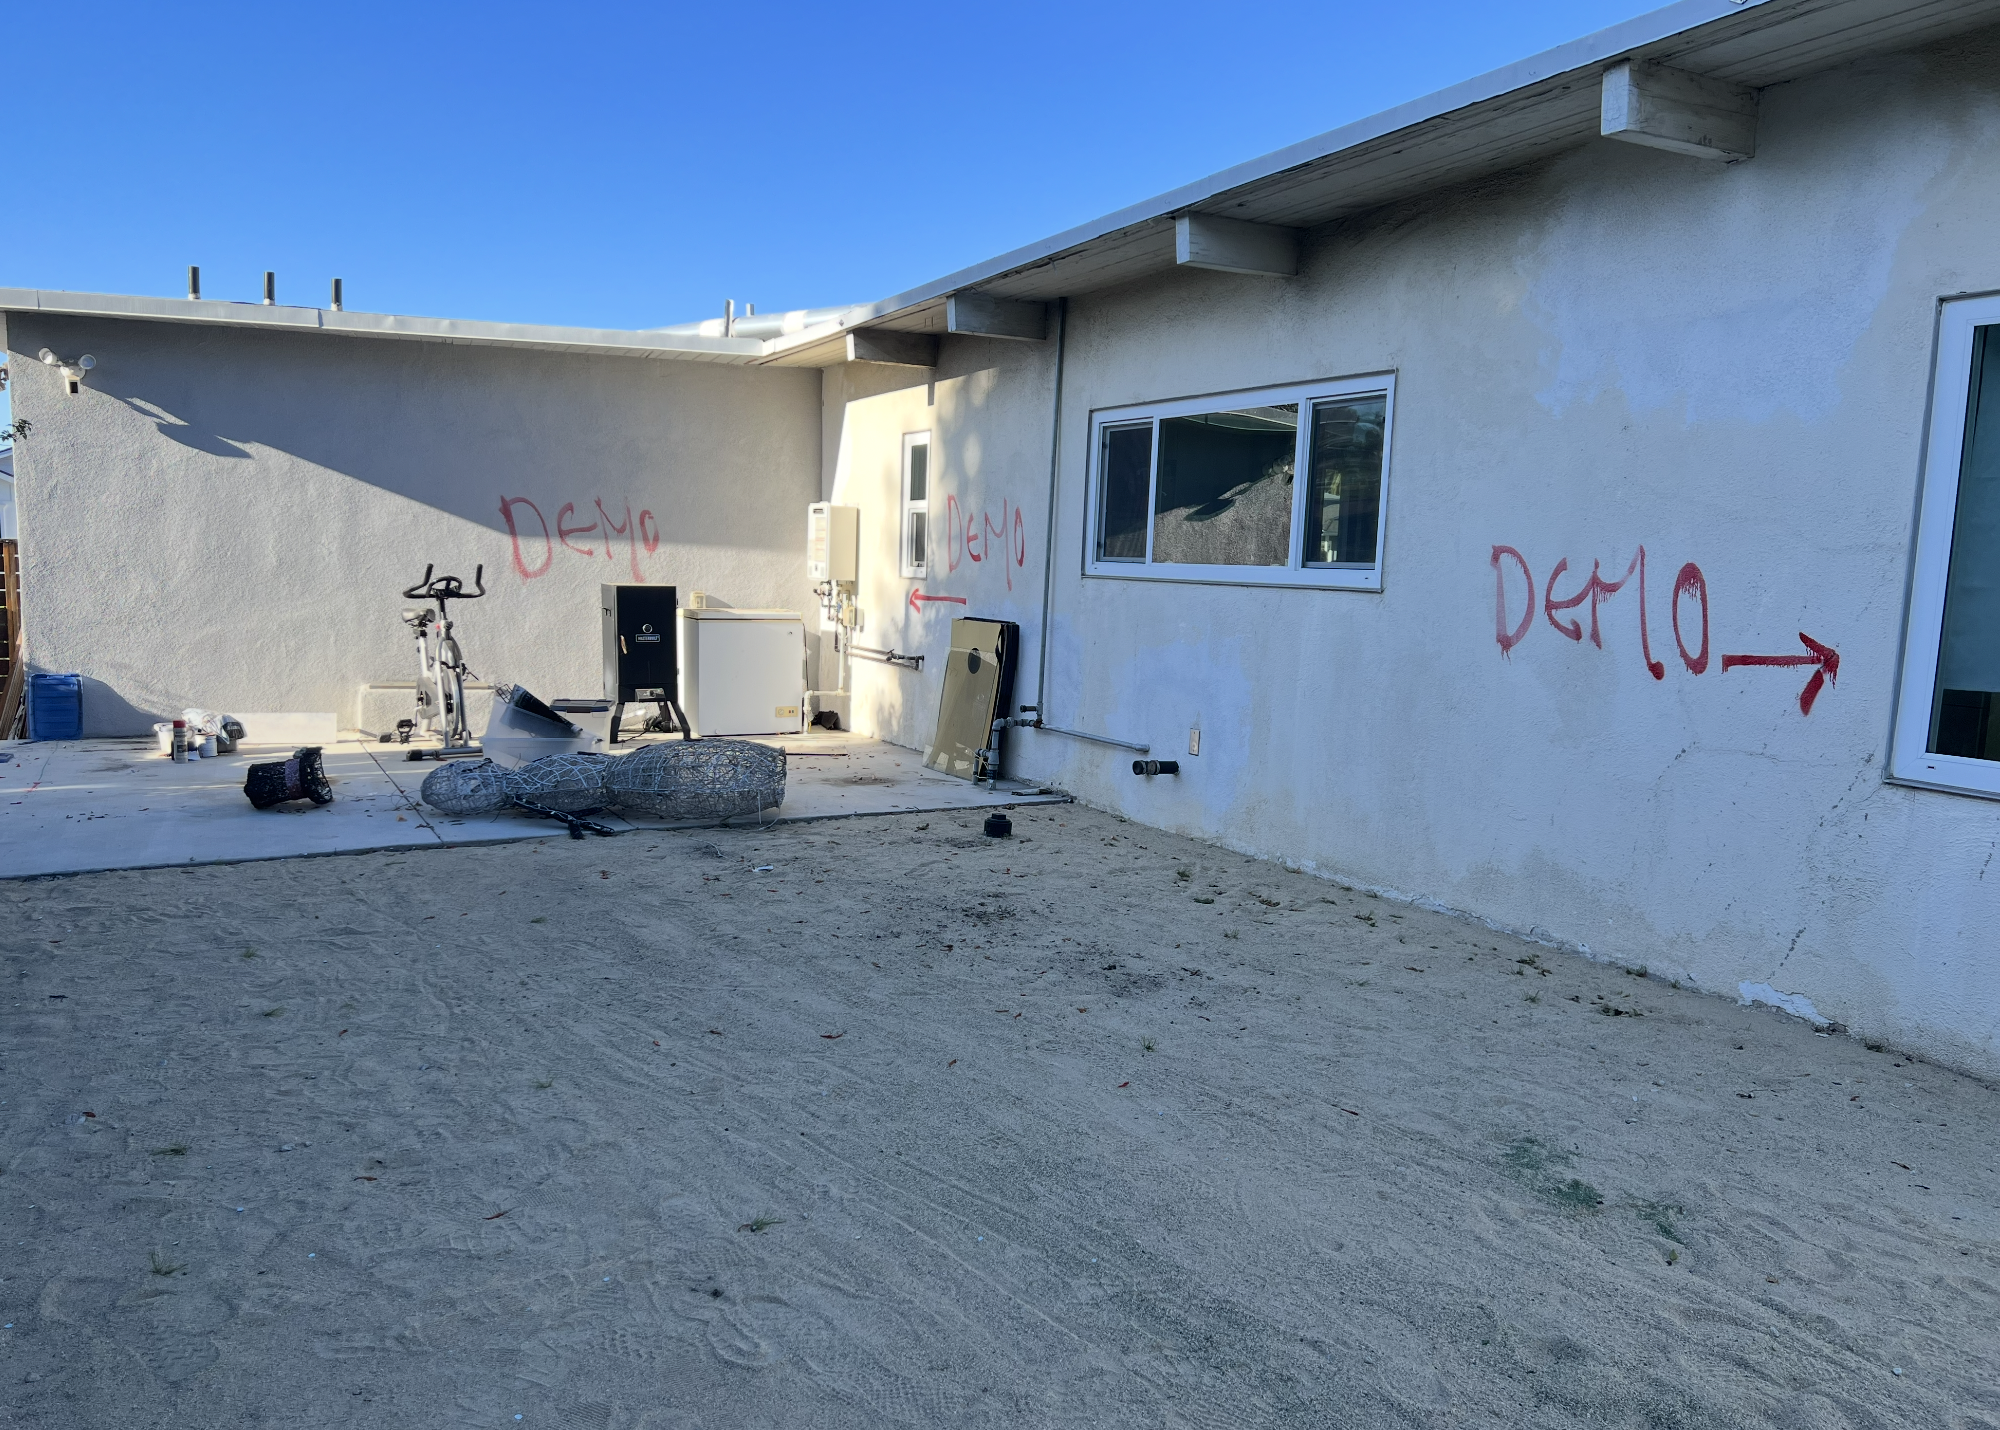
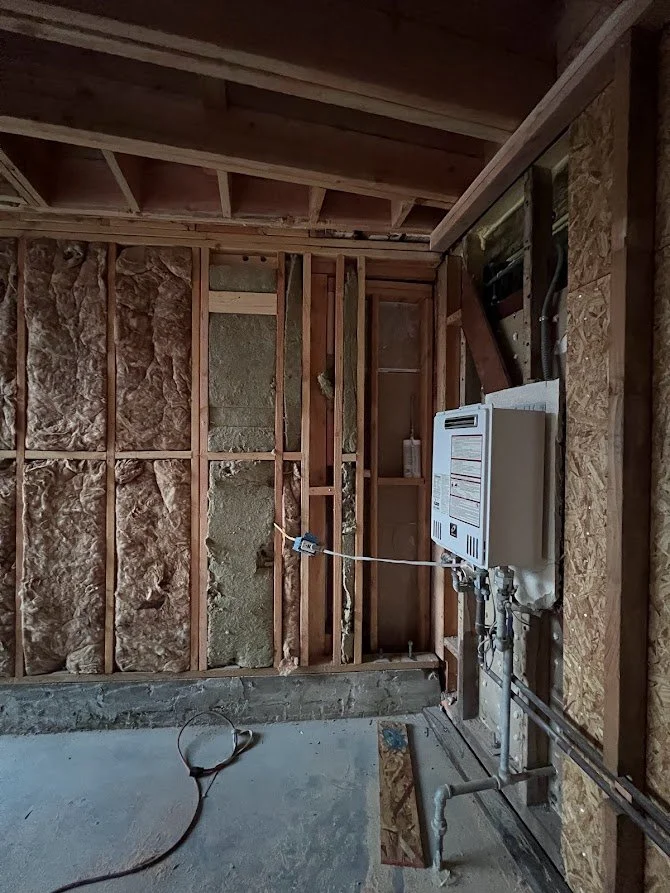
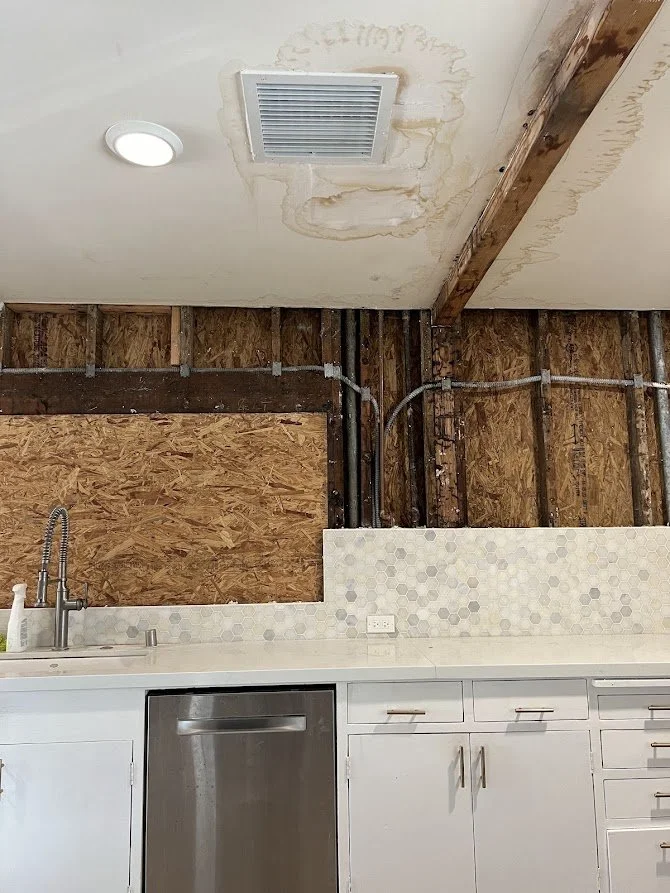
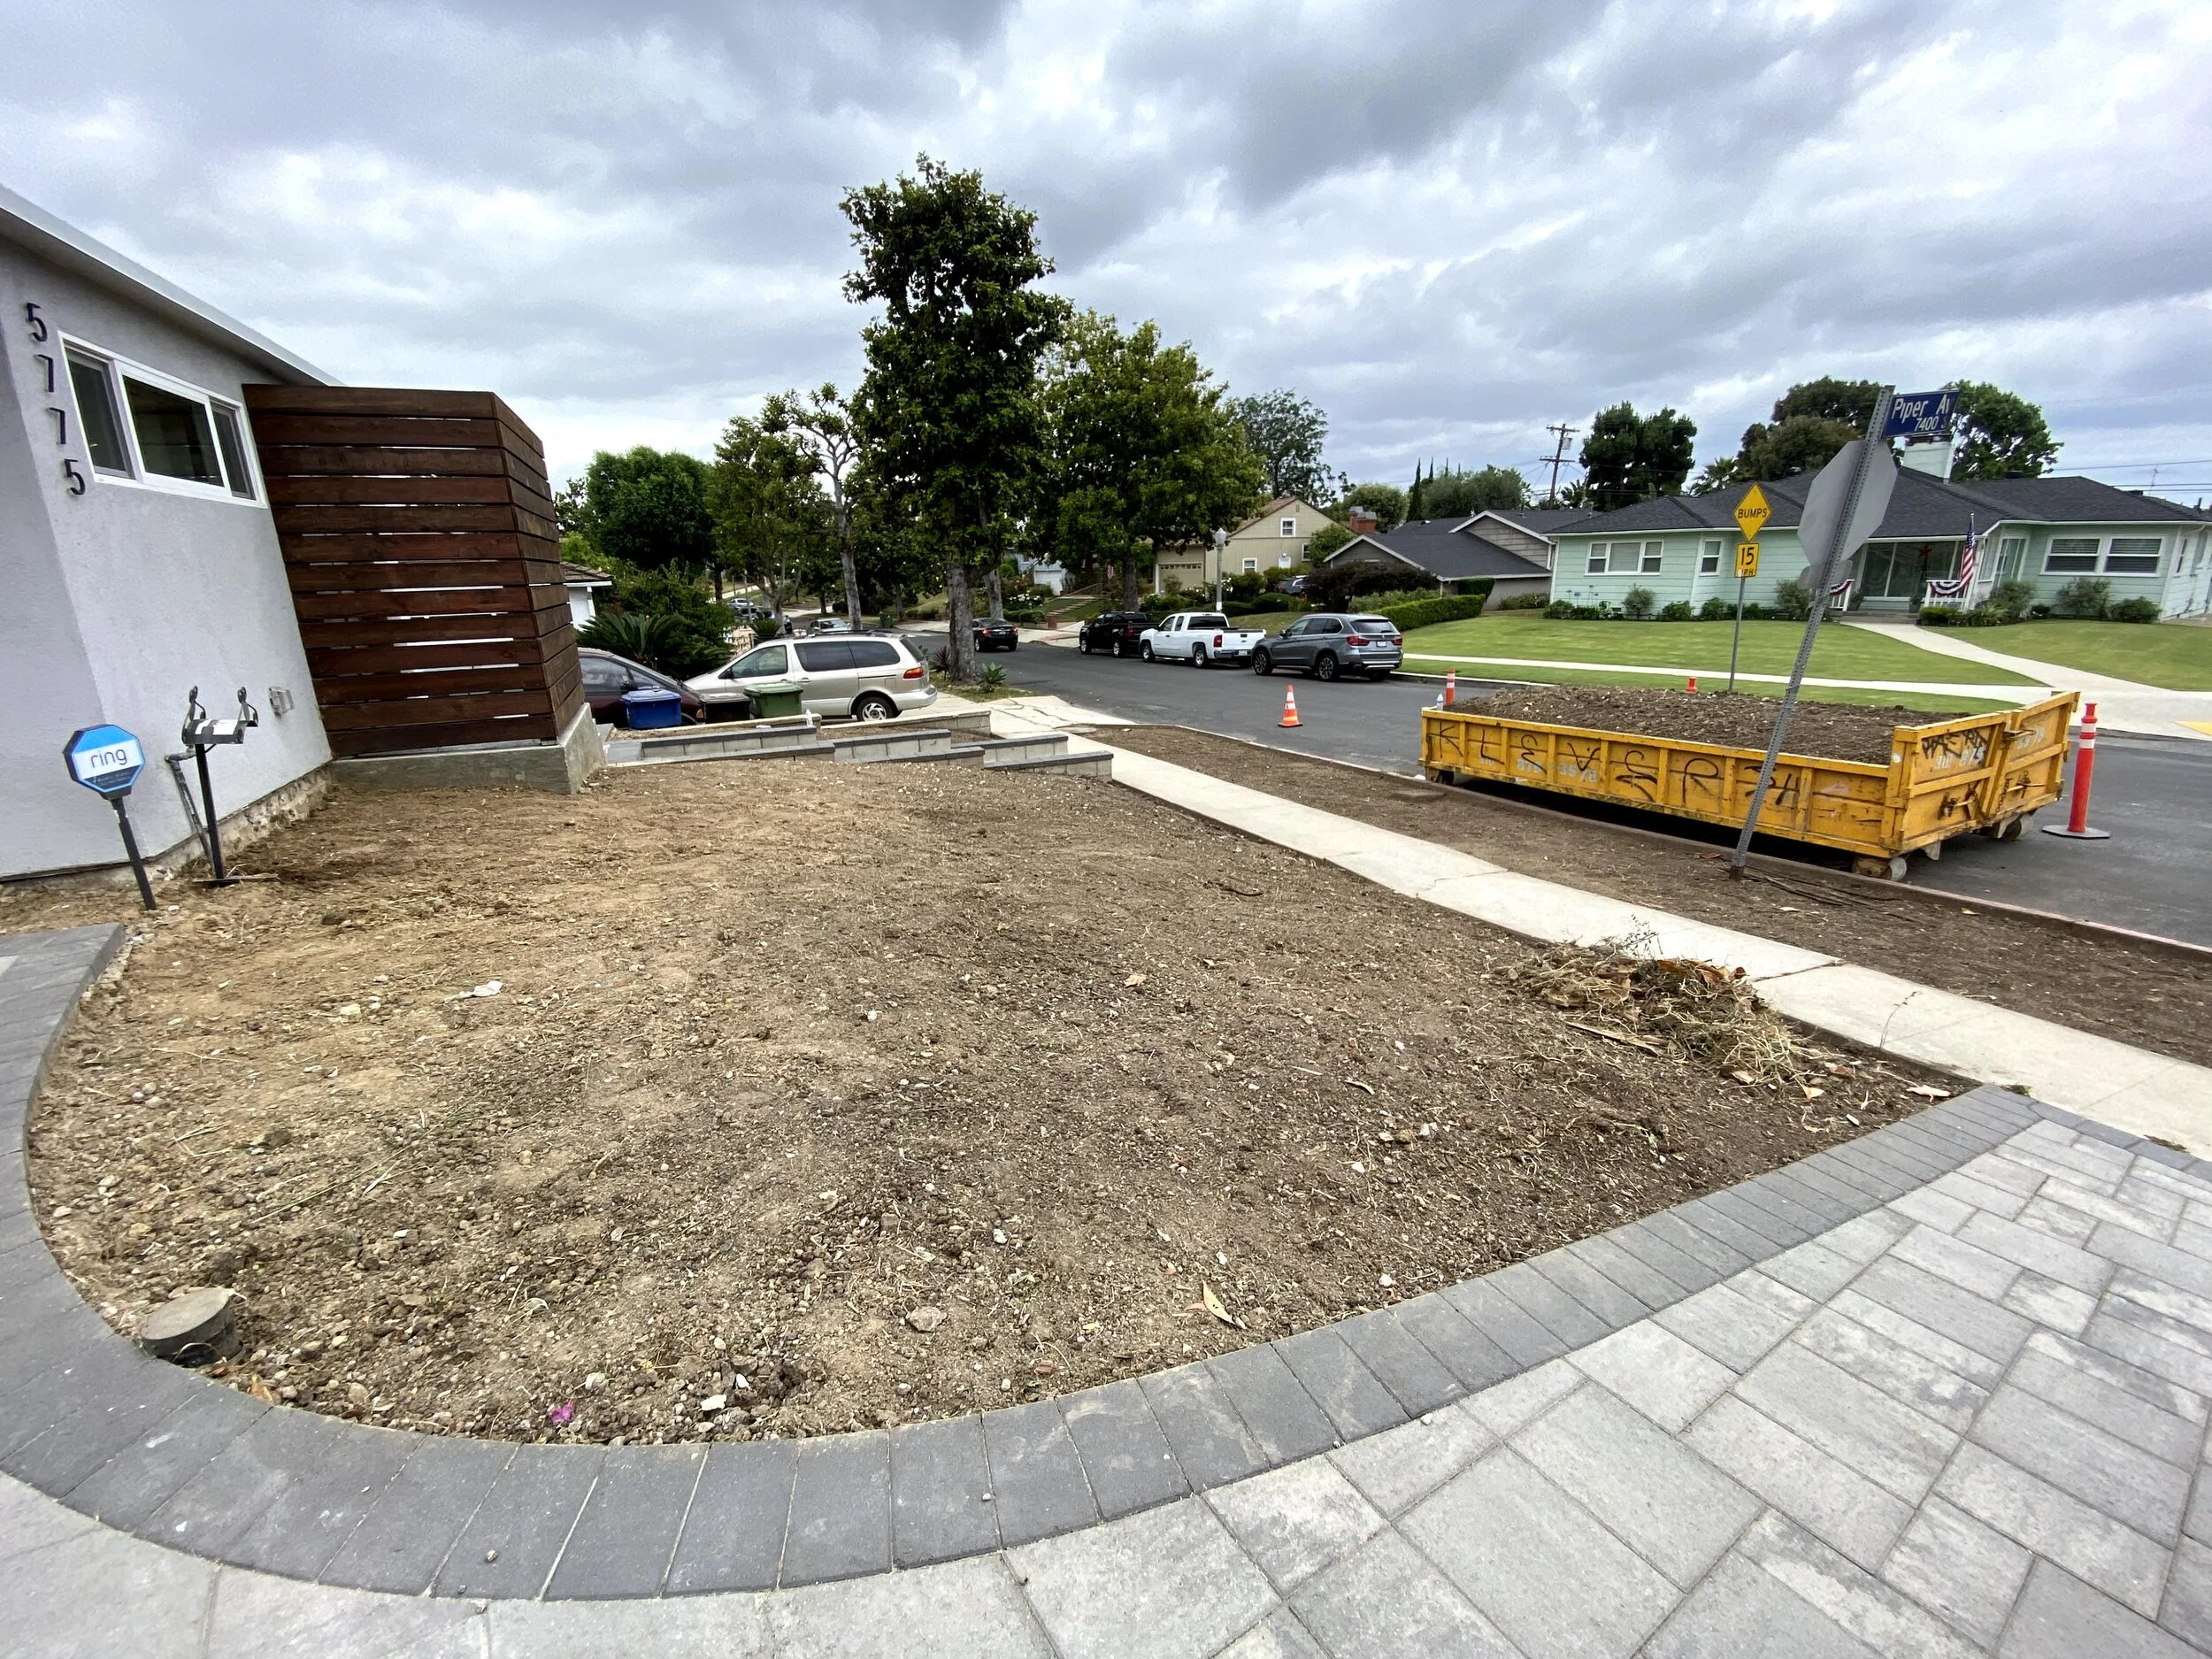
Alex did his due diligence and got quotes from about 5 different installers. Ultimately, he decided on Southland for its highly rated reviews. However, it wasn’t as simple as going in and installing air conditioning. Since our house has a flat roof, it made things more challenging because there is no attic to hide the ducts. Which meant that if we wanted central AC, we’d have to place the HVAC system on top of the roof in a spot that could bear its weight, and then cut directly through the roof to connect the ducts into each room. The process would be invasive and aesthetically less pleasing. In fact, every installer warned that you would see the “elephant trunk” ducts on top of our roof and significantly impact our curb appeal.

The alternative was to install ductless mini splits in each room. Less invasive and more flexible, these individual units could be placed throughout the house with no impact to our roof. However, temperature regulation would be more difficult and we’d still have to install about a dozen throughout the house for the same price..

Alex and I weighed the pros and cons, and though we ran the risk of it looking ugly, we really wanted to have the reliability (and added resale value) of central AC. We initially scheduled to have the installation done before the baby arrived, but it rained on the dates we had planned so we postponed the project for 2 months.

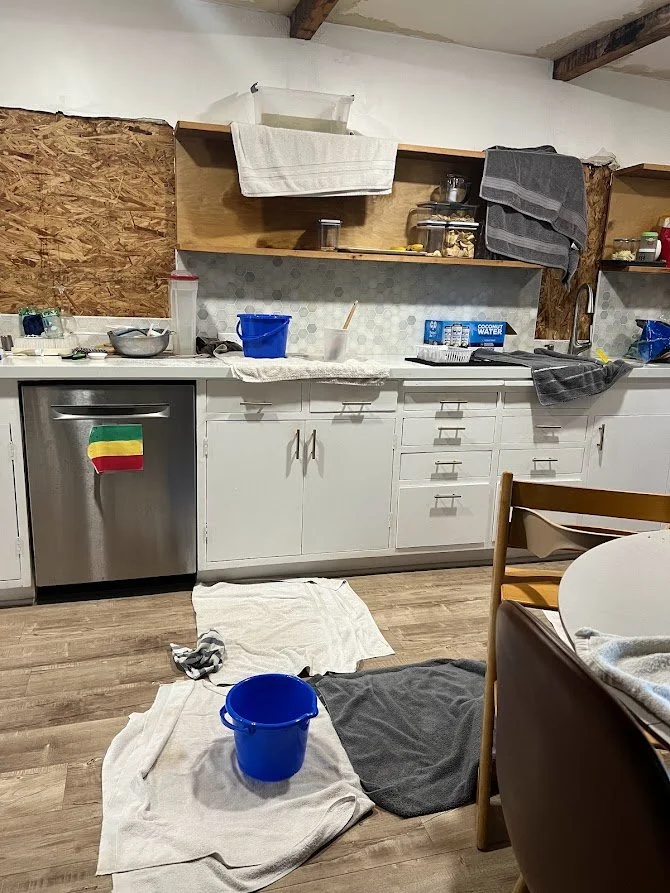
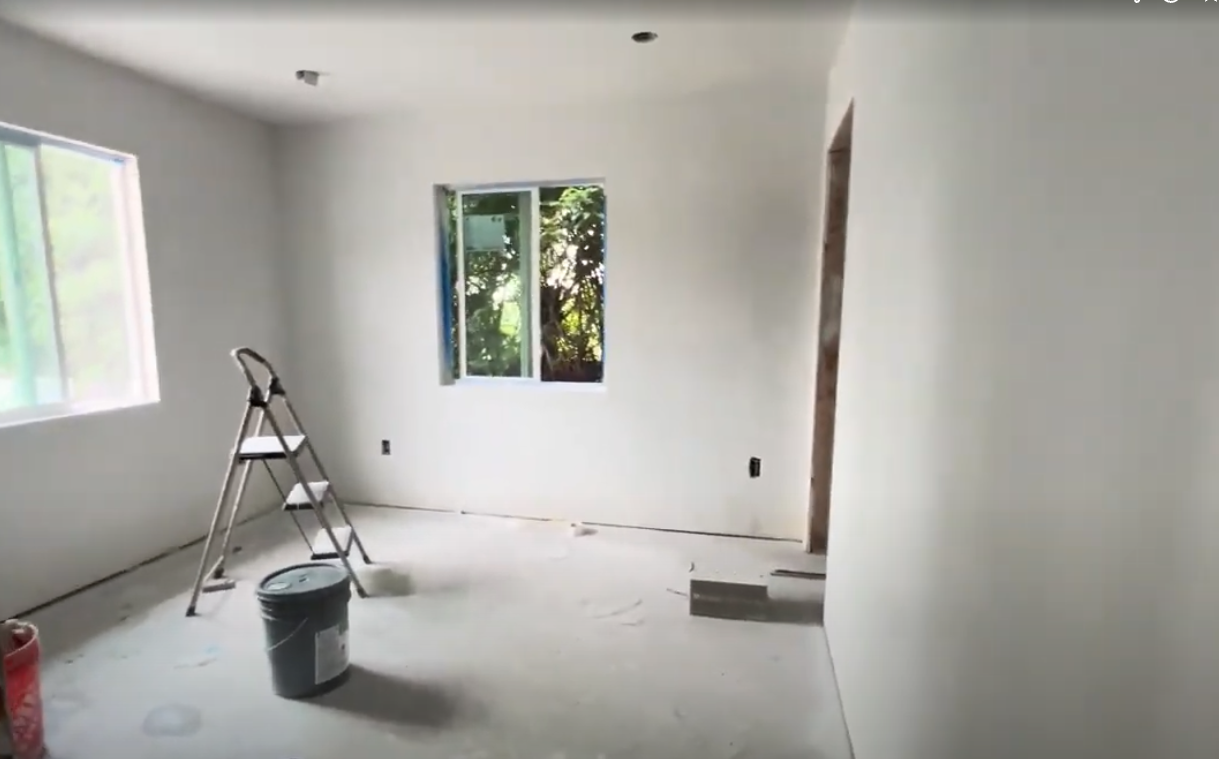
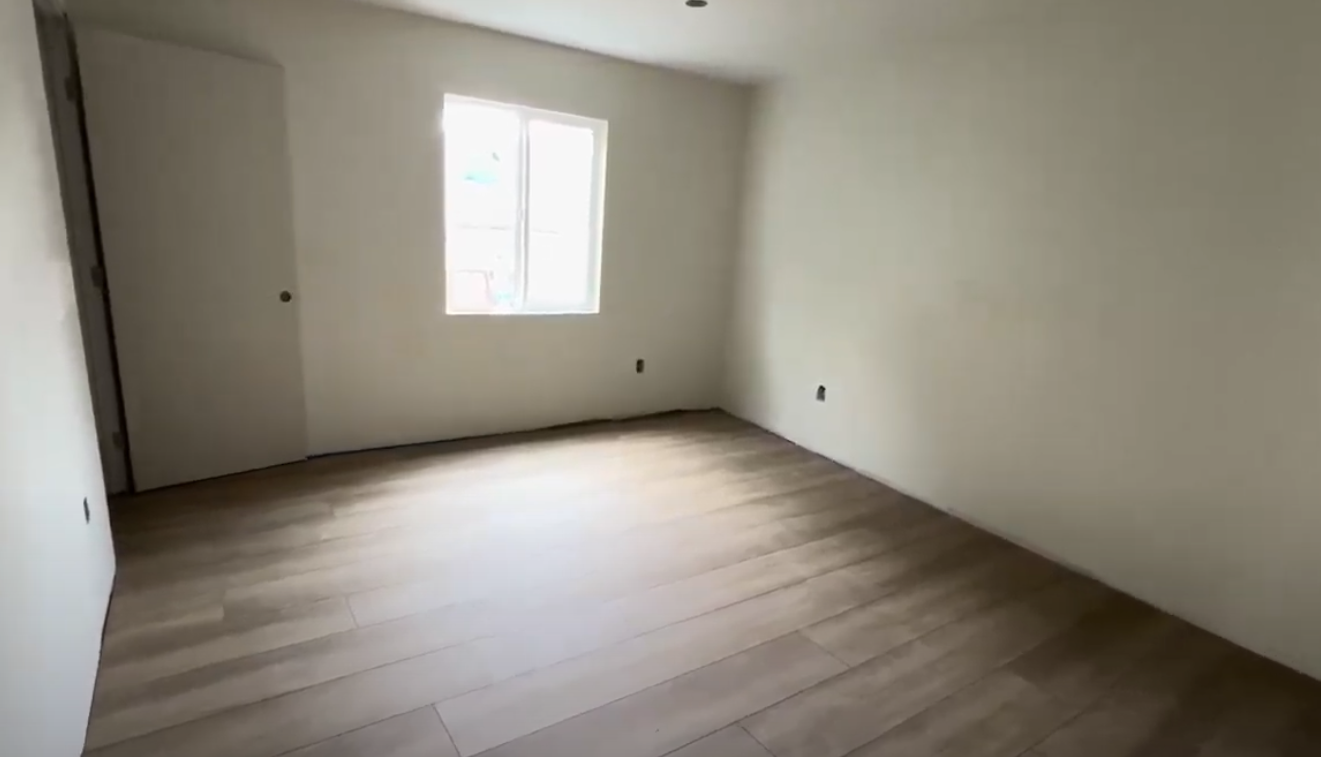
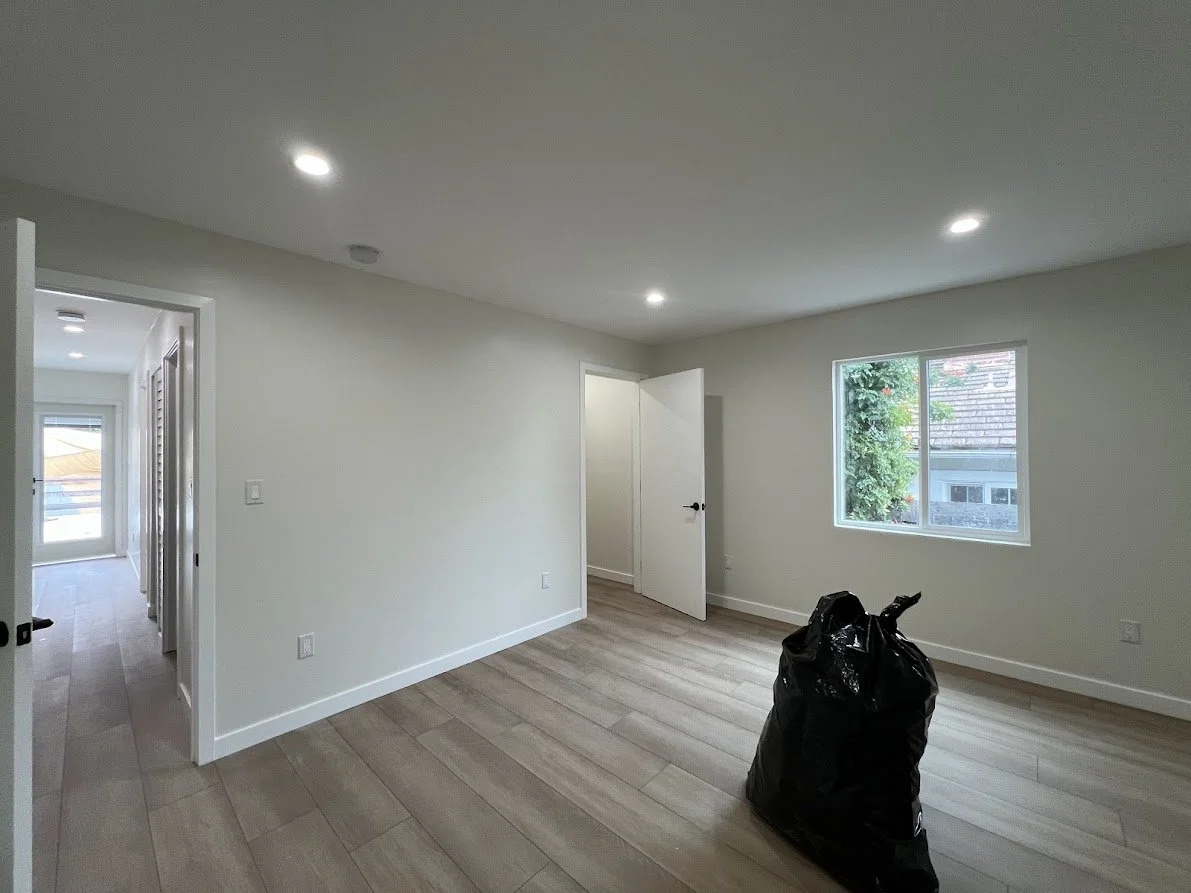
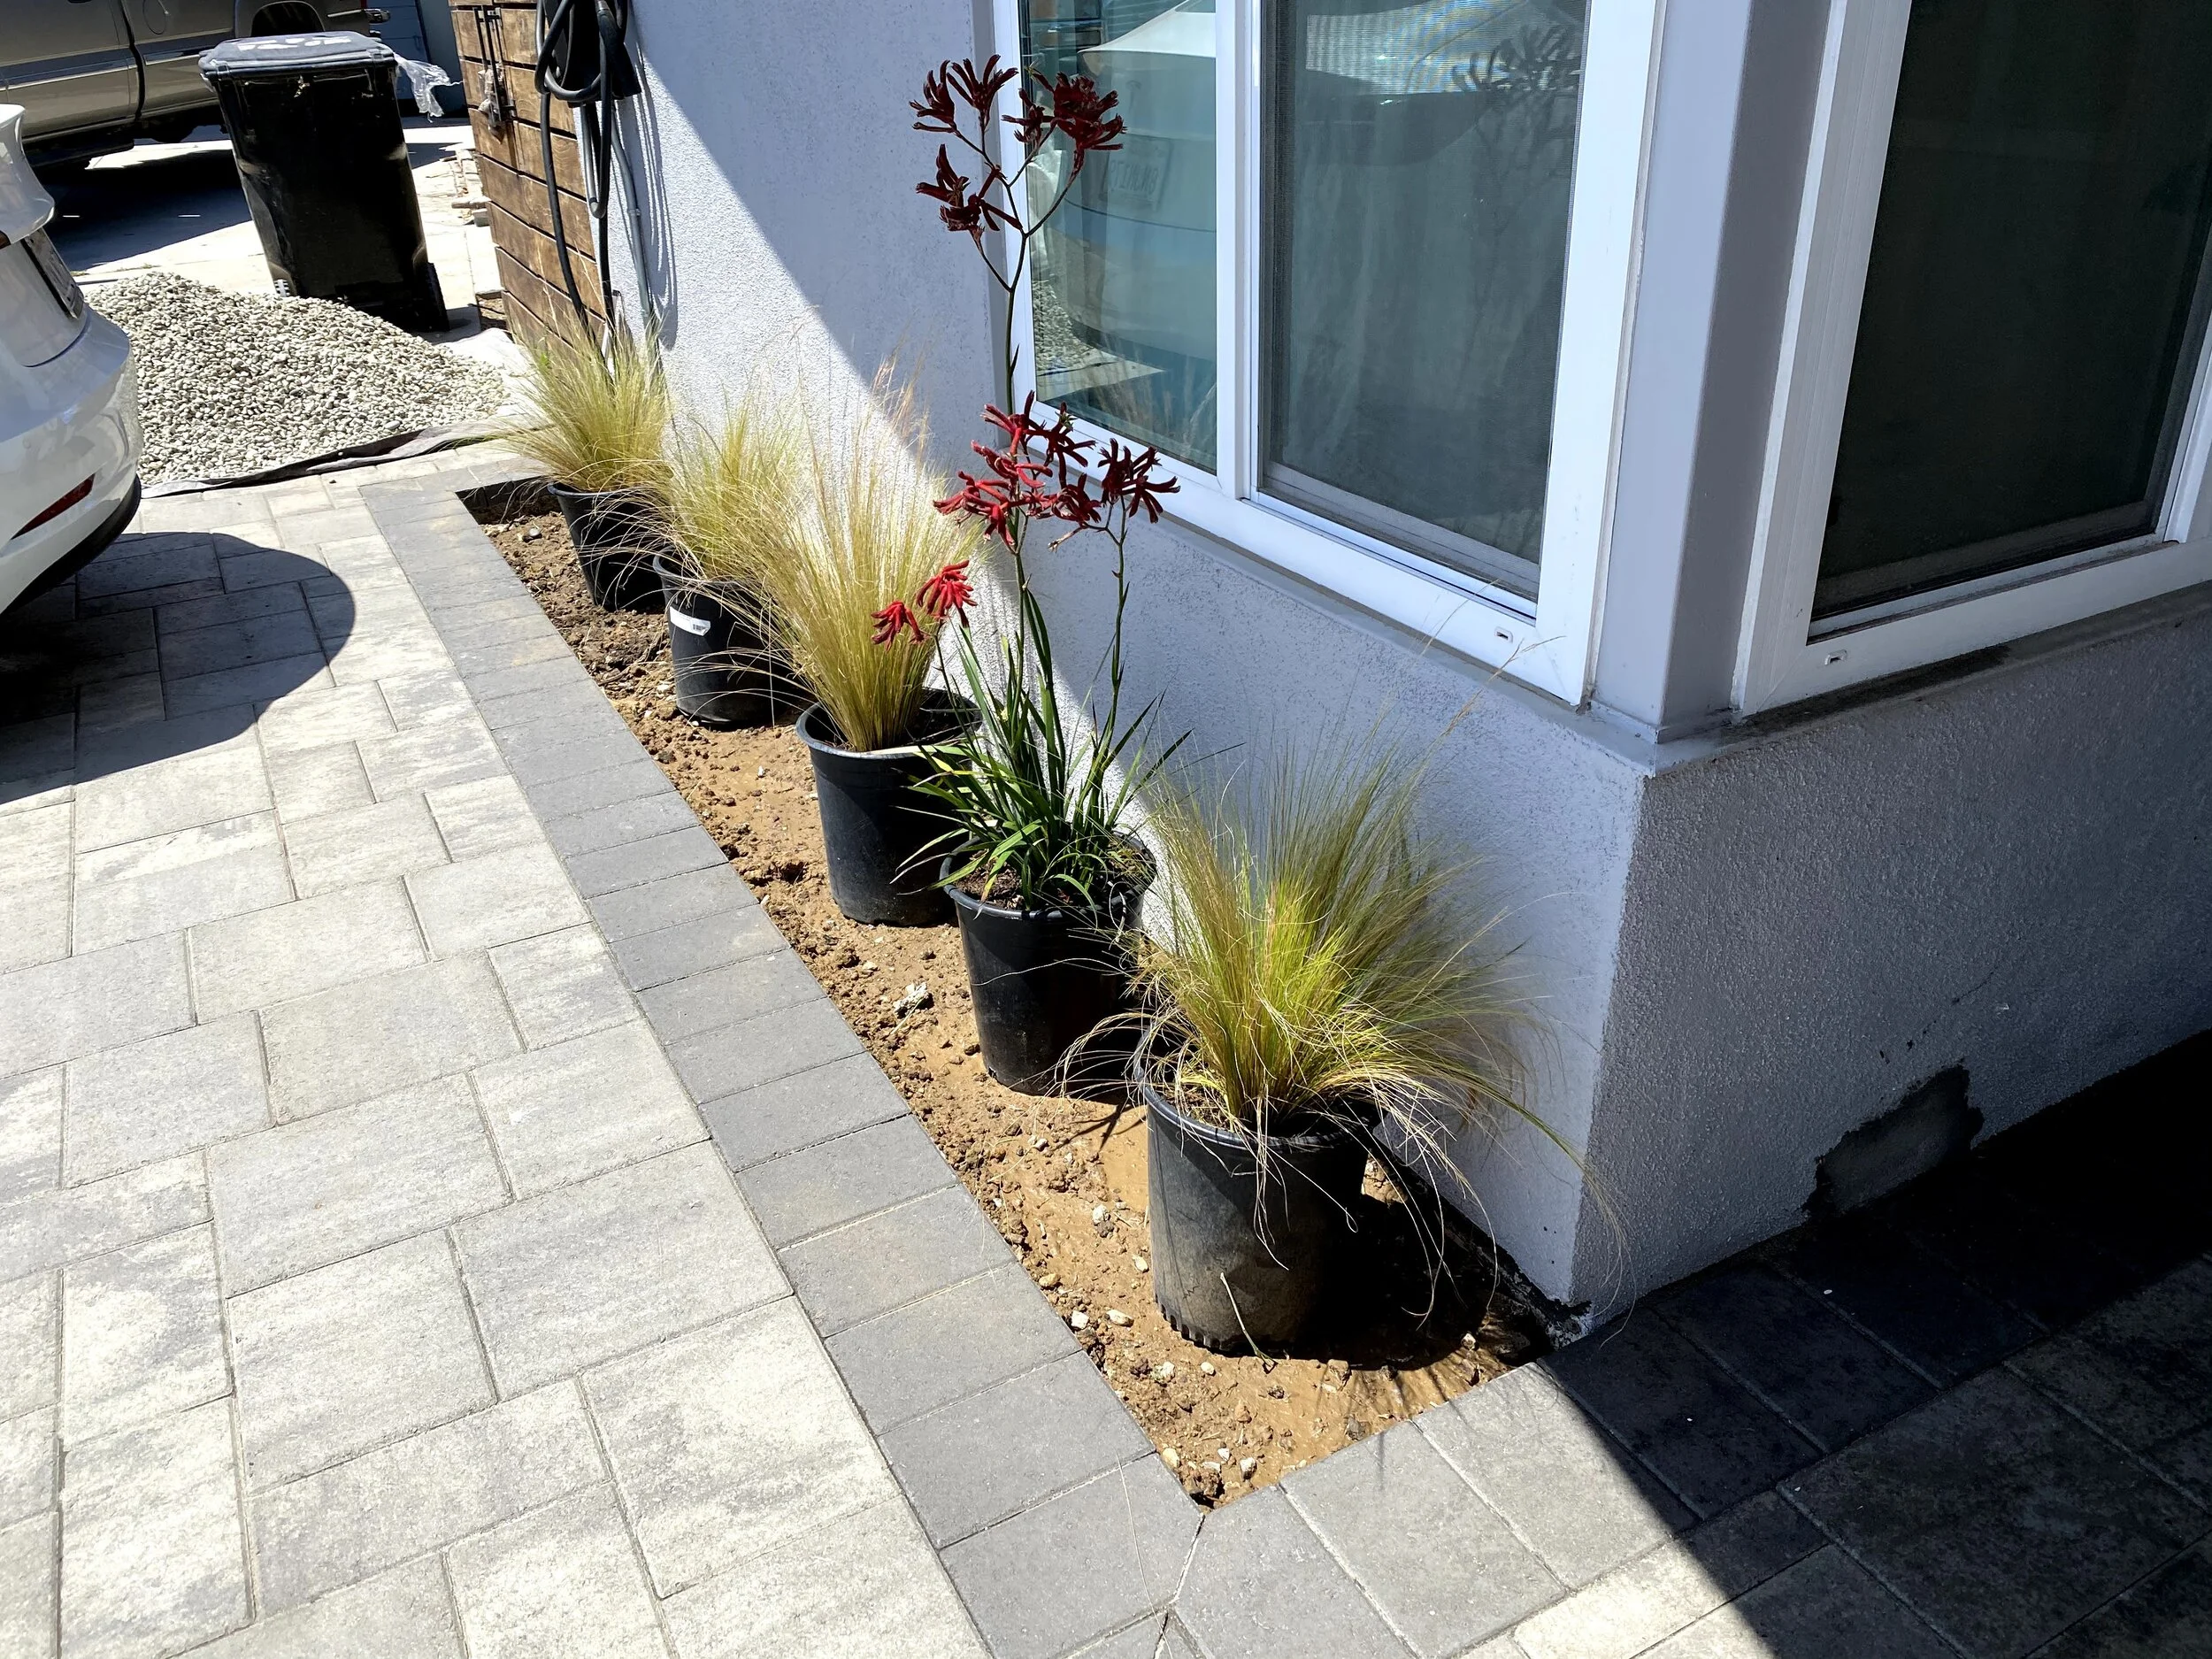
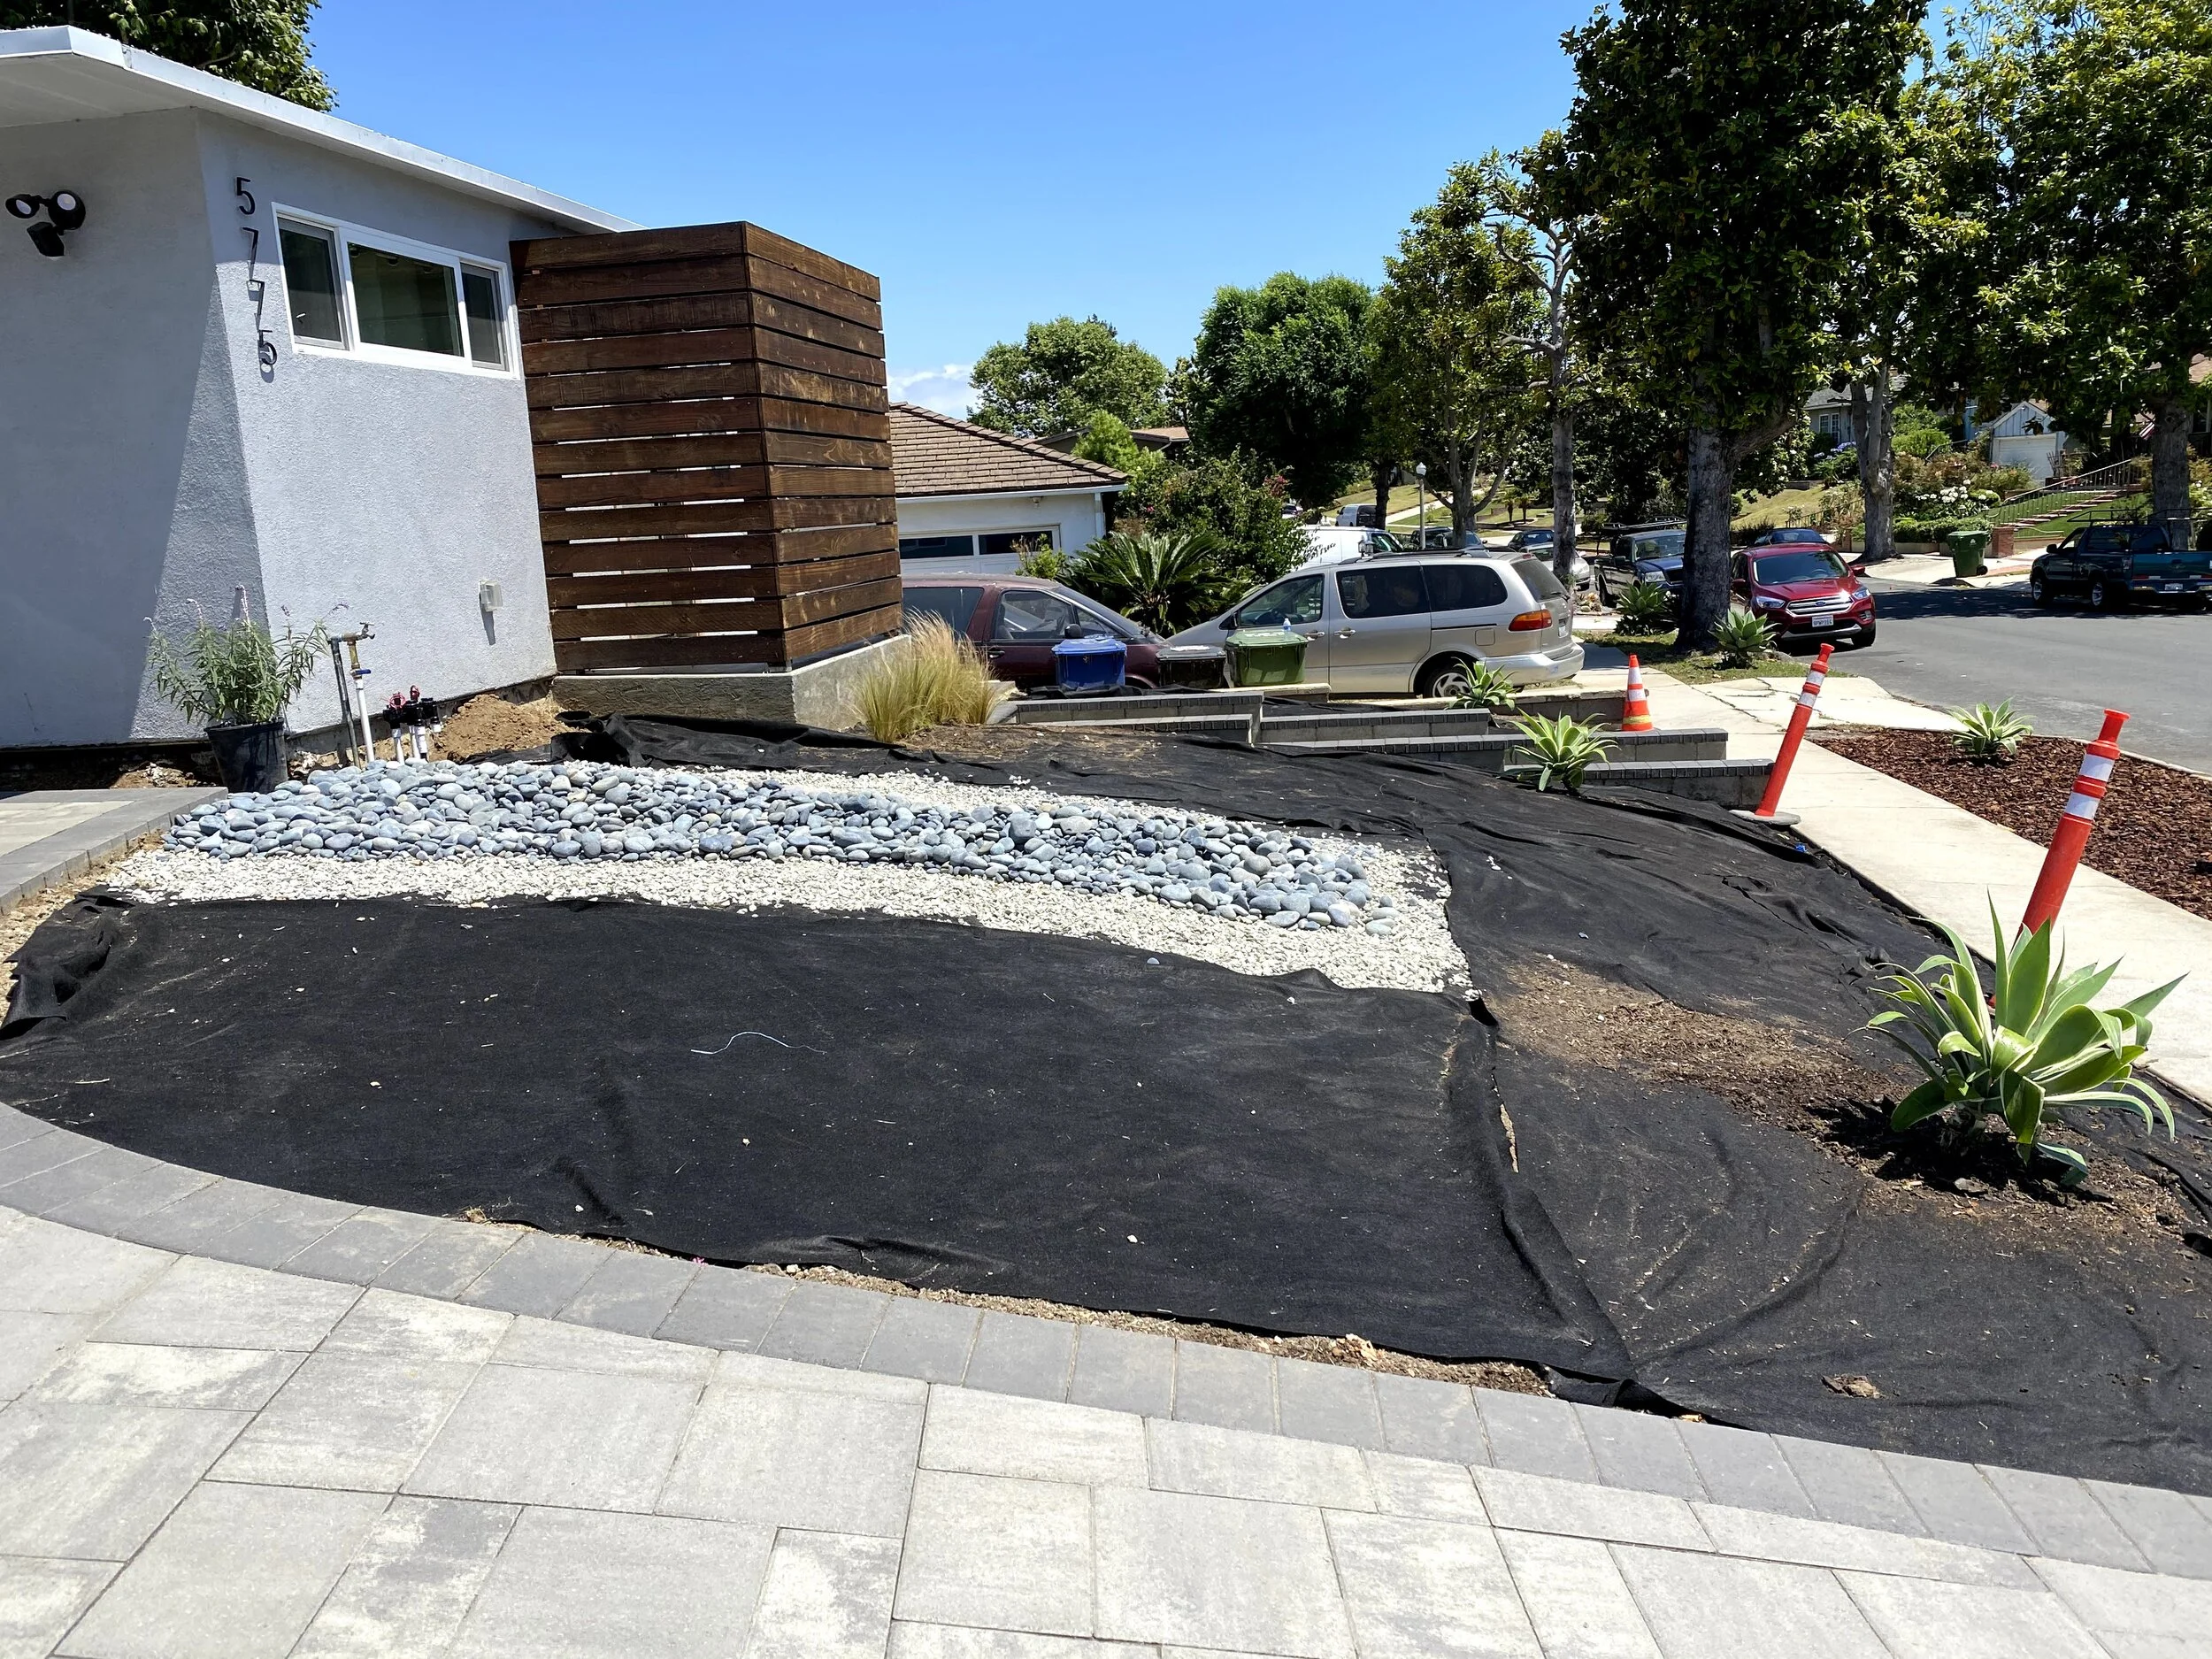
To prep for the installation, I moved the furniture around in each room and covered it with painters plastic. Since we had done multiple walkthroughs prior, I knew generally where they would be cutting each vent. I wanted to make it as easy as possible for them to reach the specific wall or ceiling, and I wanted to minimize the amount of dust that would inevitably get on our furniture and things. Luckily, there wasn’t as much sawdust as I thought there would be, and the guys also added another layer of plastic on top of mine.

The job took 2 full days to complete so we spent the day at Alex’s mom’s house with the dogs. The guys started in the living room and kitchen on the first day, so we were able to come home at night, pull back the plastic, and sleep in our own bed. After they did the bedrooms on the second day, they carefully snaked the ducts very low to the roof so that it’s barely visible from the street. The HVAC now sits towards the back of the house on top of a bearing wall above the living room that can hold its weight. We were so impressed with their attention to detail and really appreciated their extra efforts to keep our house looking pretty.

The guys worked until 9pm on the second day to wrap everything up, vacuum, set up our Nest thermostat, and test both the AC and heat. It was a process and we had to make some last-minute changes to the vent placements, but in the end, we’re so happy with the results despite everyone scaring us into thinking we’d ruin our roof. A tiny part of me is a little sad that there are cutouts in our wood ceiling, but it’s a small price to pay for the luxury of central AC.

One Month Postpartum

On March 23, we welcomed our sweet baby girl into the world – Maven Ambria Chan. The past 4 weeks have flown by, filled with a newfound love for our baby, our marriage, and my body. It’s amazing how all your instincts just kick in, and it’s even more amazing to experience what my body is capable of and how quickly it has recovered. We’ve been savoring every moment as Alex is working from home full-time amidst the COVID-19 pandemic. I’m back on my feet and have even found enough time and energy to garden, make bread, and deep clean the house. Maven likes to tag along for the ride in her Baby Bjorn carrier like a little kangaroo.

Screen+Shot+2020-05-28+at+9.54.31+AM.jpg

Maven’s favorite things include stroller walks with the dogs, forehead kisses, long-sleeved onesies, warm baths, making purring sounds in her sleep, and snuggling and rocking with us in the Lazy Boy recliner.

What It’s Like Being 8.5 Months Pregnant During Coronavirus

I started my maternity leave last Friday. As I packed my desk, celebrated with cupcakes and cute baby onesies, and said goodbye (for now) to my coworkers, it felt reminiscent of quitting. Now, exactly one week later, it feels like everyone is on maternity leave with me.

IMG_0376.JPG

The first few days were slow yet productive. I kept busy with personal projects, house to-dos like prepping for air conditioning installation and gathering quotes for landscaping, and generally nesting. Meanwhile, many of my coworkers began working from home when my company encouraged a WFH policy for the rest of the month.

Then by Wednesday, Alex was also encouraged to work from home… and by the next day, it was mandated indefinitely. Now, it’s Friday and we’ve just returned from Costco. The lines were better than we expected, but it was still difficult to find a shopping cart and I was extra protective of my belly as people barrelled down the aisles. We snagged a box of diapers, but the baby wipes were out of stock. They were also out of chicken, but we picked up some salmon, pork, and brisket to vacuum seal in our freezer. Before this whole situation, we imagined I would be spending my leave to meal prep for the month ahead when the baby comes. Now, on top of that, we need to make sure we have the essentials too.

It’s quite bizarre to know that our baby will be born into a state of national emergency. We’re not scared, but the chain of events are escalating so quickly every day that we really don’t know what to expect or what our lives will look like in a month. For now, we’re just enjoying the extra time together as Alex is working from home by our side.