Posts in Home
Move-In Day & Spending the First Night

The day we’ve been looking forward to since October finally came! We moved in on Saturday and spent our first night in the house.

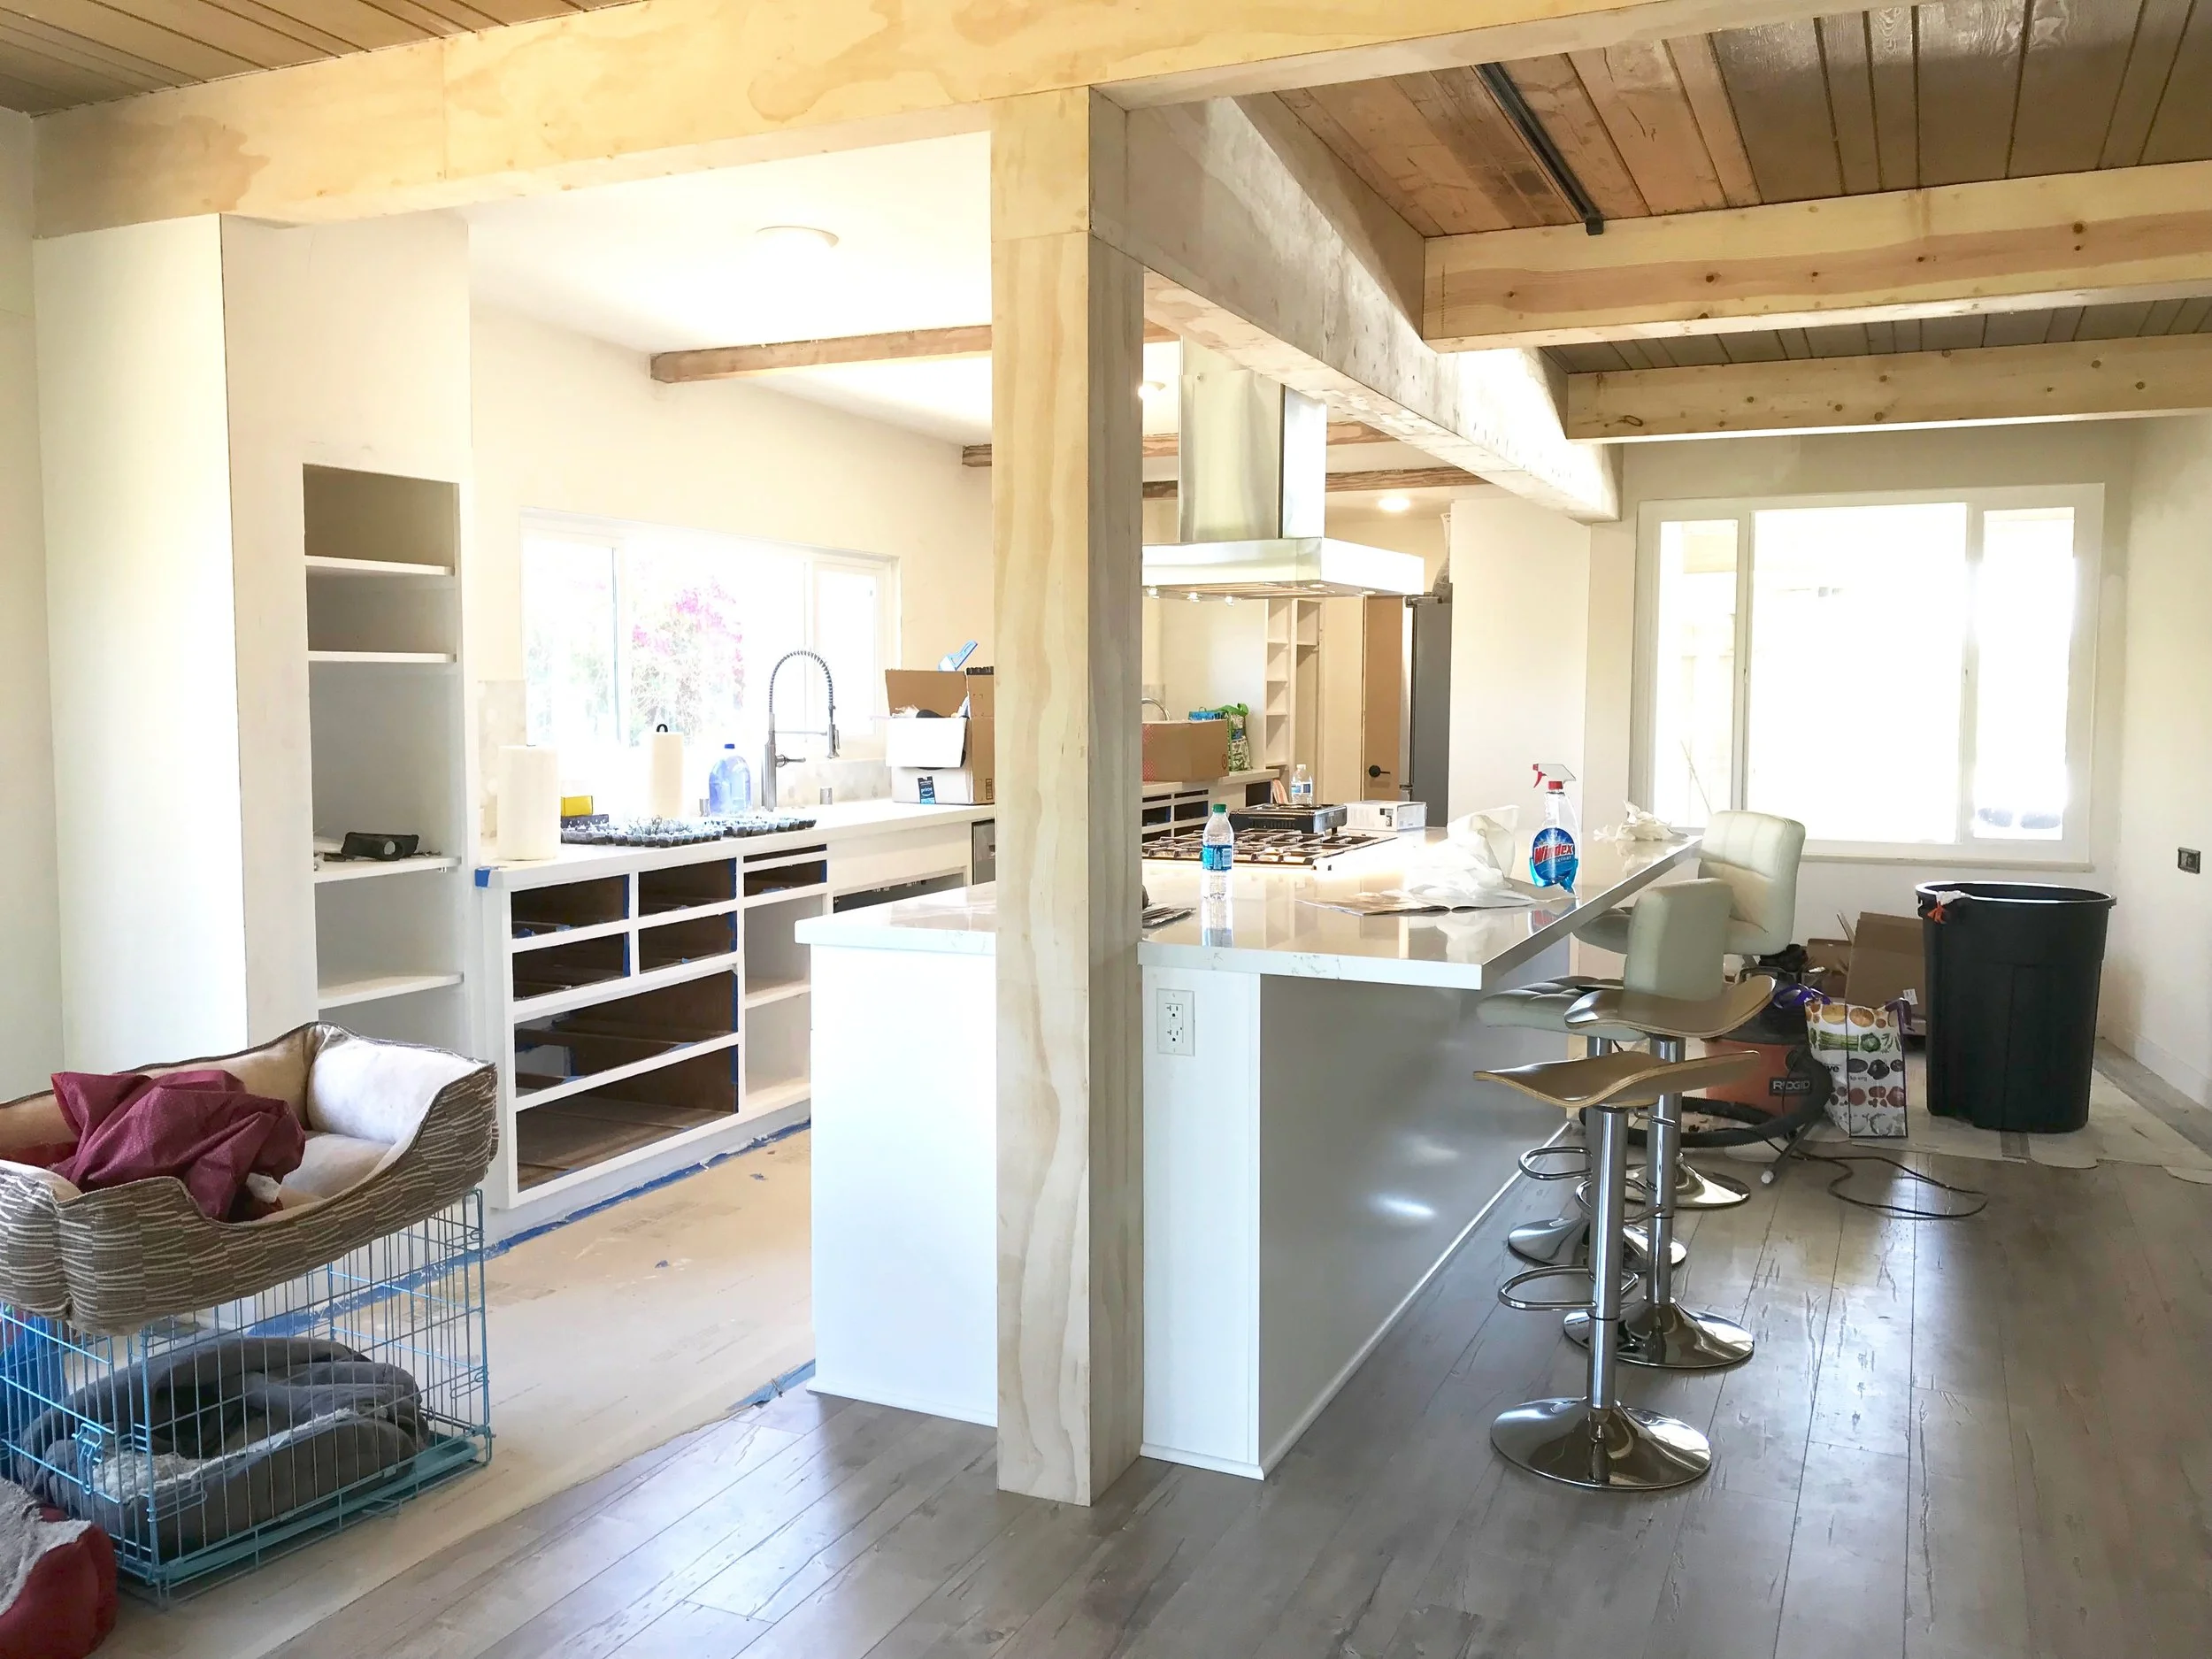
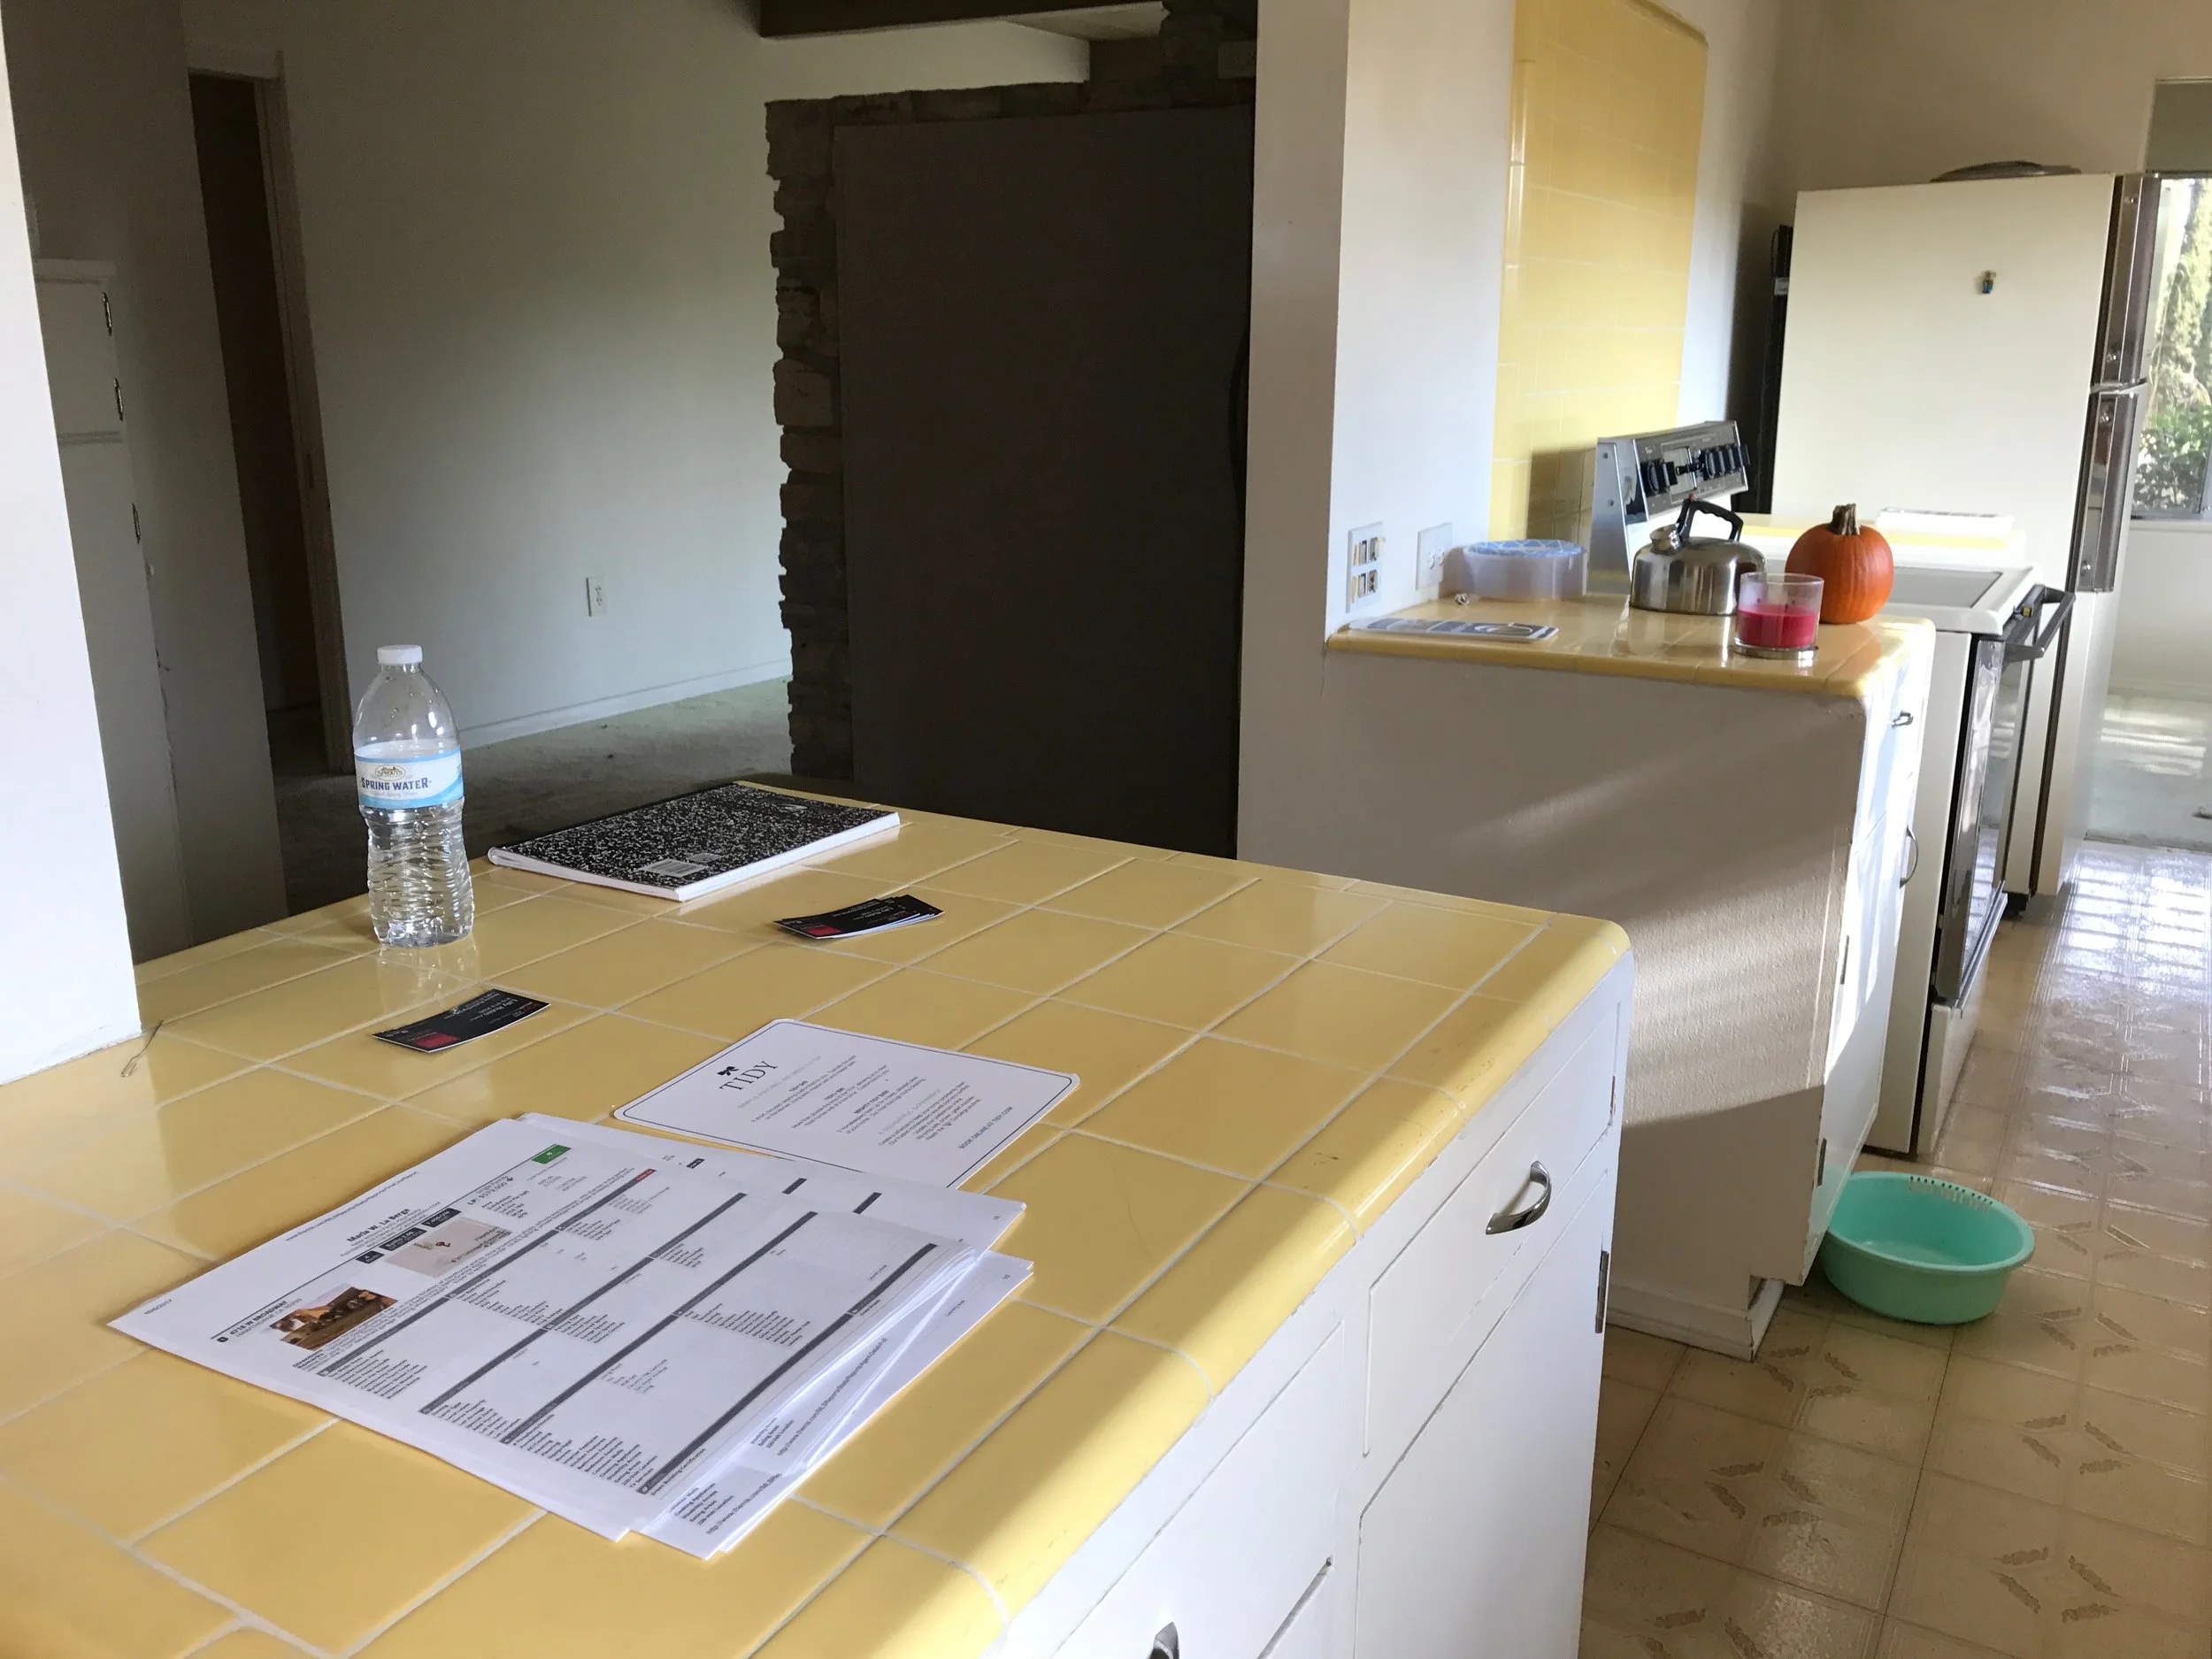
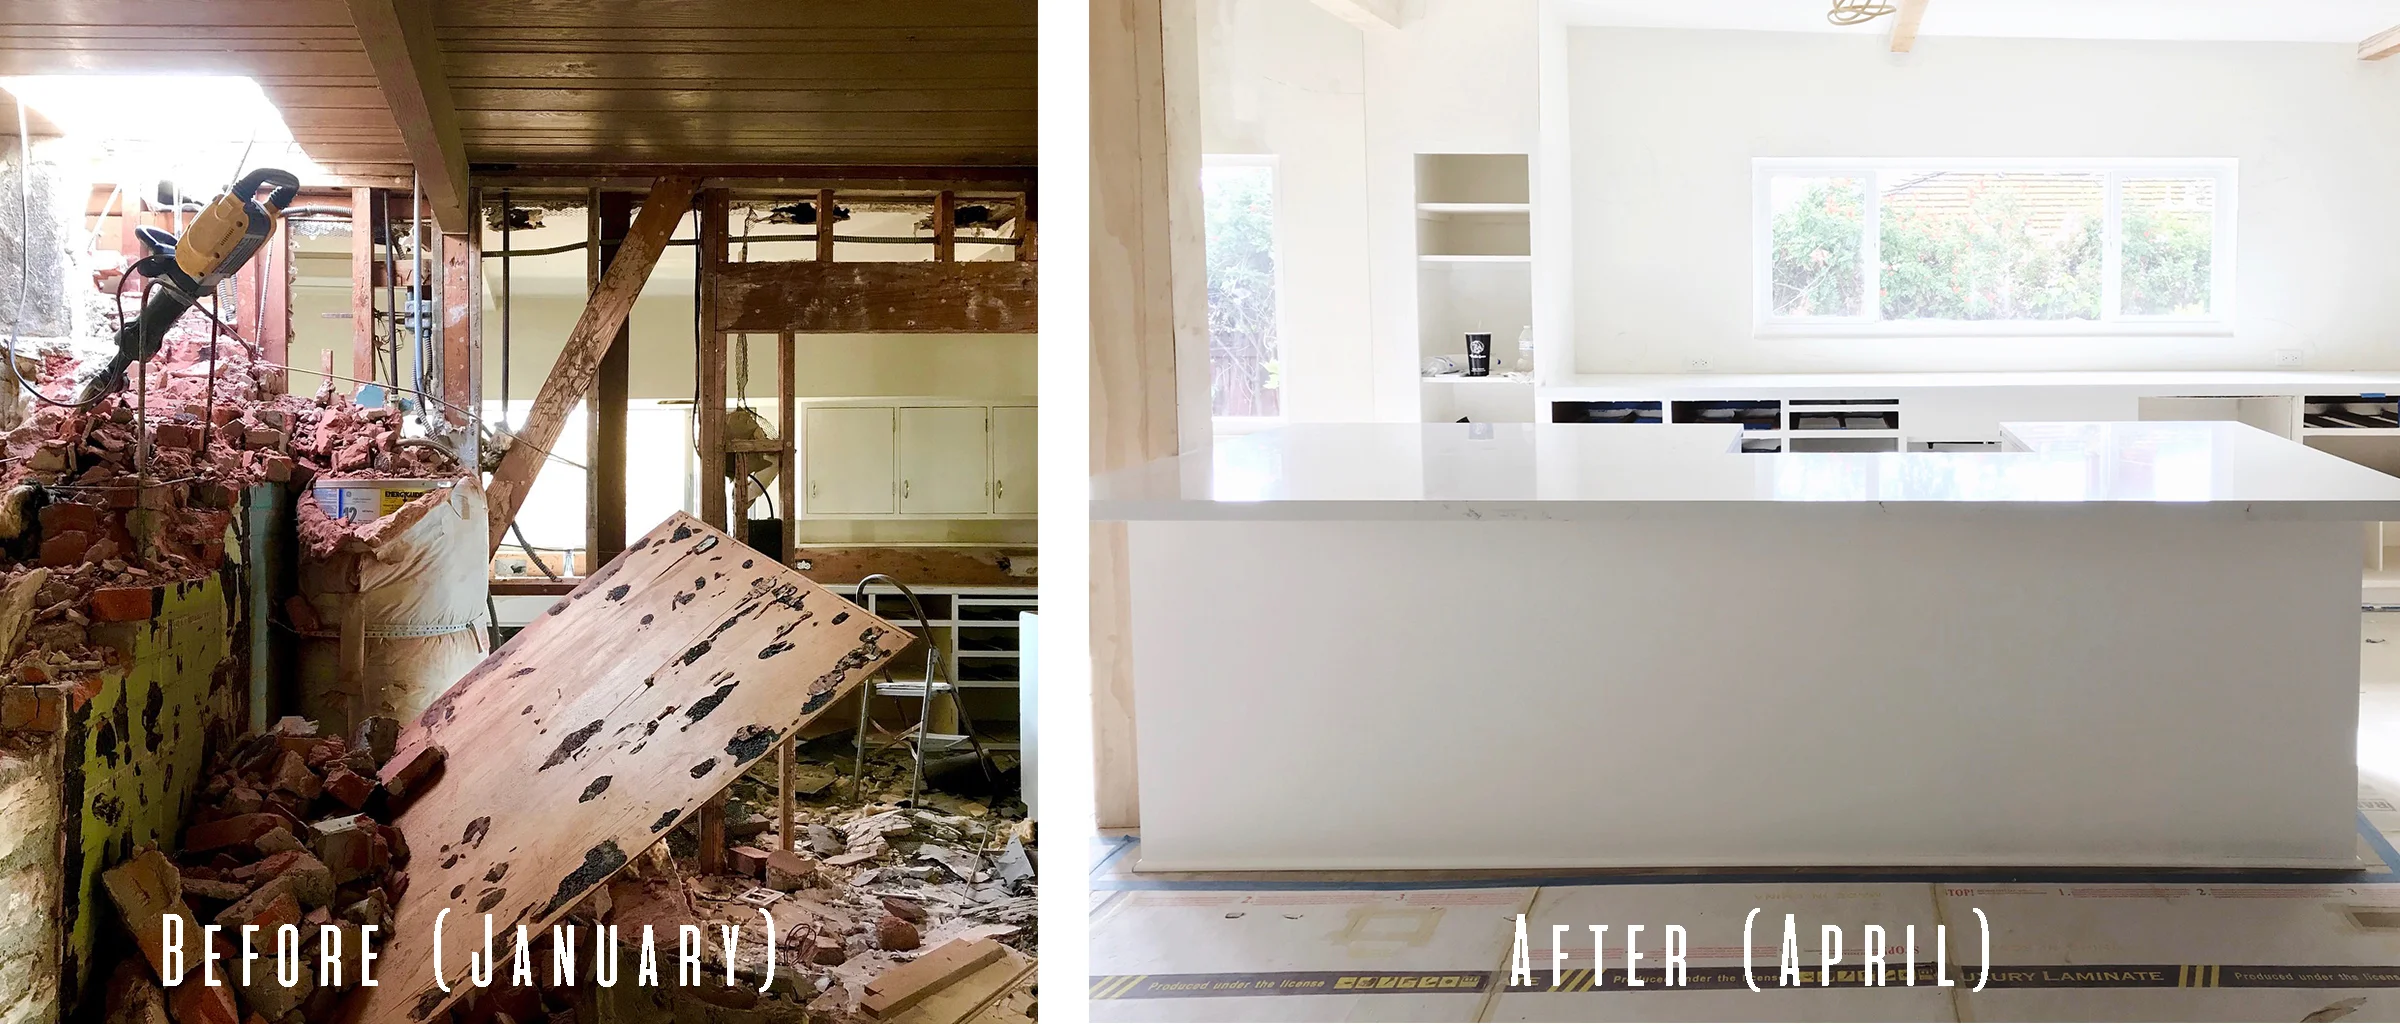
It was pretty surreal to sit on our couch in the same living room where we once sat with our real estate agent, talking about the potential of the house. At that time, it had disgusting yellow carpet, old windows, and that ginormous fireplace. The house was barely staged with beige couches, a small pumpkin for Halloween, a fake orchid, and two candles. You can see them in some of our old photos.

We started the day off by going to Lowe’s to pick up some items, including garden fencing, paint, rollers, and a trash can that I’ve turned into a DIY compost bin!

IMG_4934.jpg

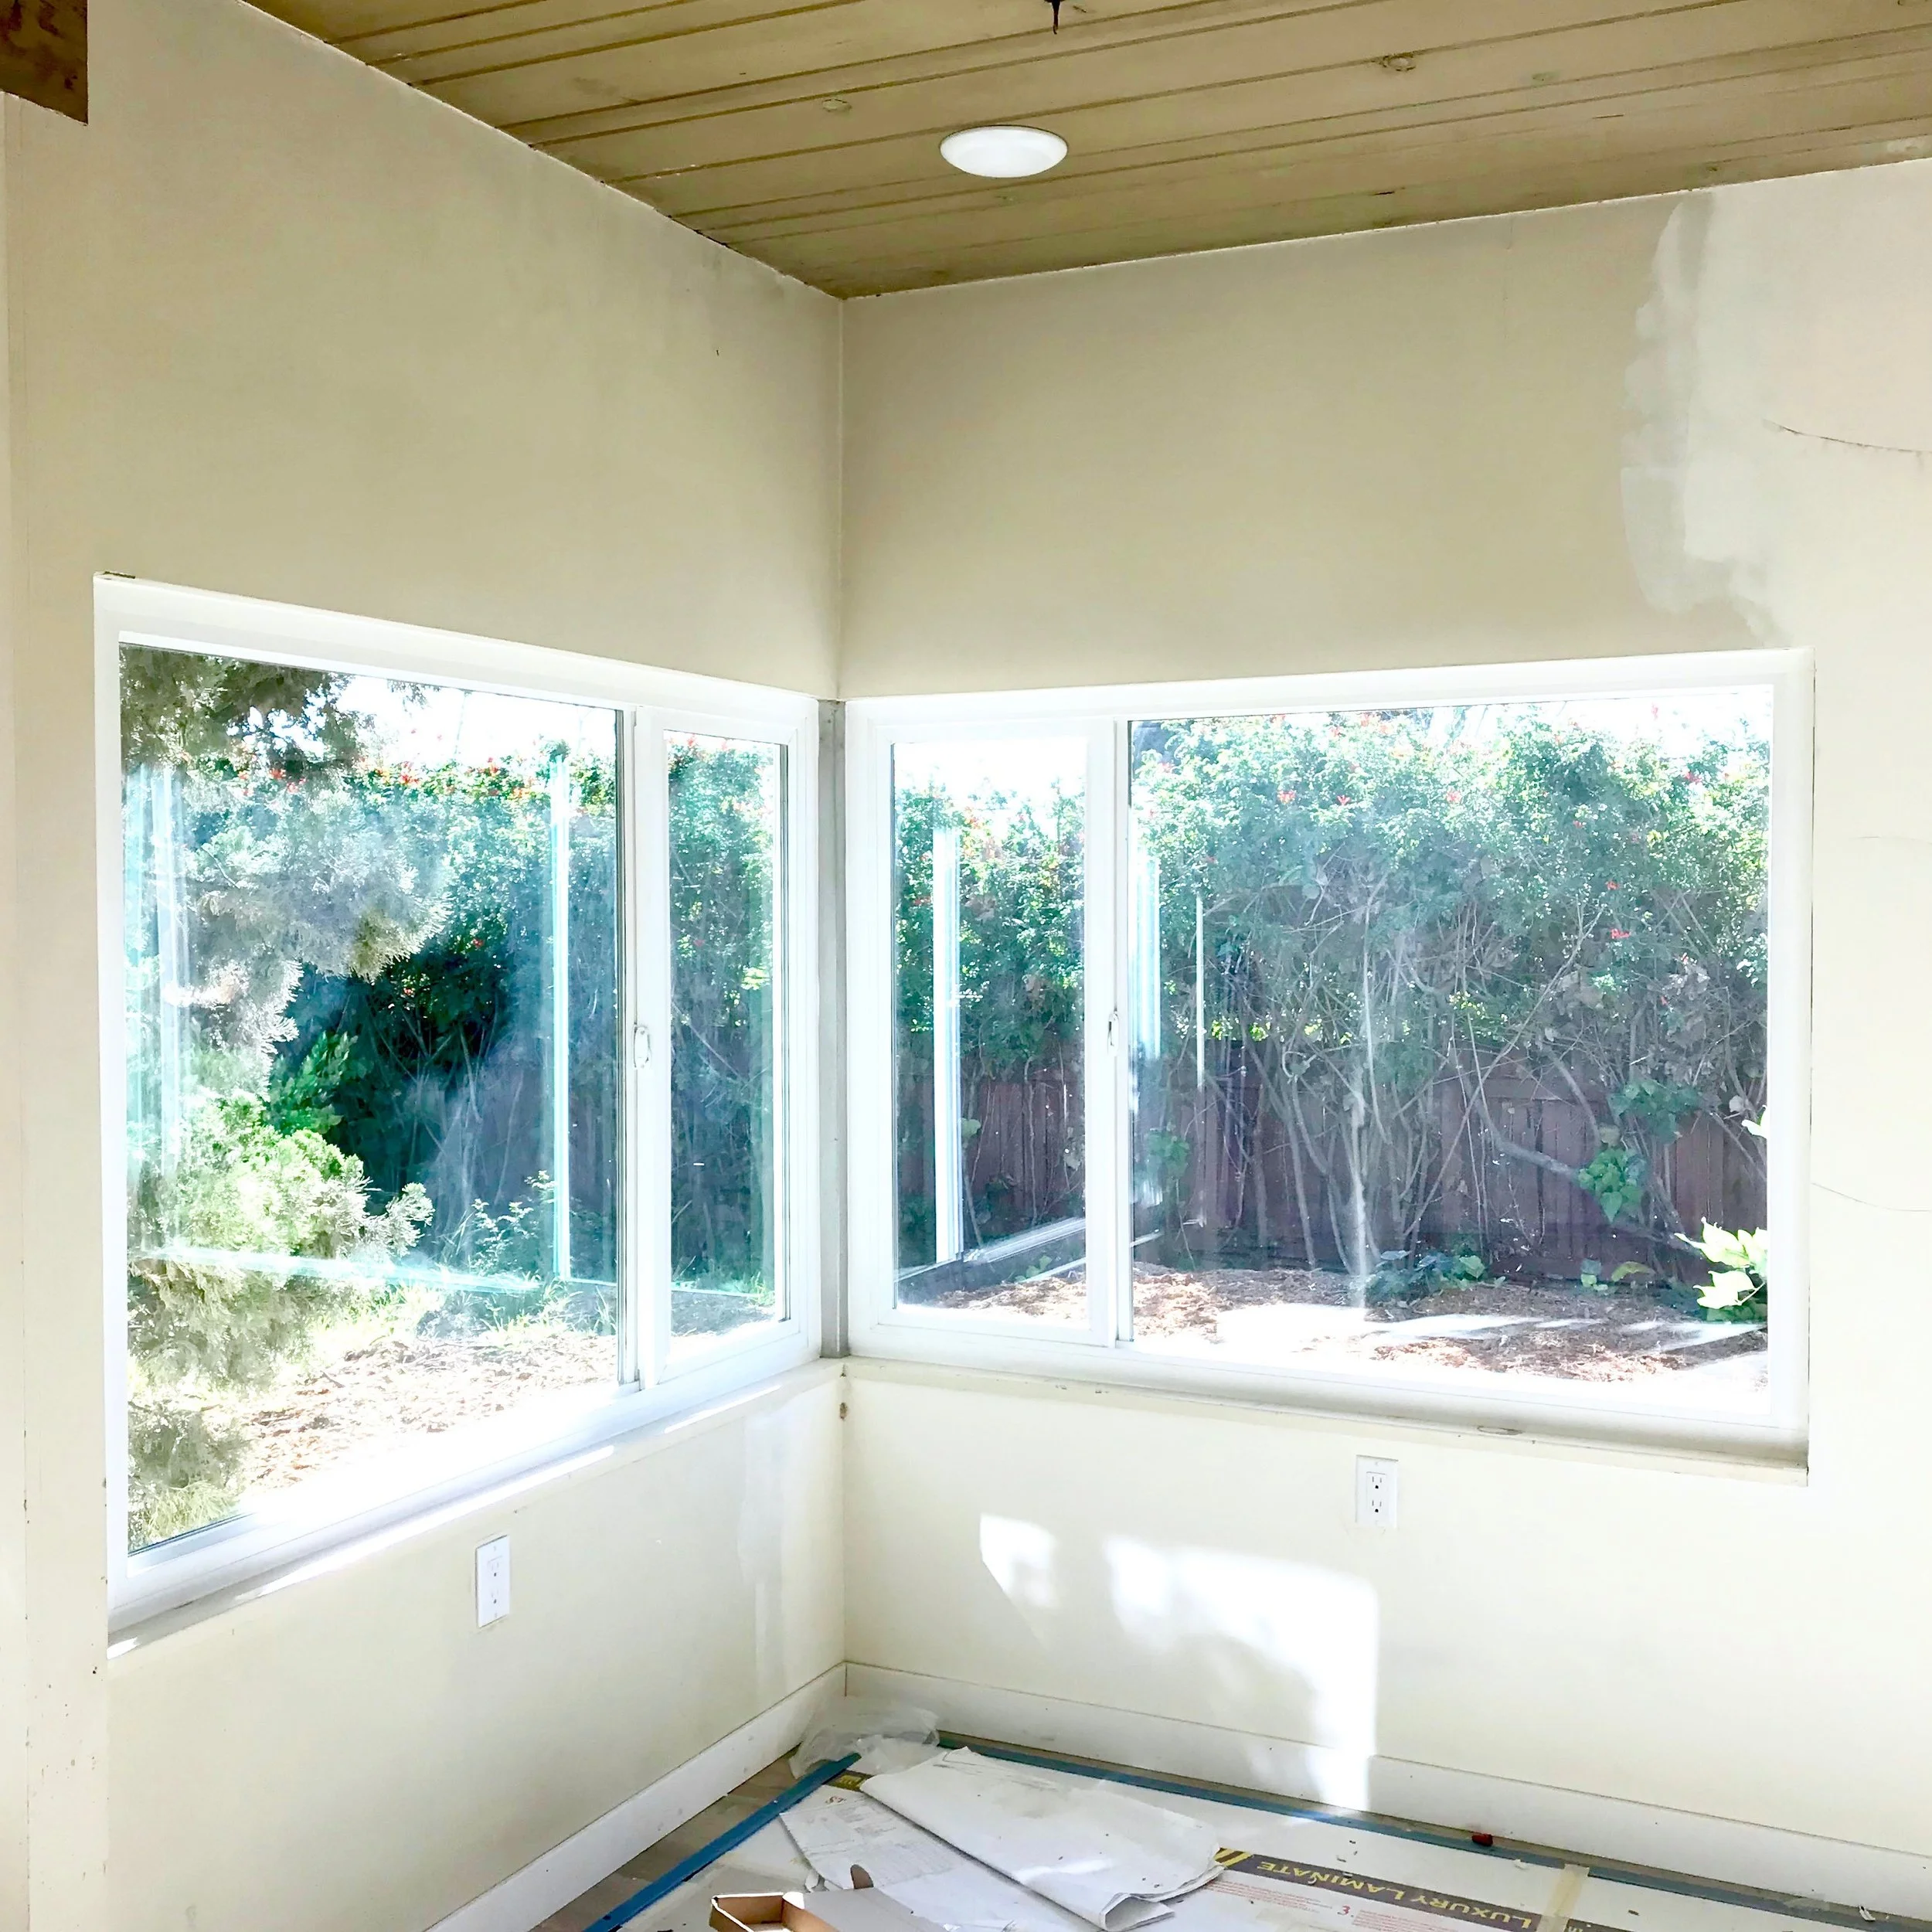
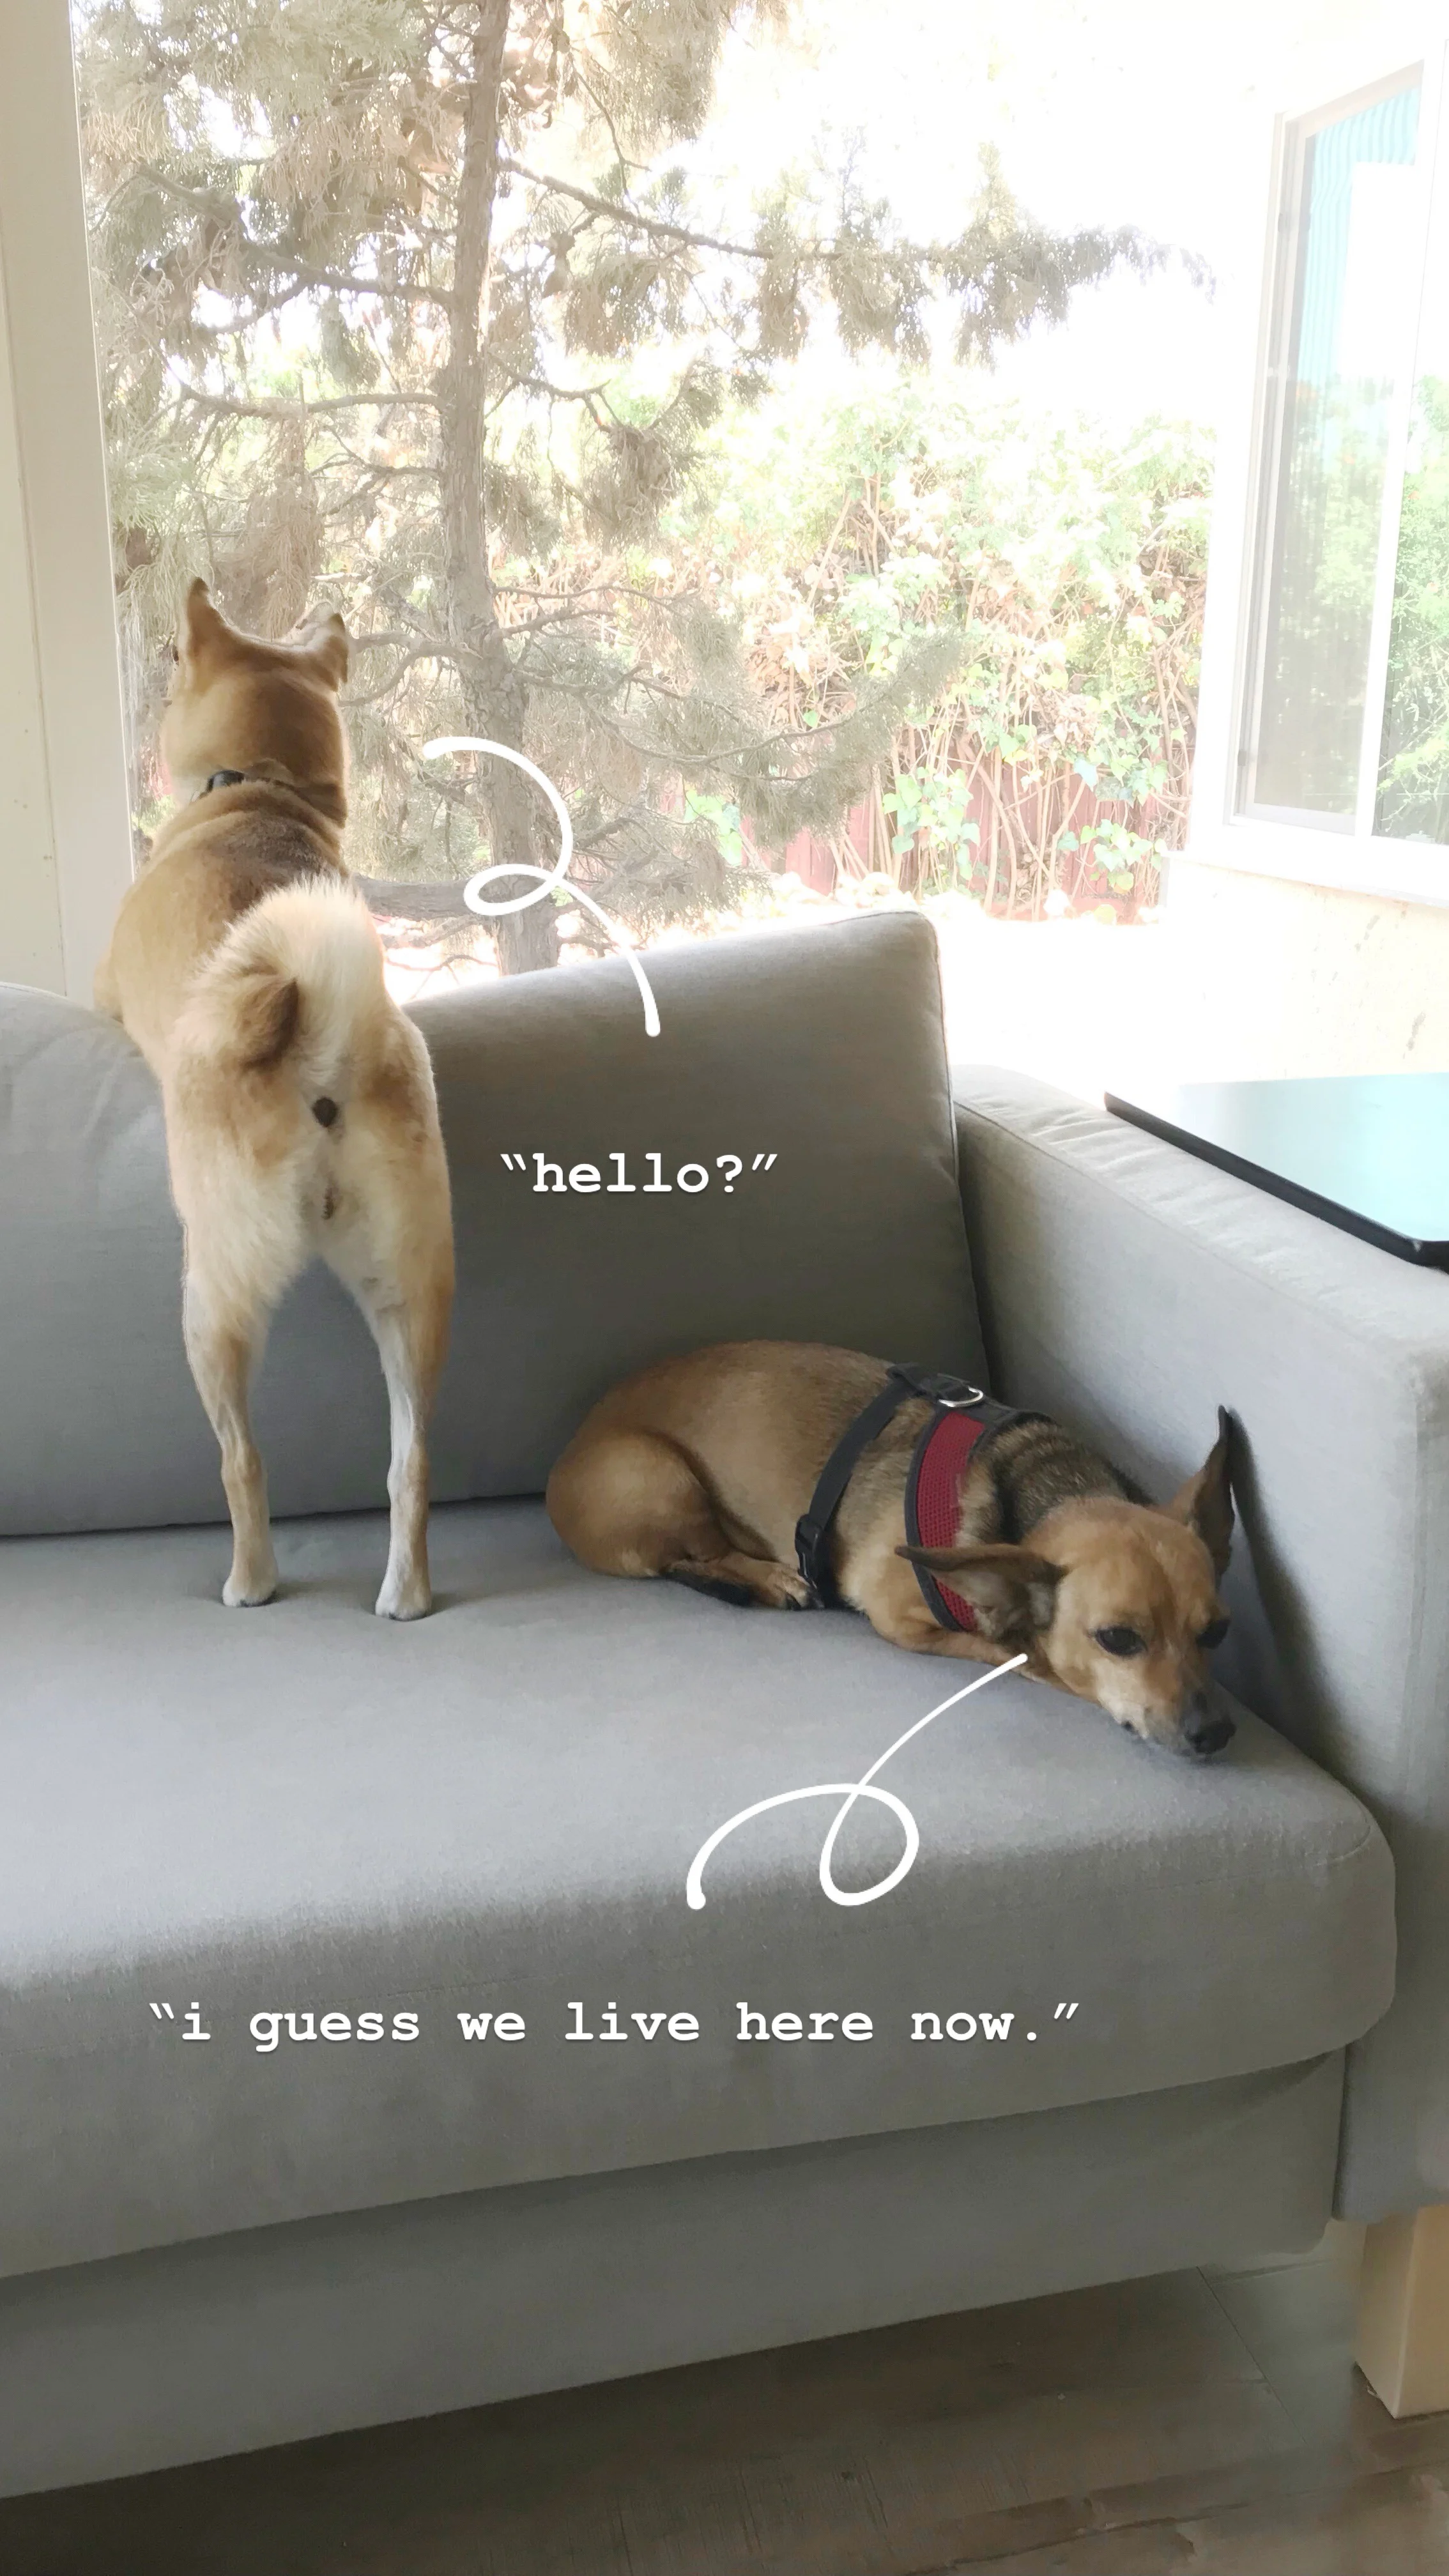
Then we went to Alex’s room to pack up the dogs and the suitcases we’ve been living out of for the past four weeks. The dogs were super excited to sniff our their new stomping grounds. The living room windows are the perfect height for them to poke their heads out and stare at the backyard. They were so excited to explore and sunbathe that neither of them napped all day. We set up a small fenced area for them along the patio and side of the house as a temporary dog run.

I used the heavy duty power vacuum to clean up all the lingering dirt and debris. Then Alex’s mom helped us wipe the floors down so we could bring in our furniture and things from the garage. Everything has collected dust in the past month so we’ll be vacuuming and wiping things down again and again for a while.

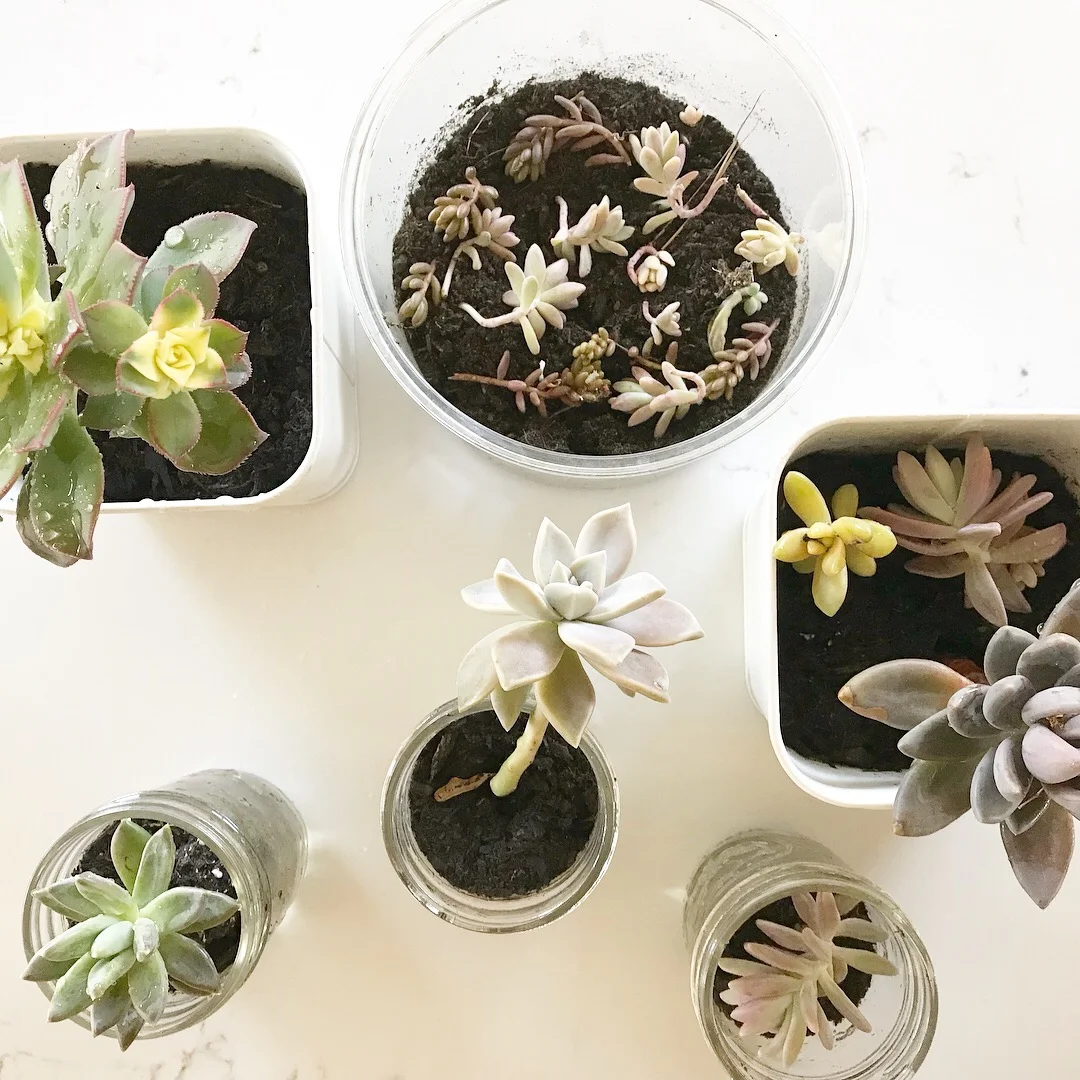
I tended to some of my succulents that got neglected and sunburnt in the backyard. Then we set up our bed, TV, kitchen stools, and couch before heading to Costco for dinner. Alex’s family has a tradition of eating pizza on the first night in a new house, so we gladly kept the tradition alive. By then, we were so exhausted and decided to treat ourselves with Yogurtland right around the corner.

It was the best night of sleep we’ve gotten all month. After all the stress and worry, it feels so good to finally be able to come home. This is probably how most people feel when they buy a house. But like I mentioned in my last post, we were so overwhelmed by all the work ahead of us that there was no time to celebrate. We were tempted to open the bottle of champagne that our real estate agent had given us along with our keys back in December, but we were (and still are) too tired. We’ll save it until we’re ready to have guests over. :)

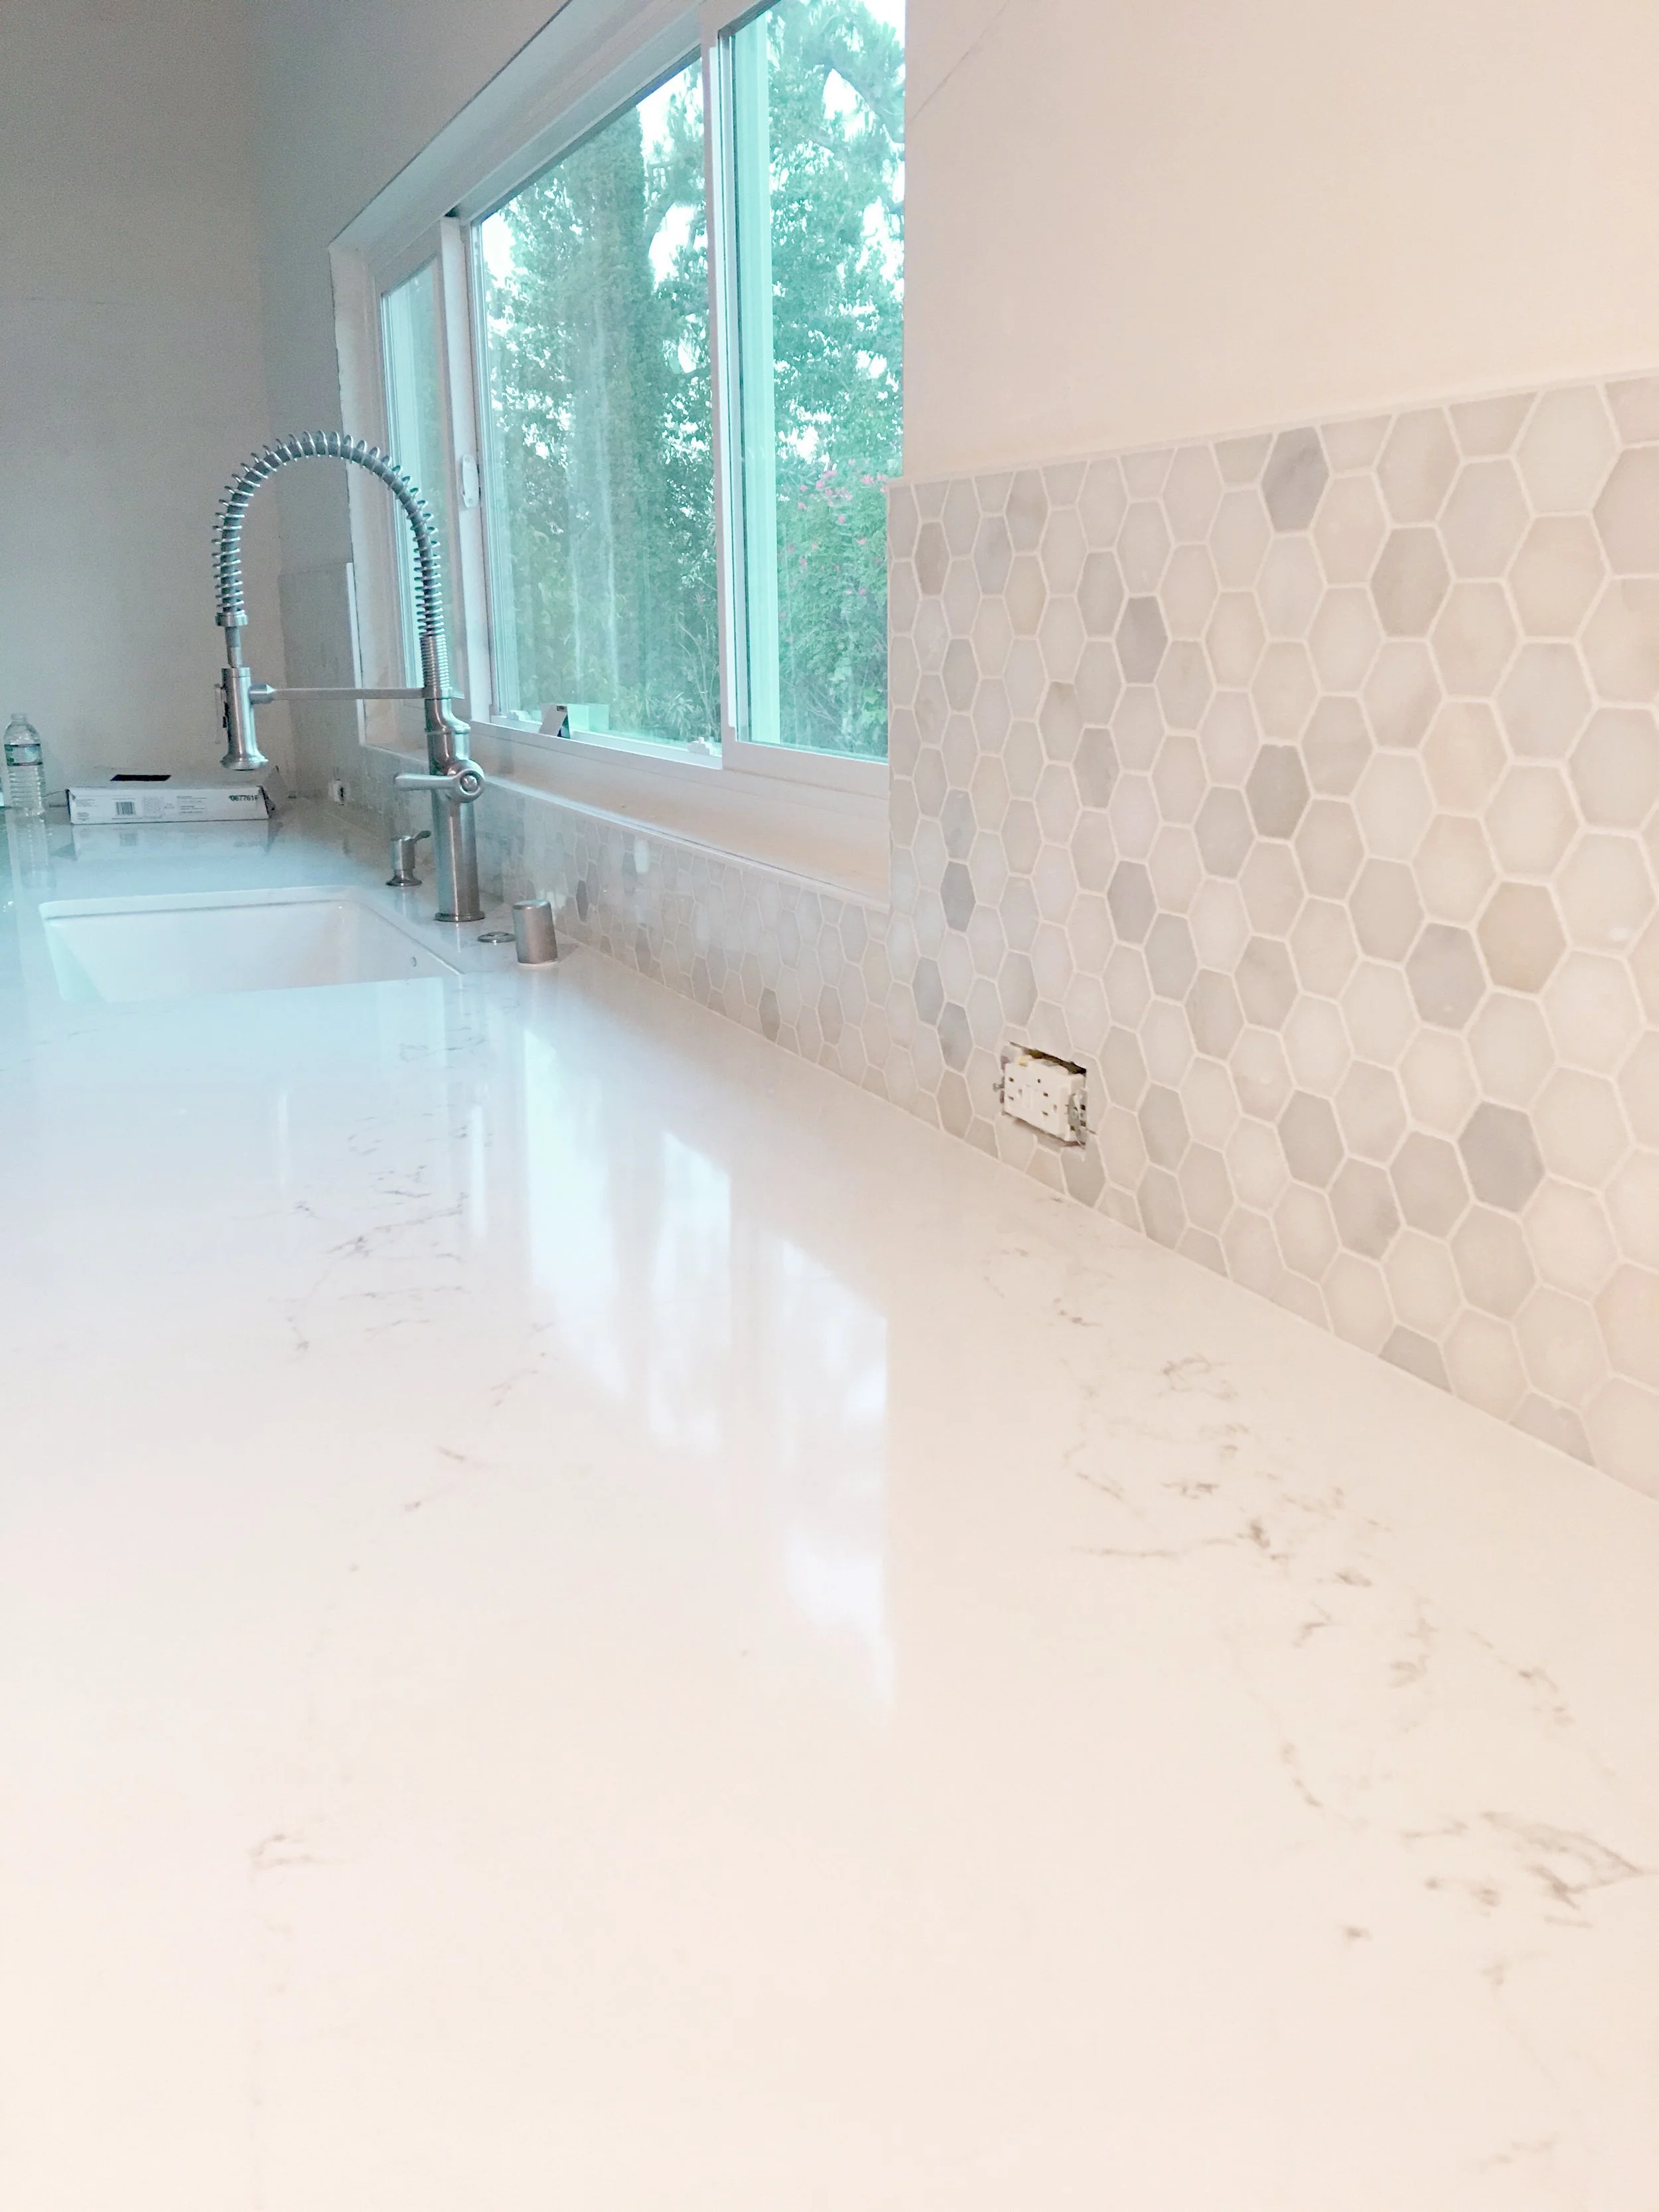
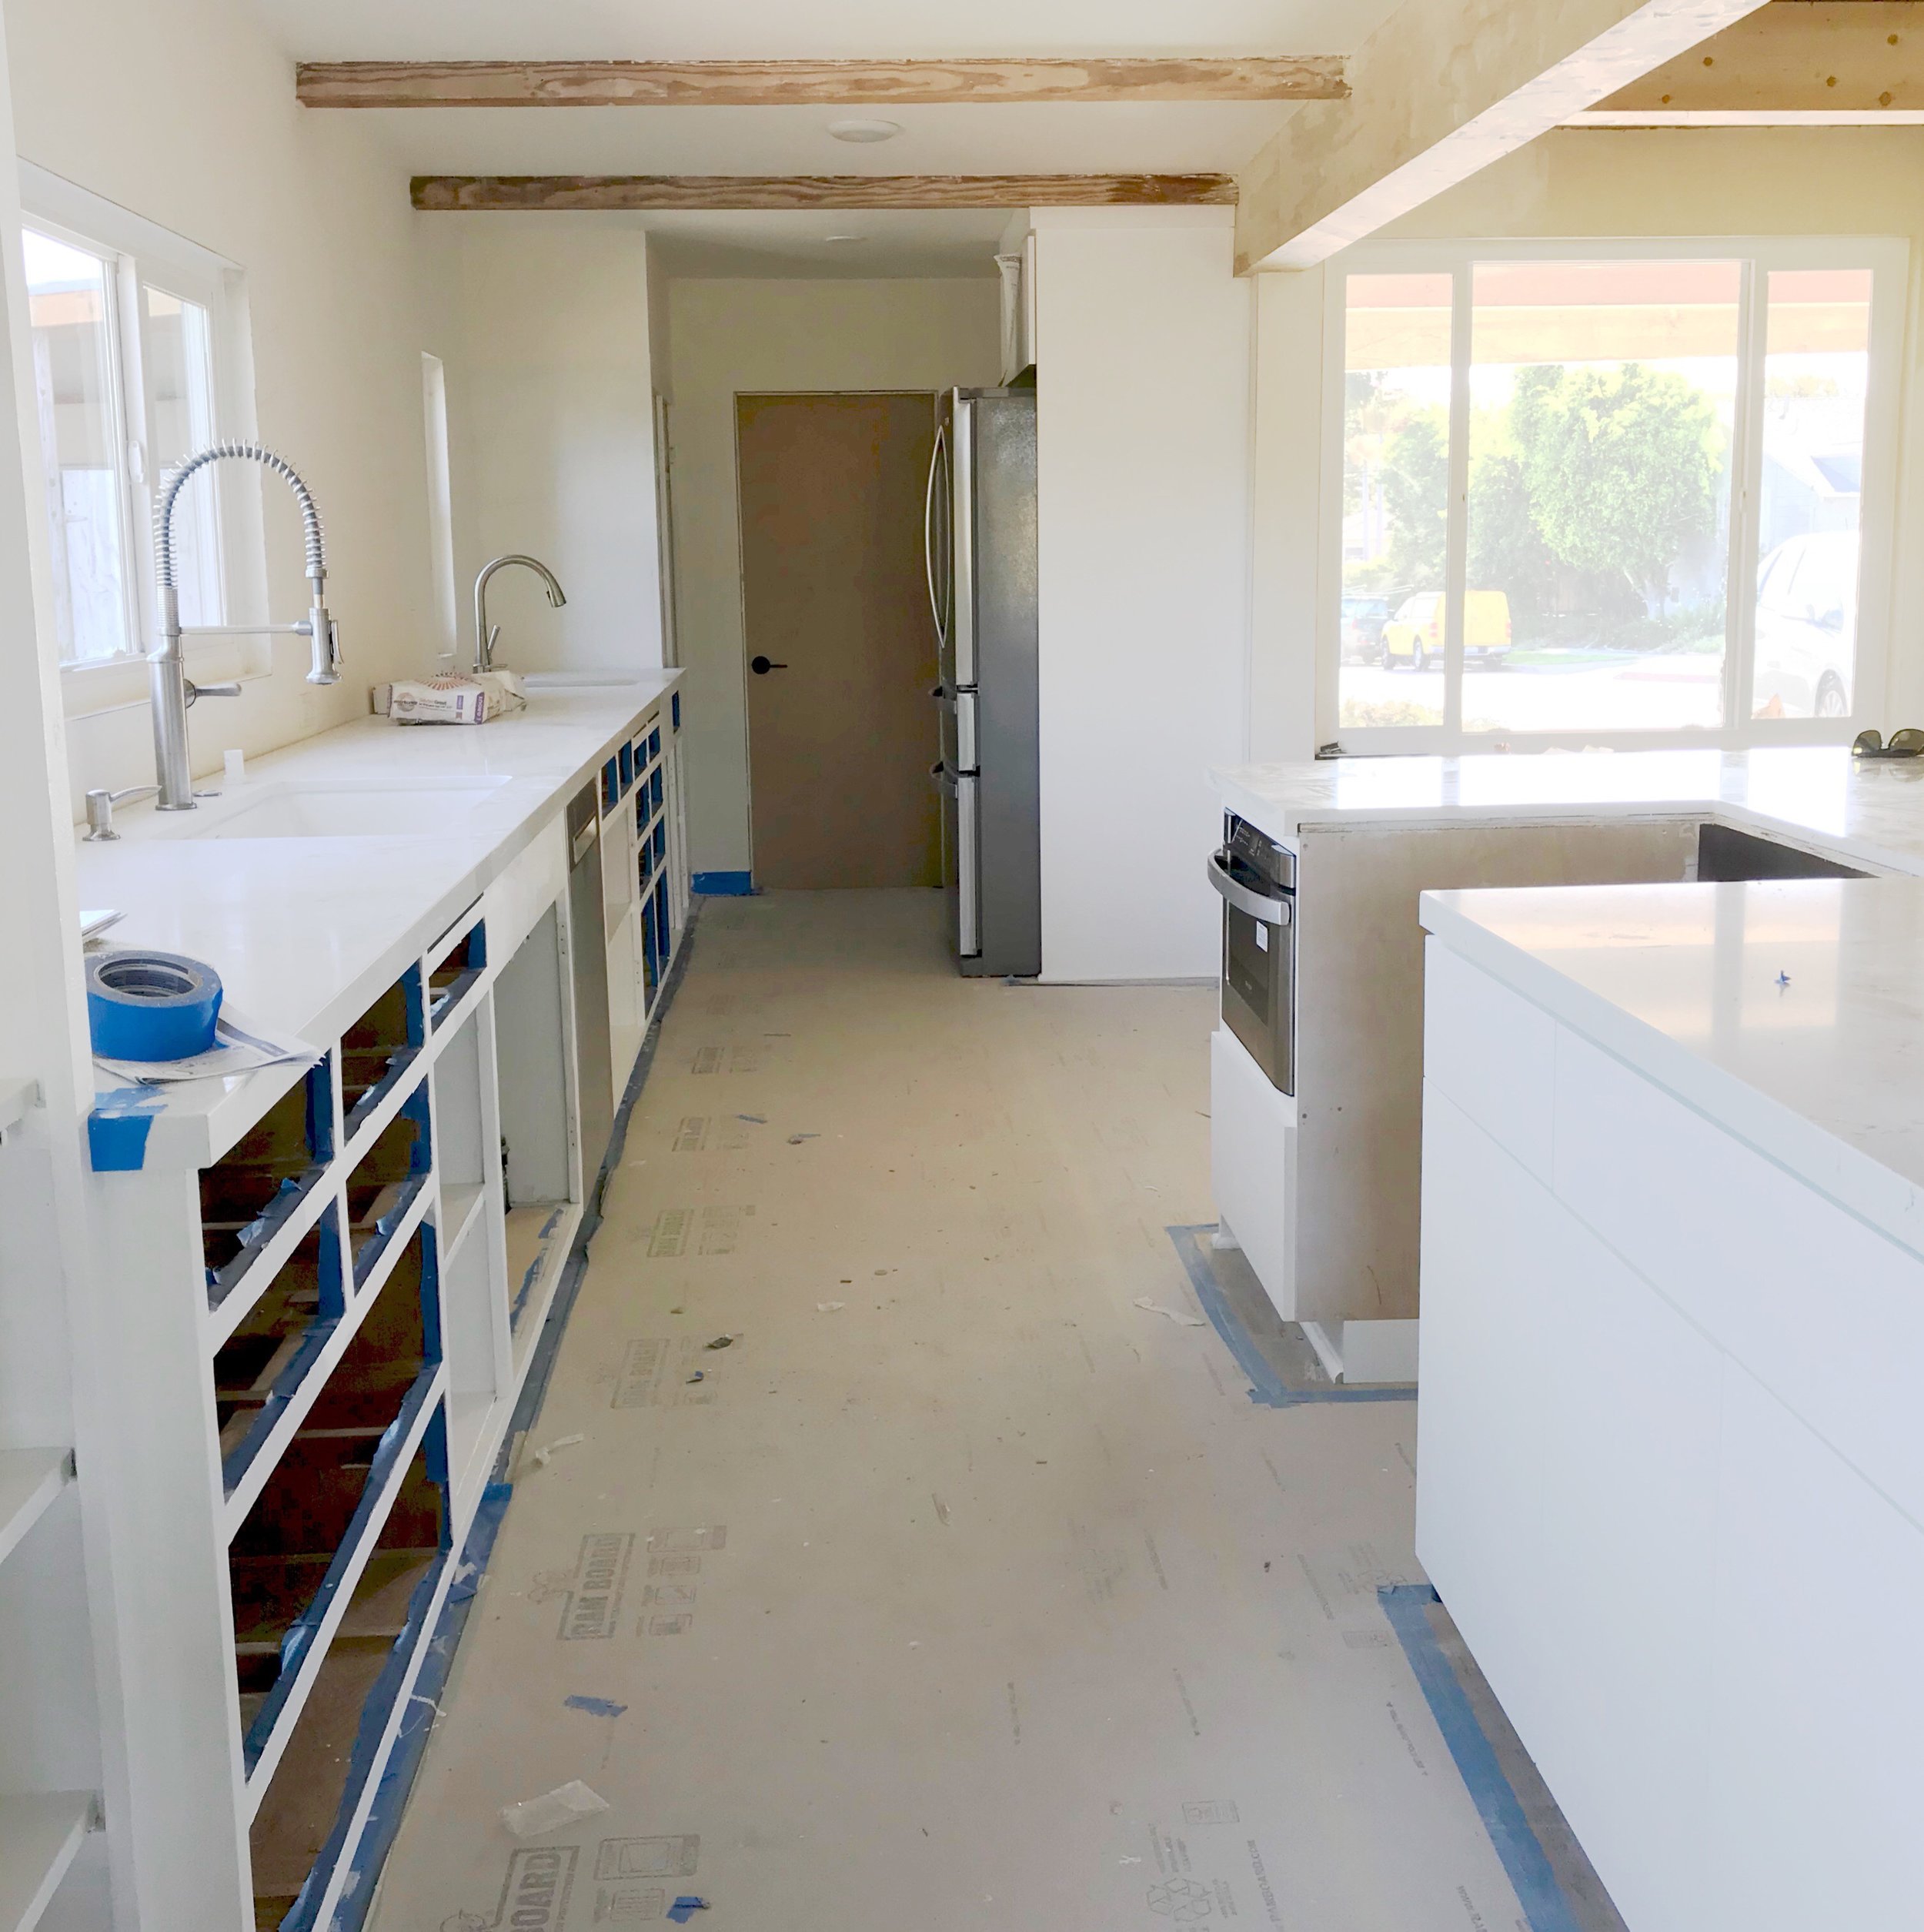
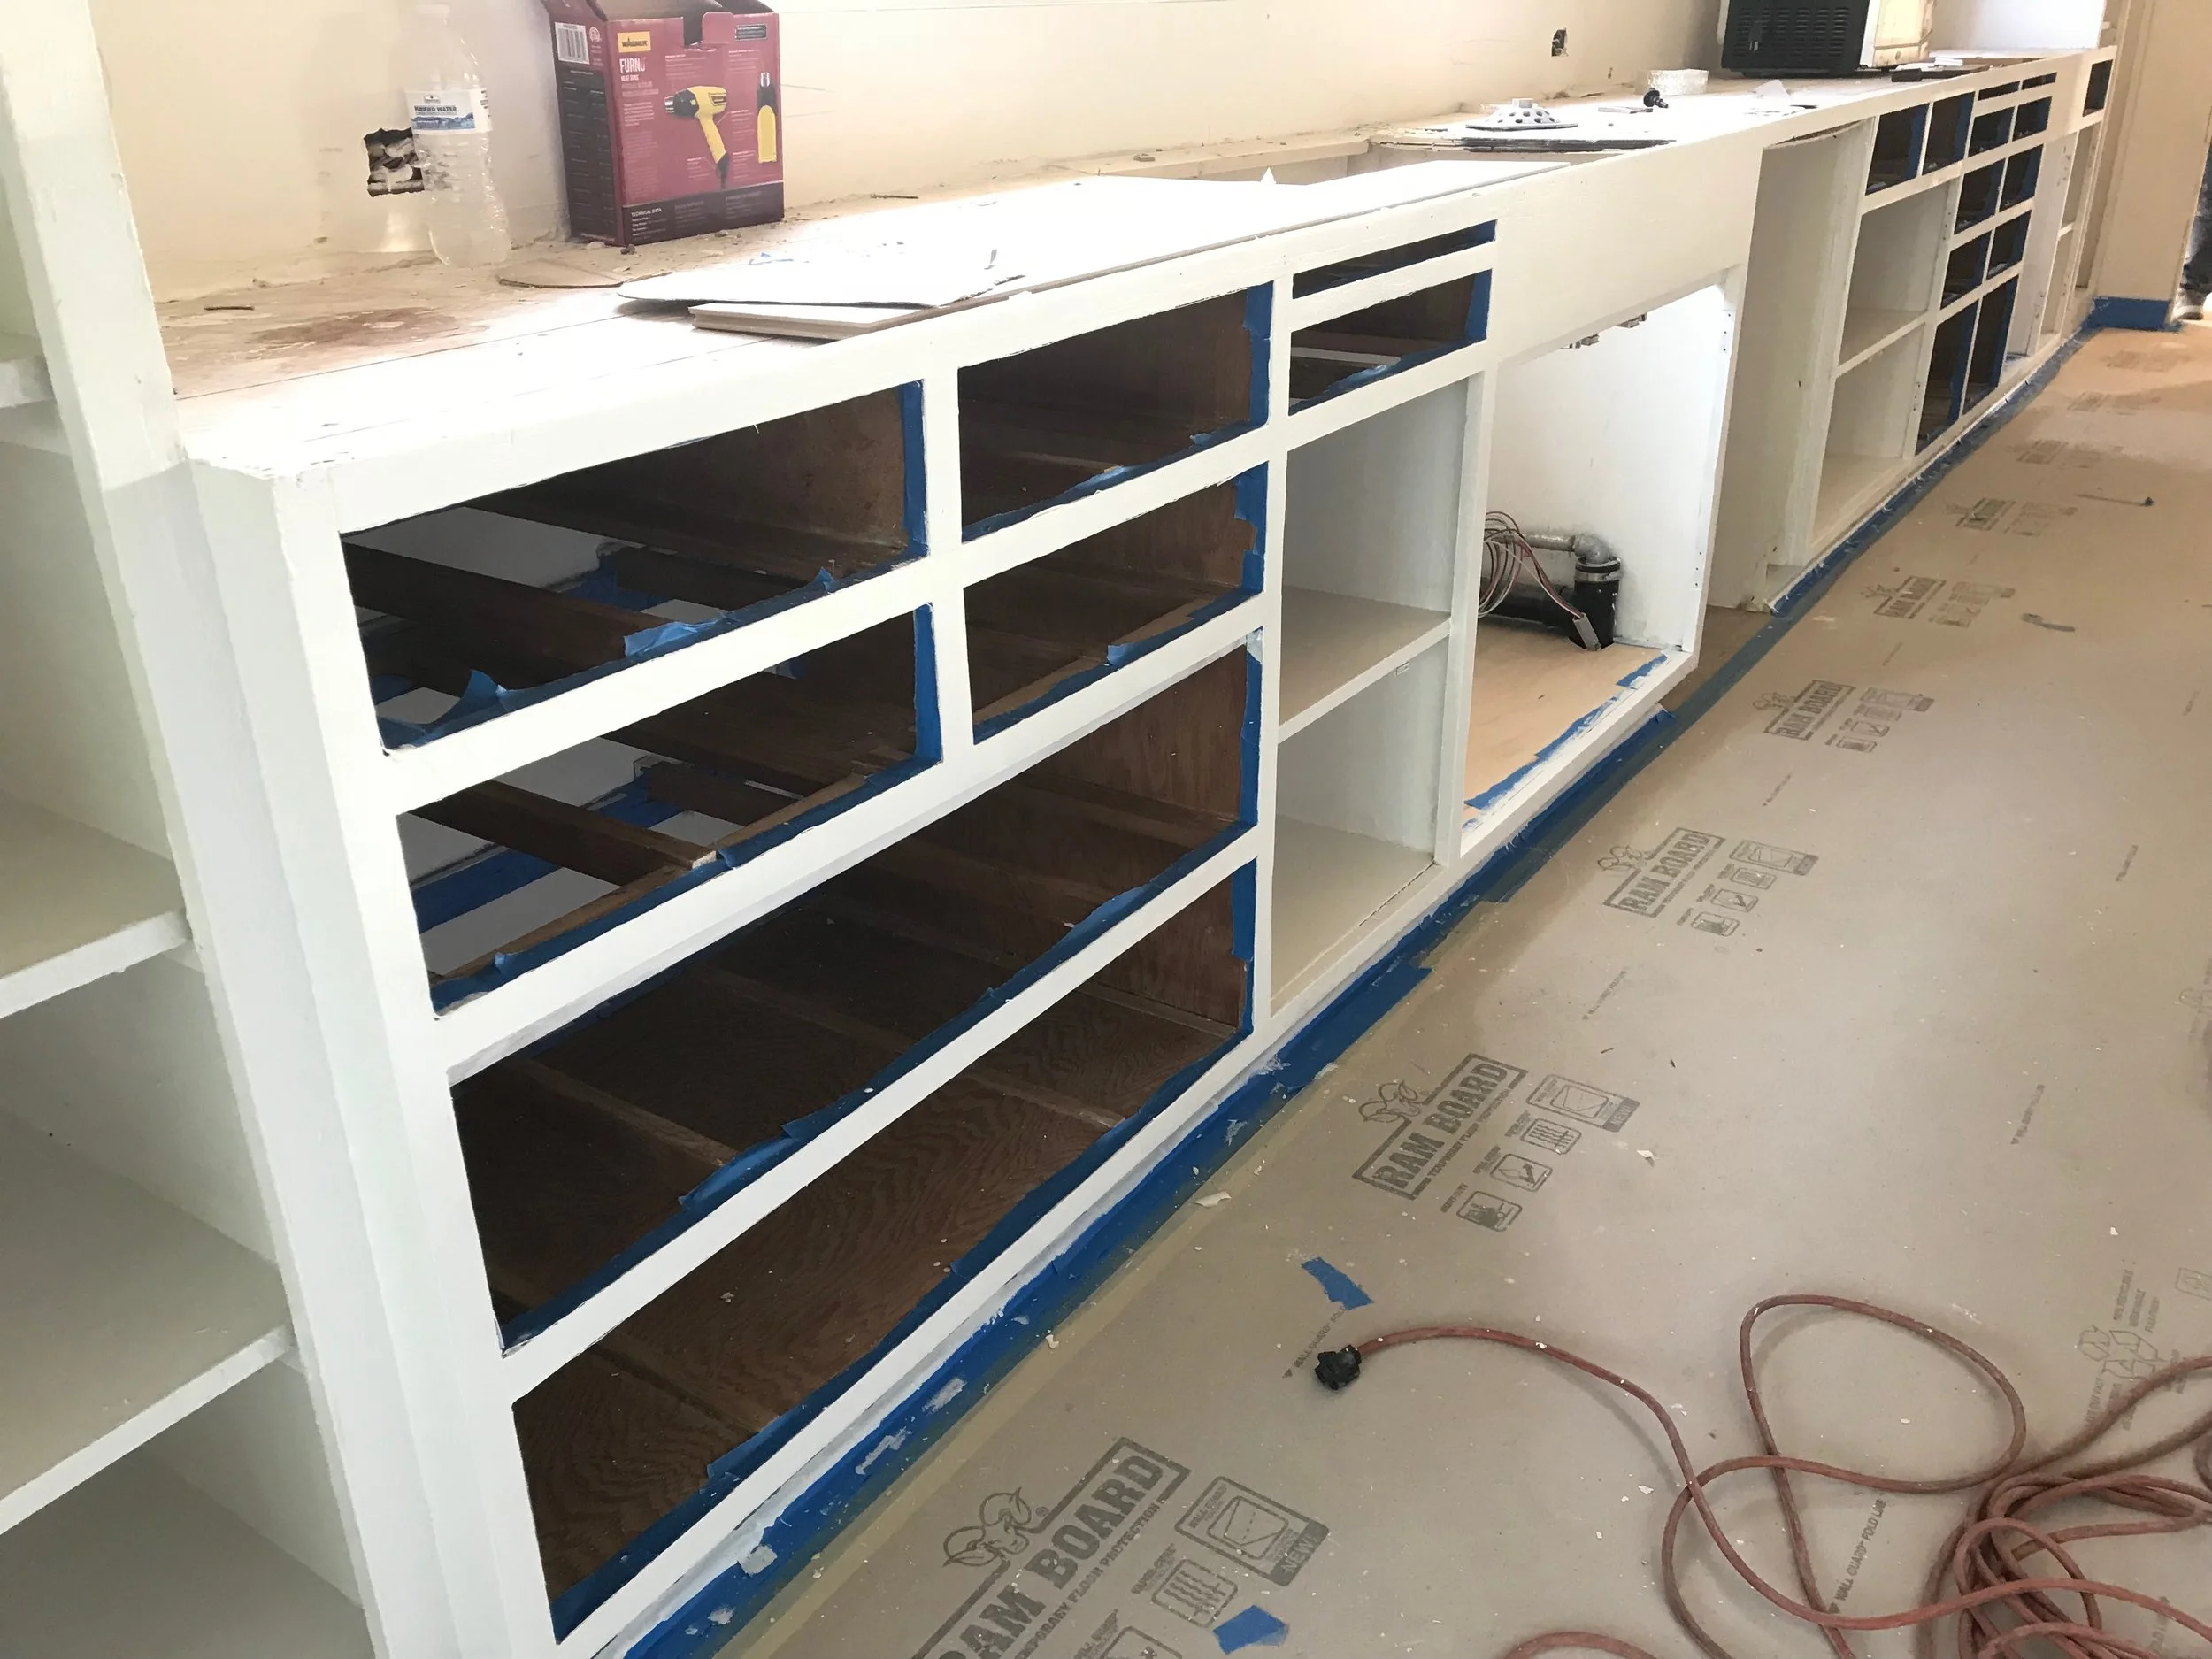
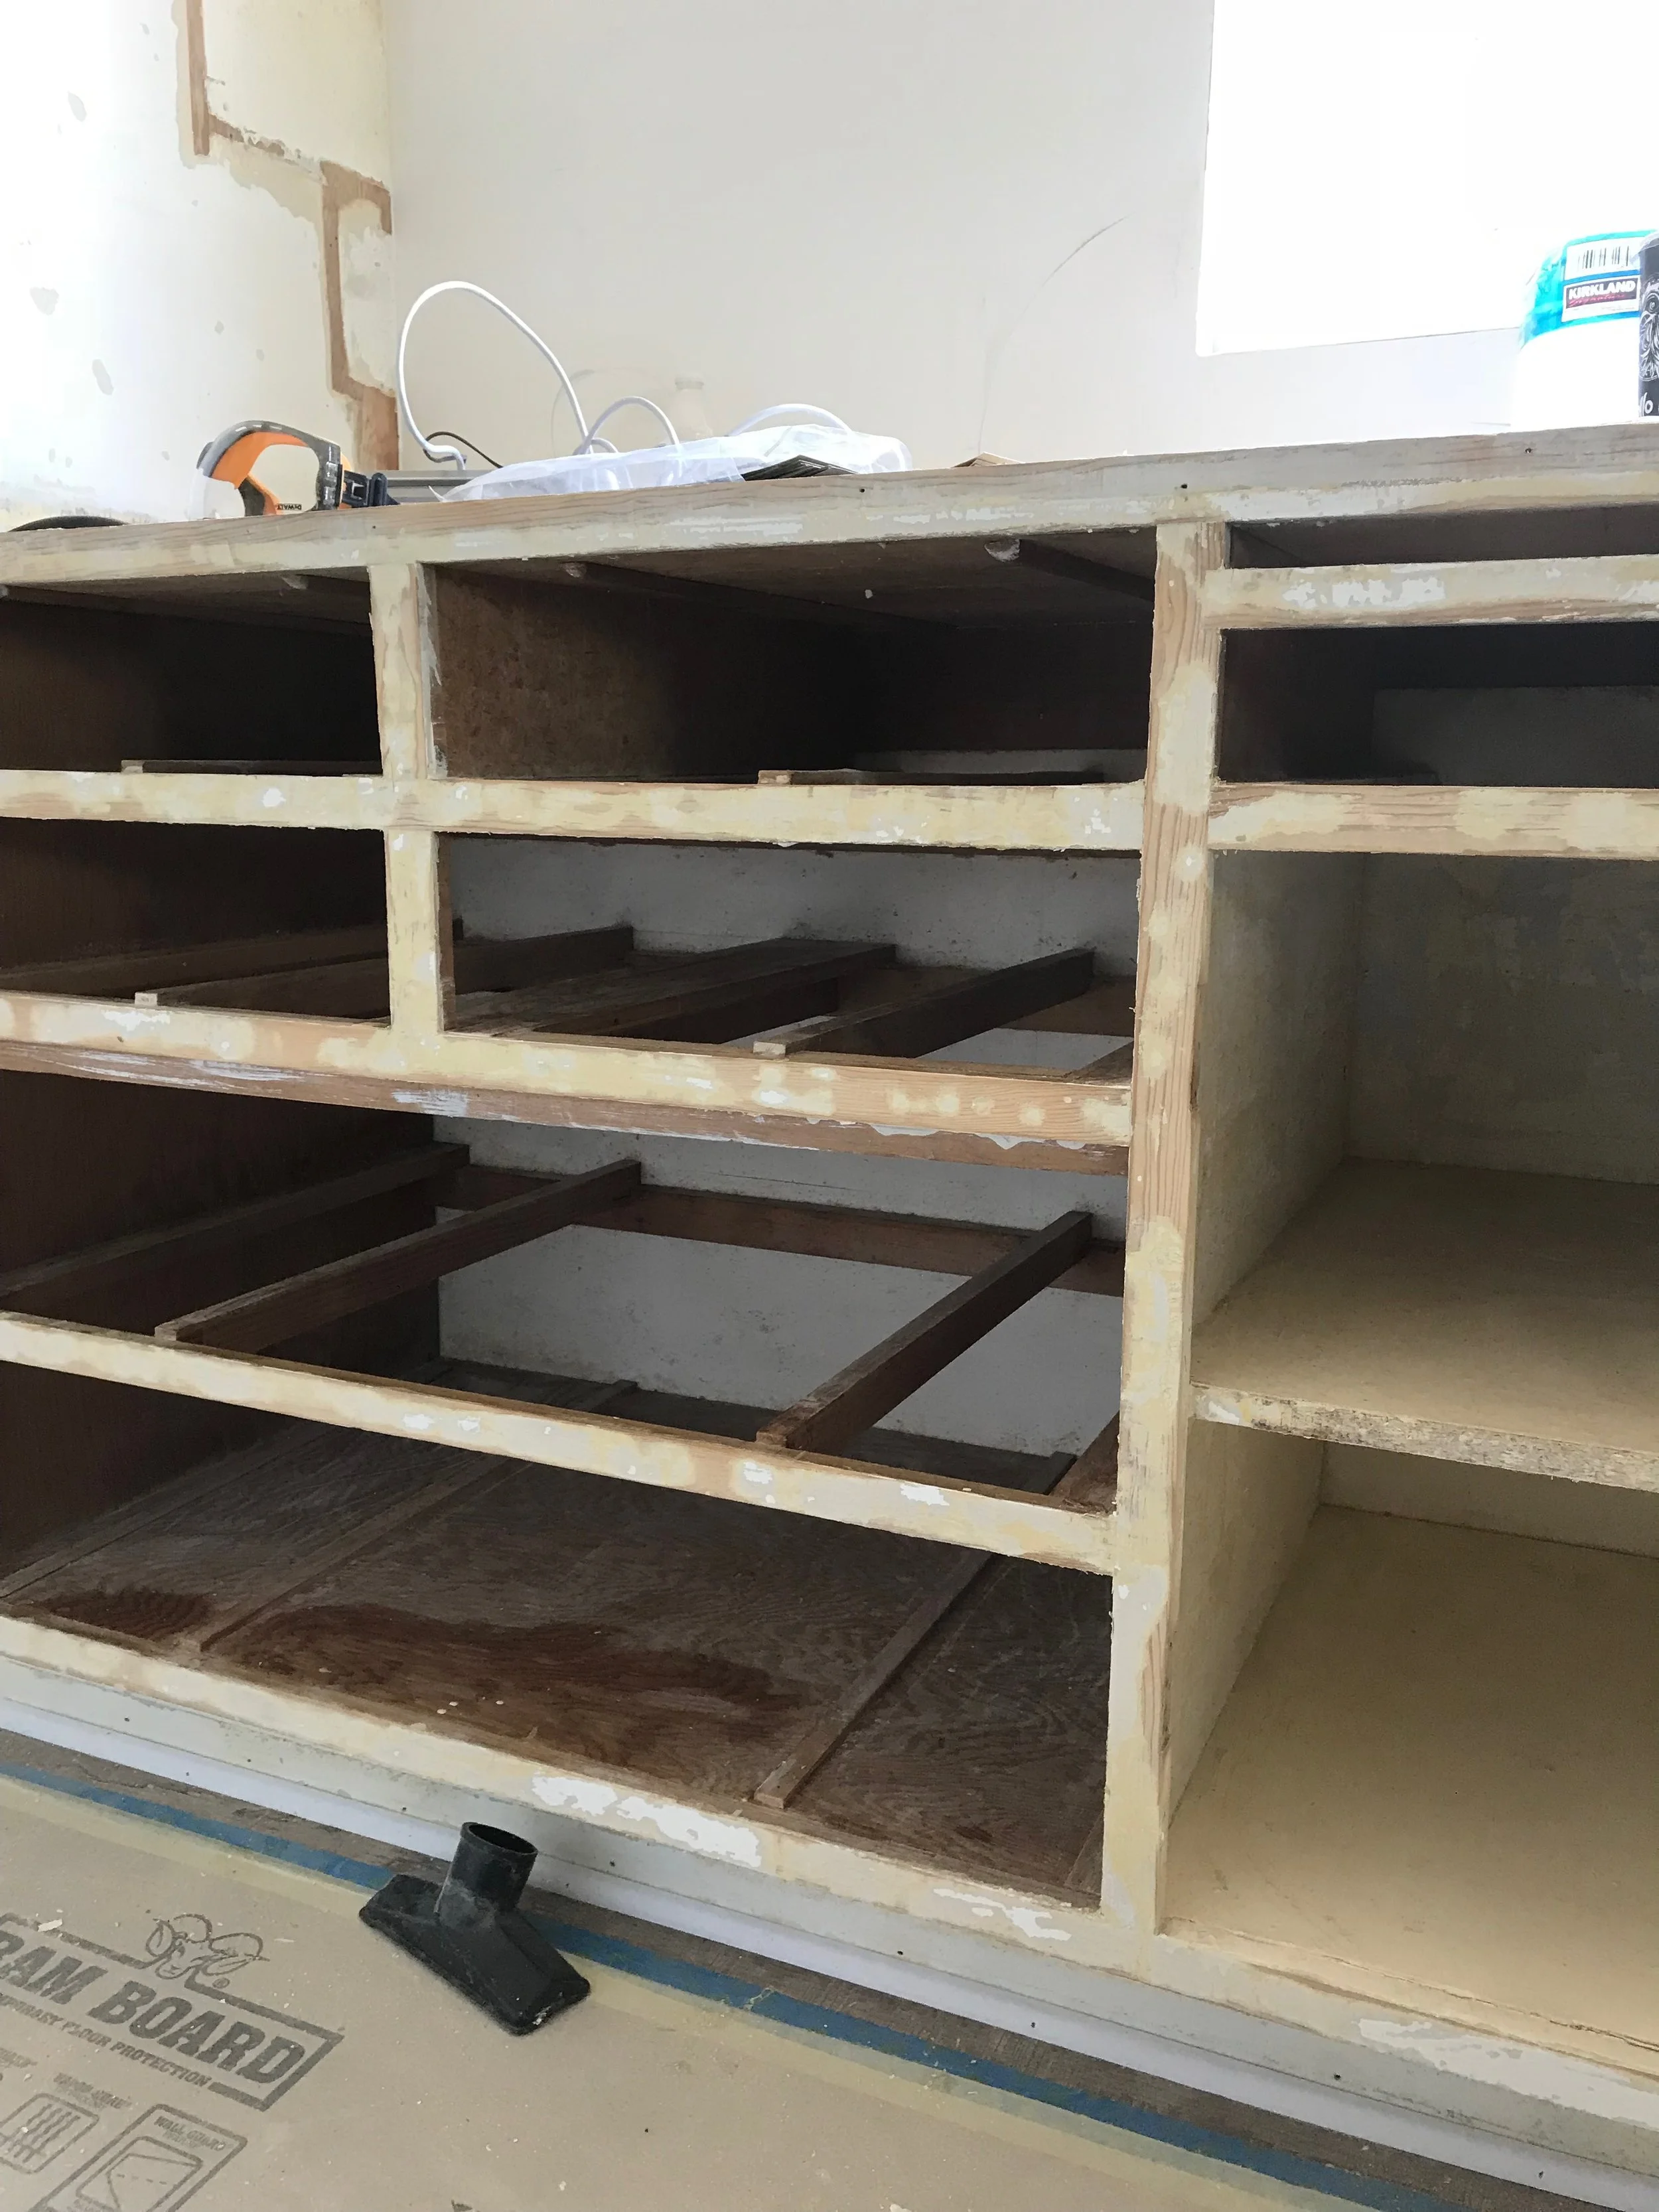
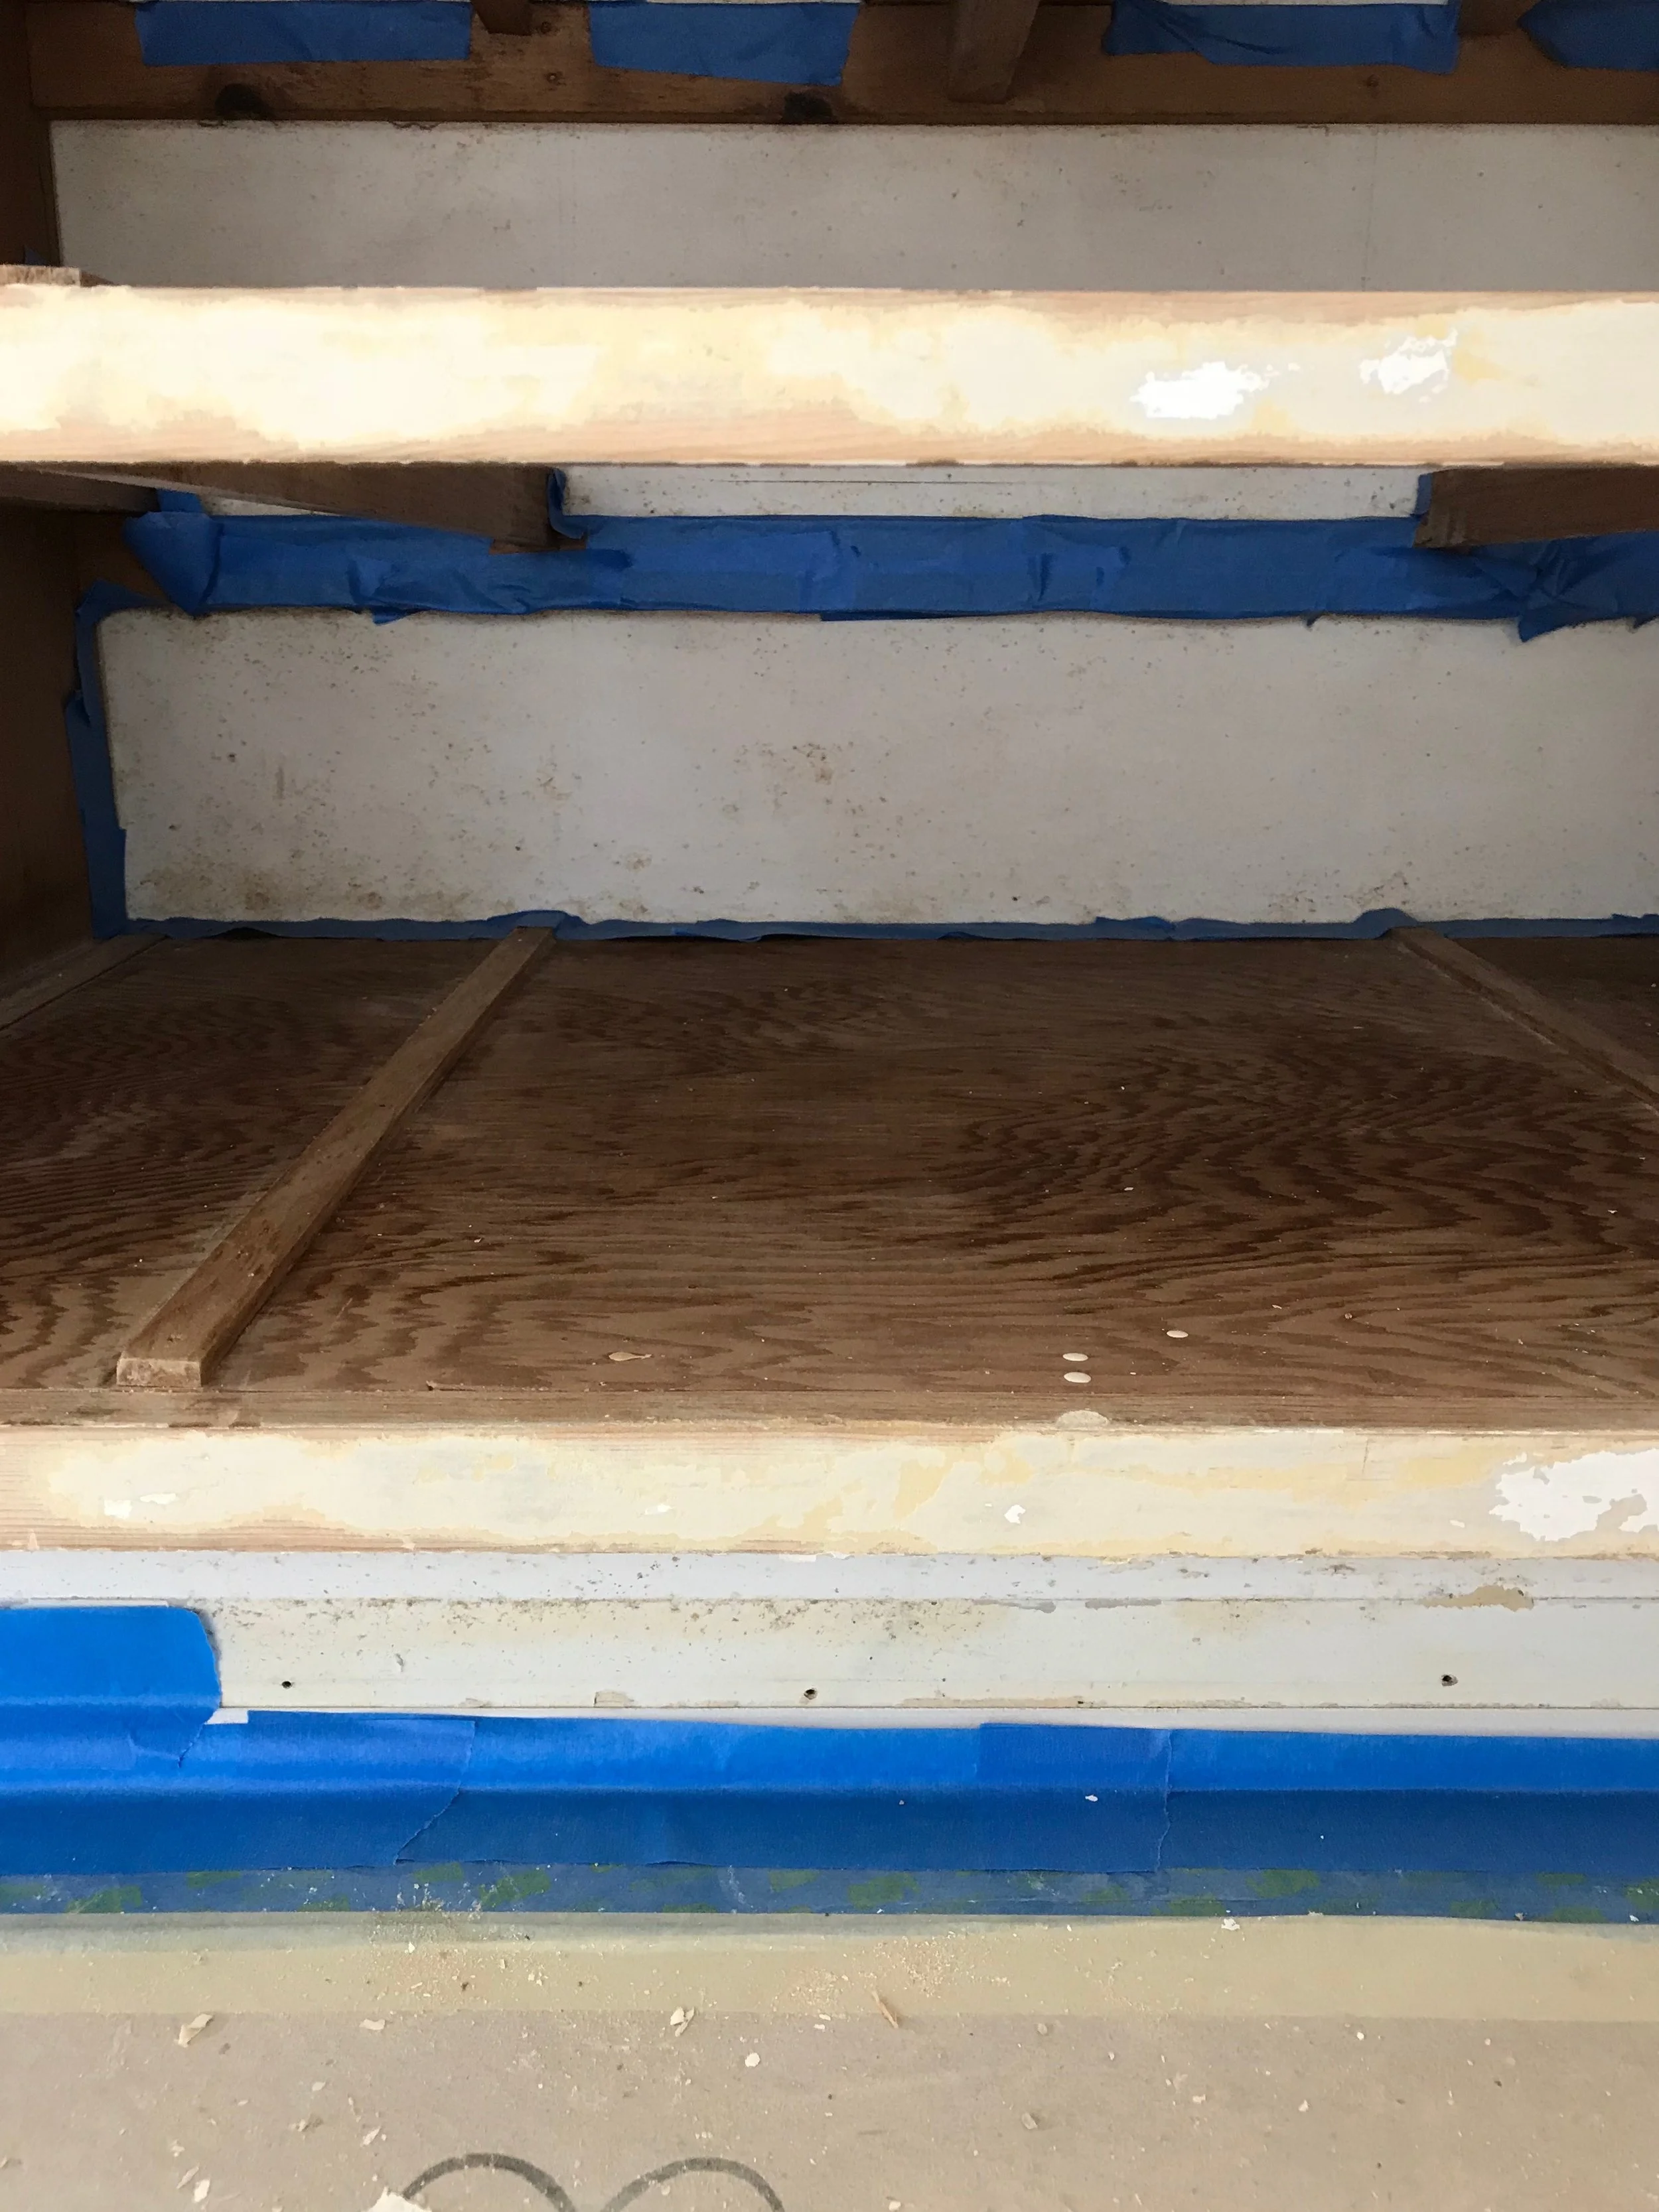
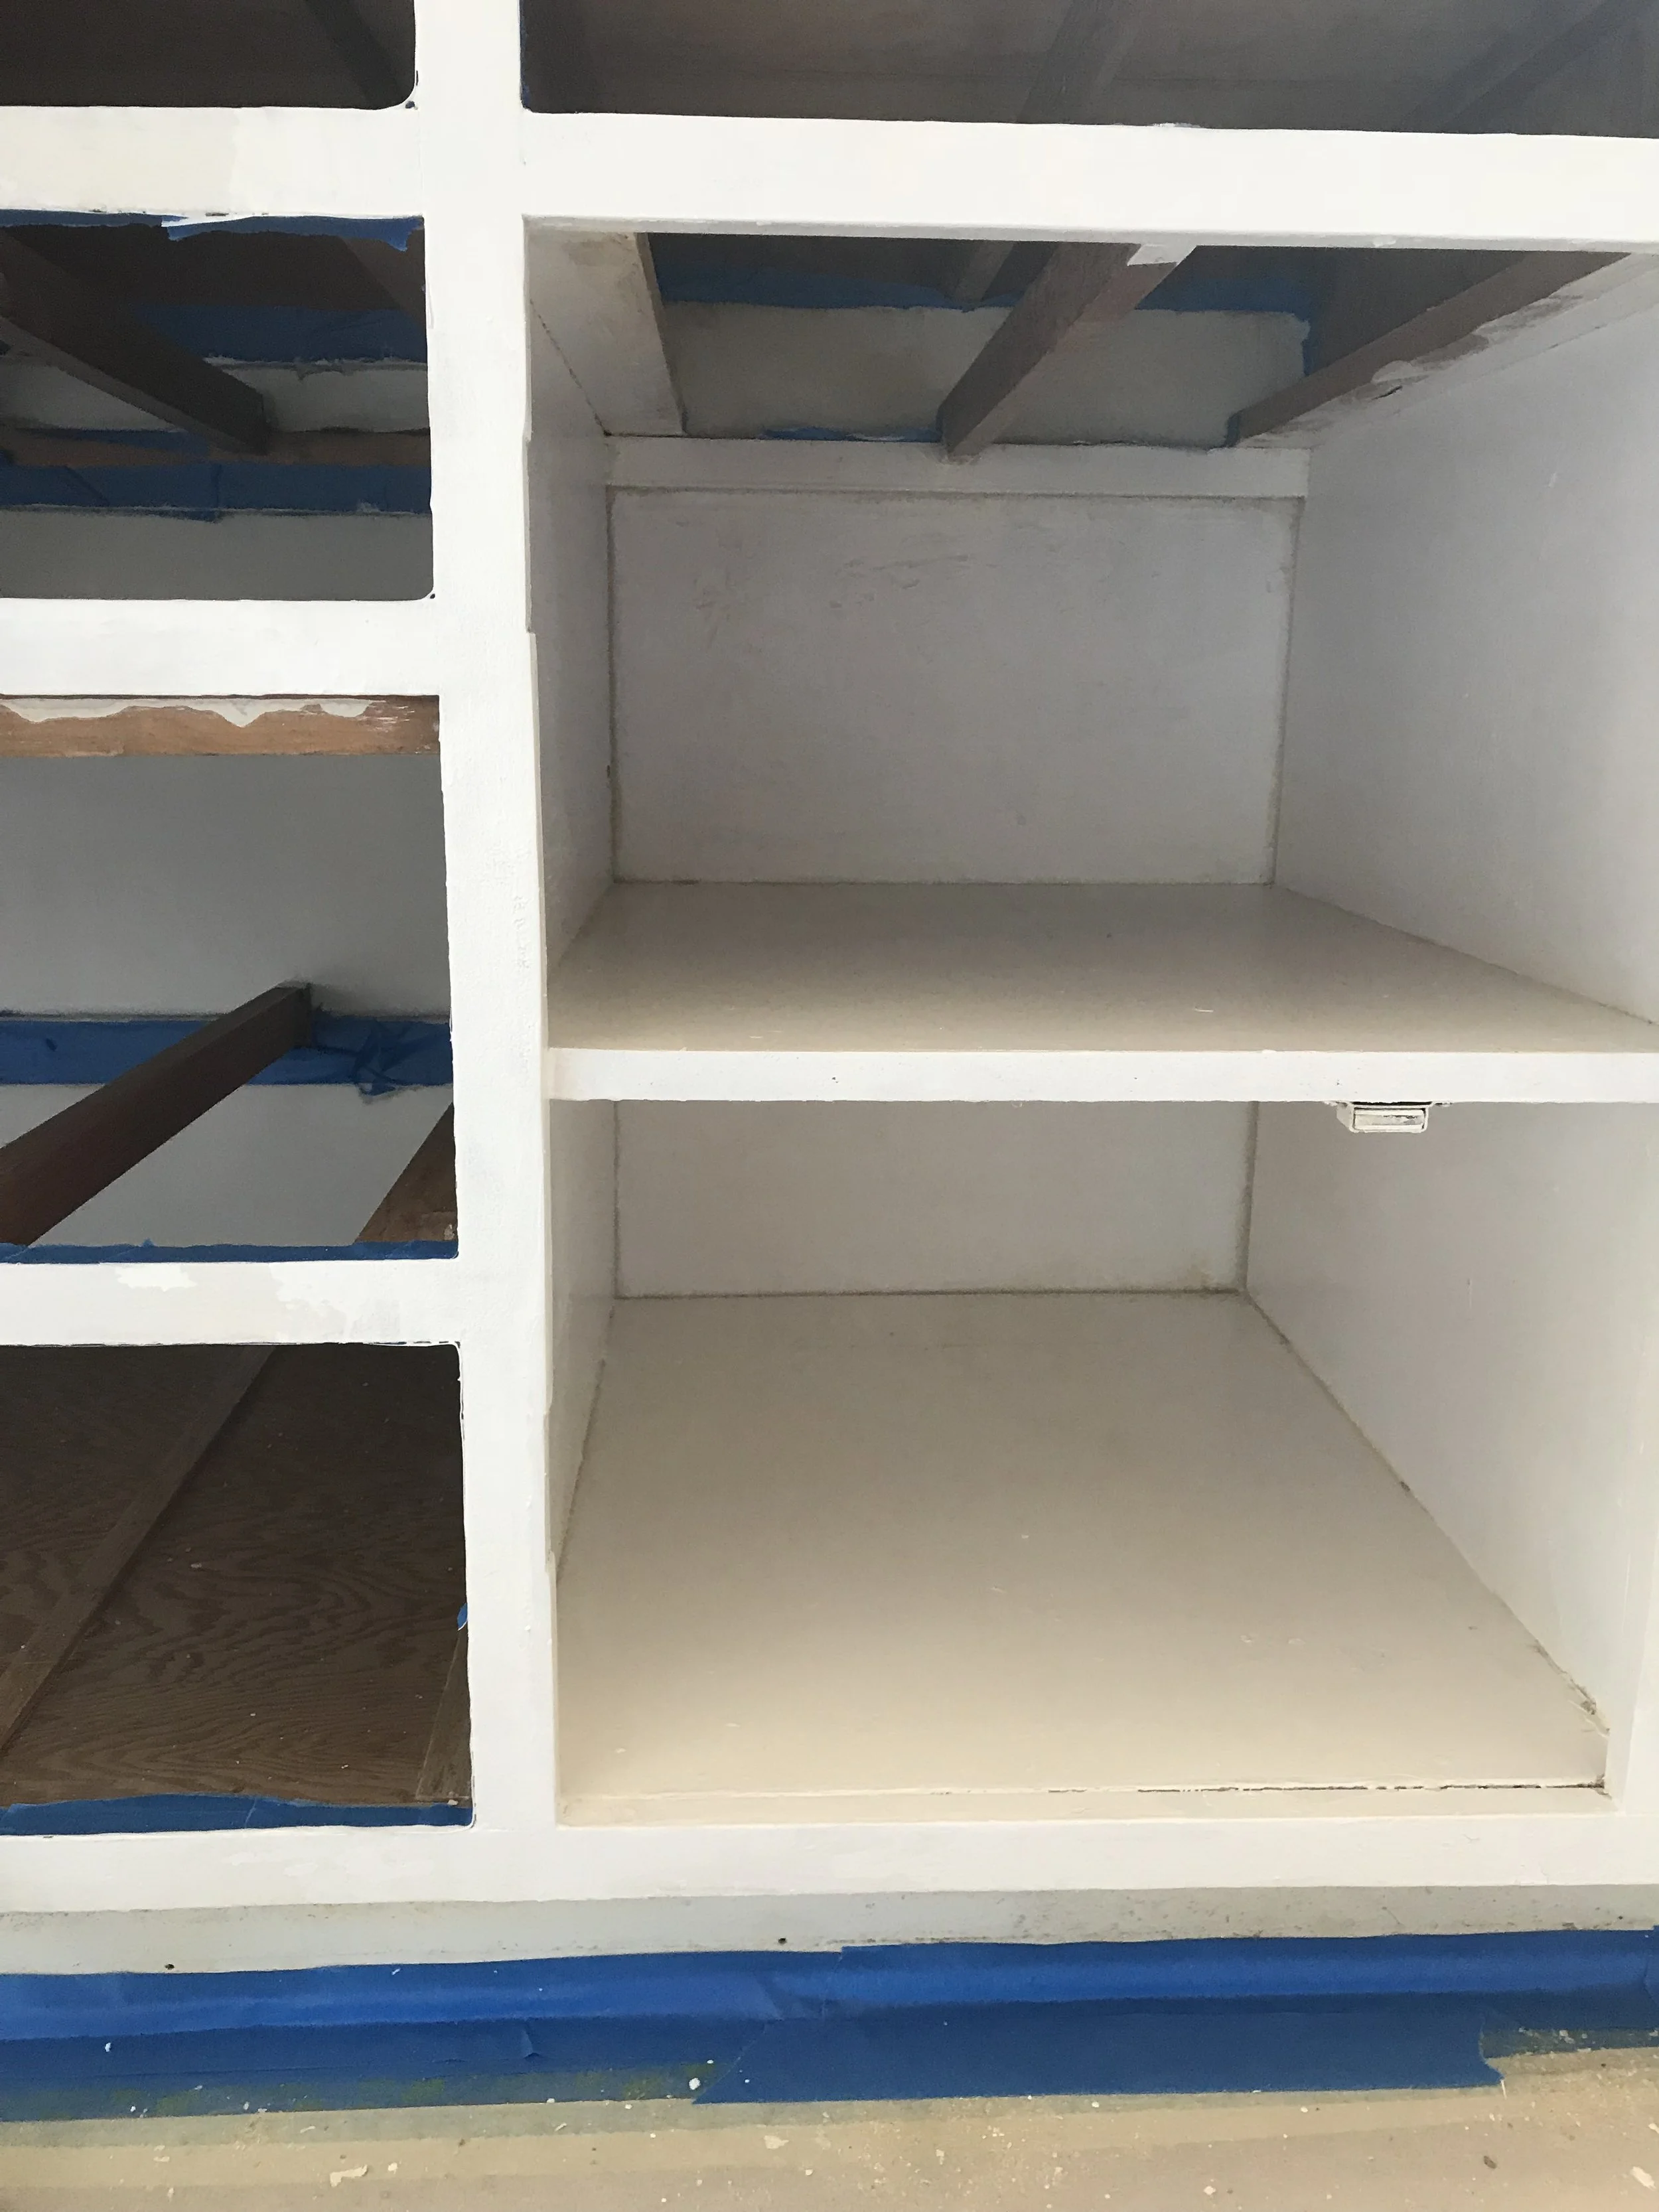
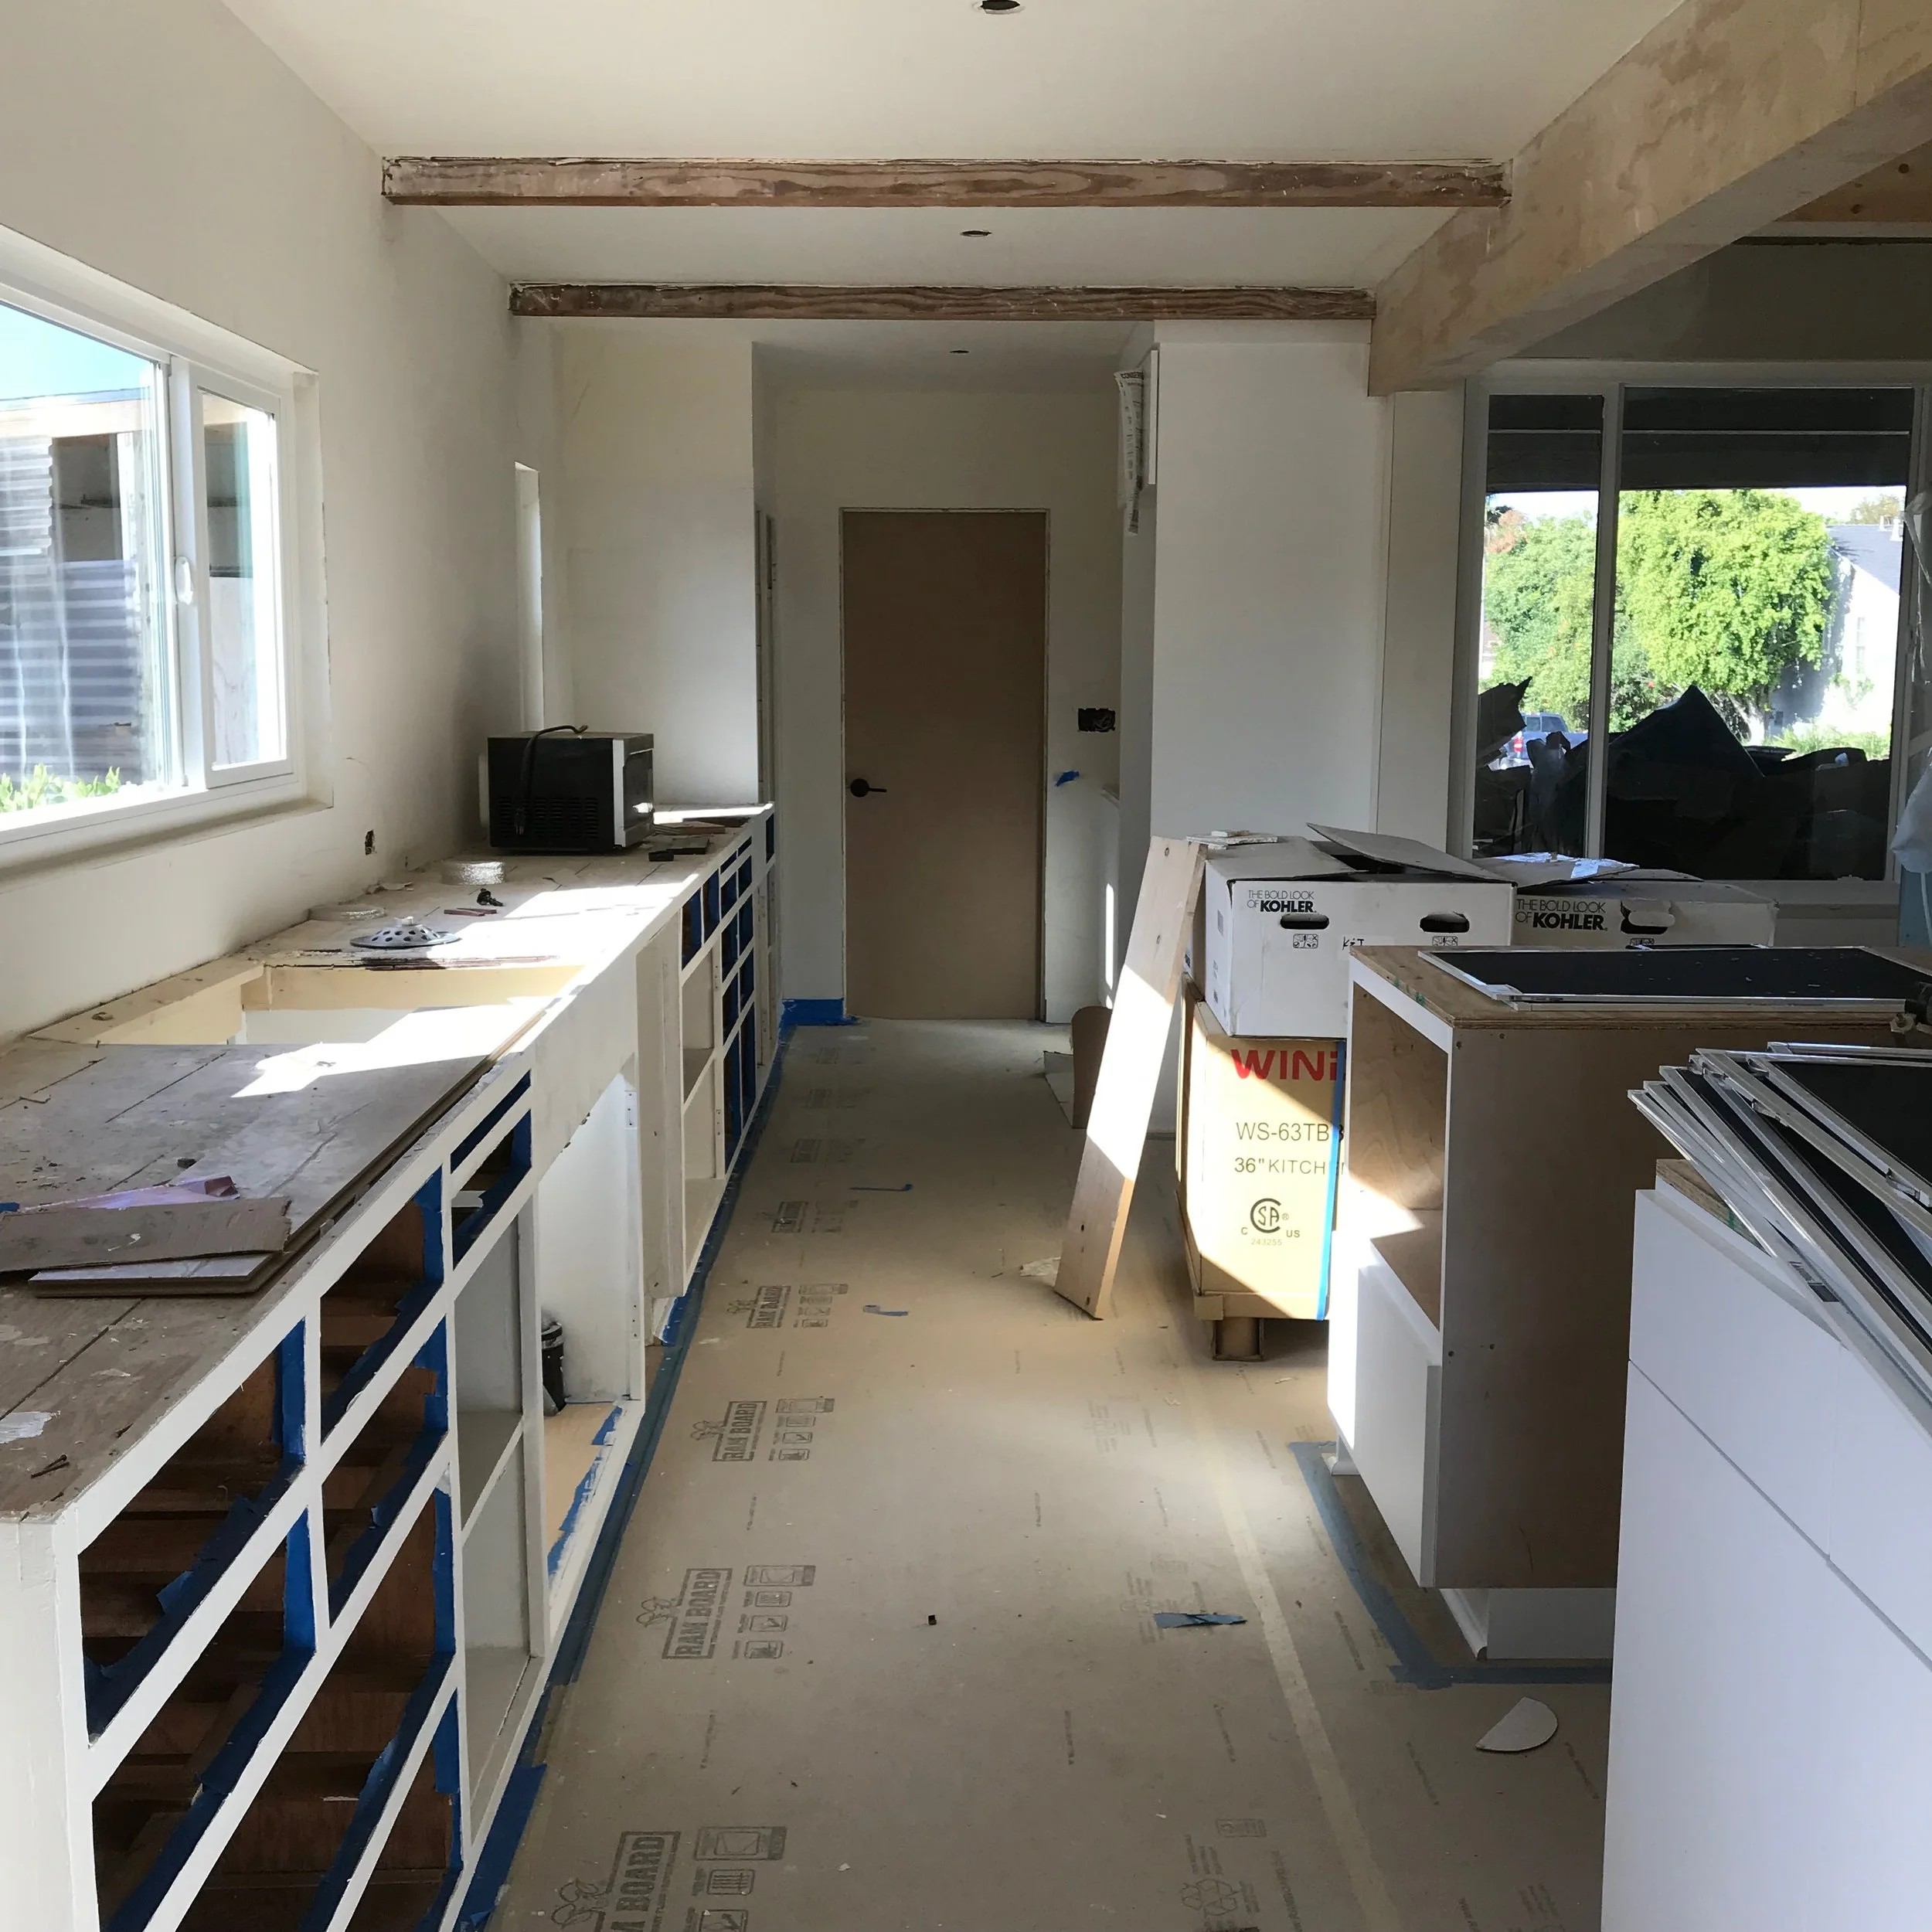
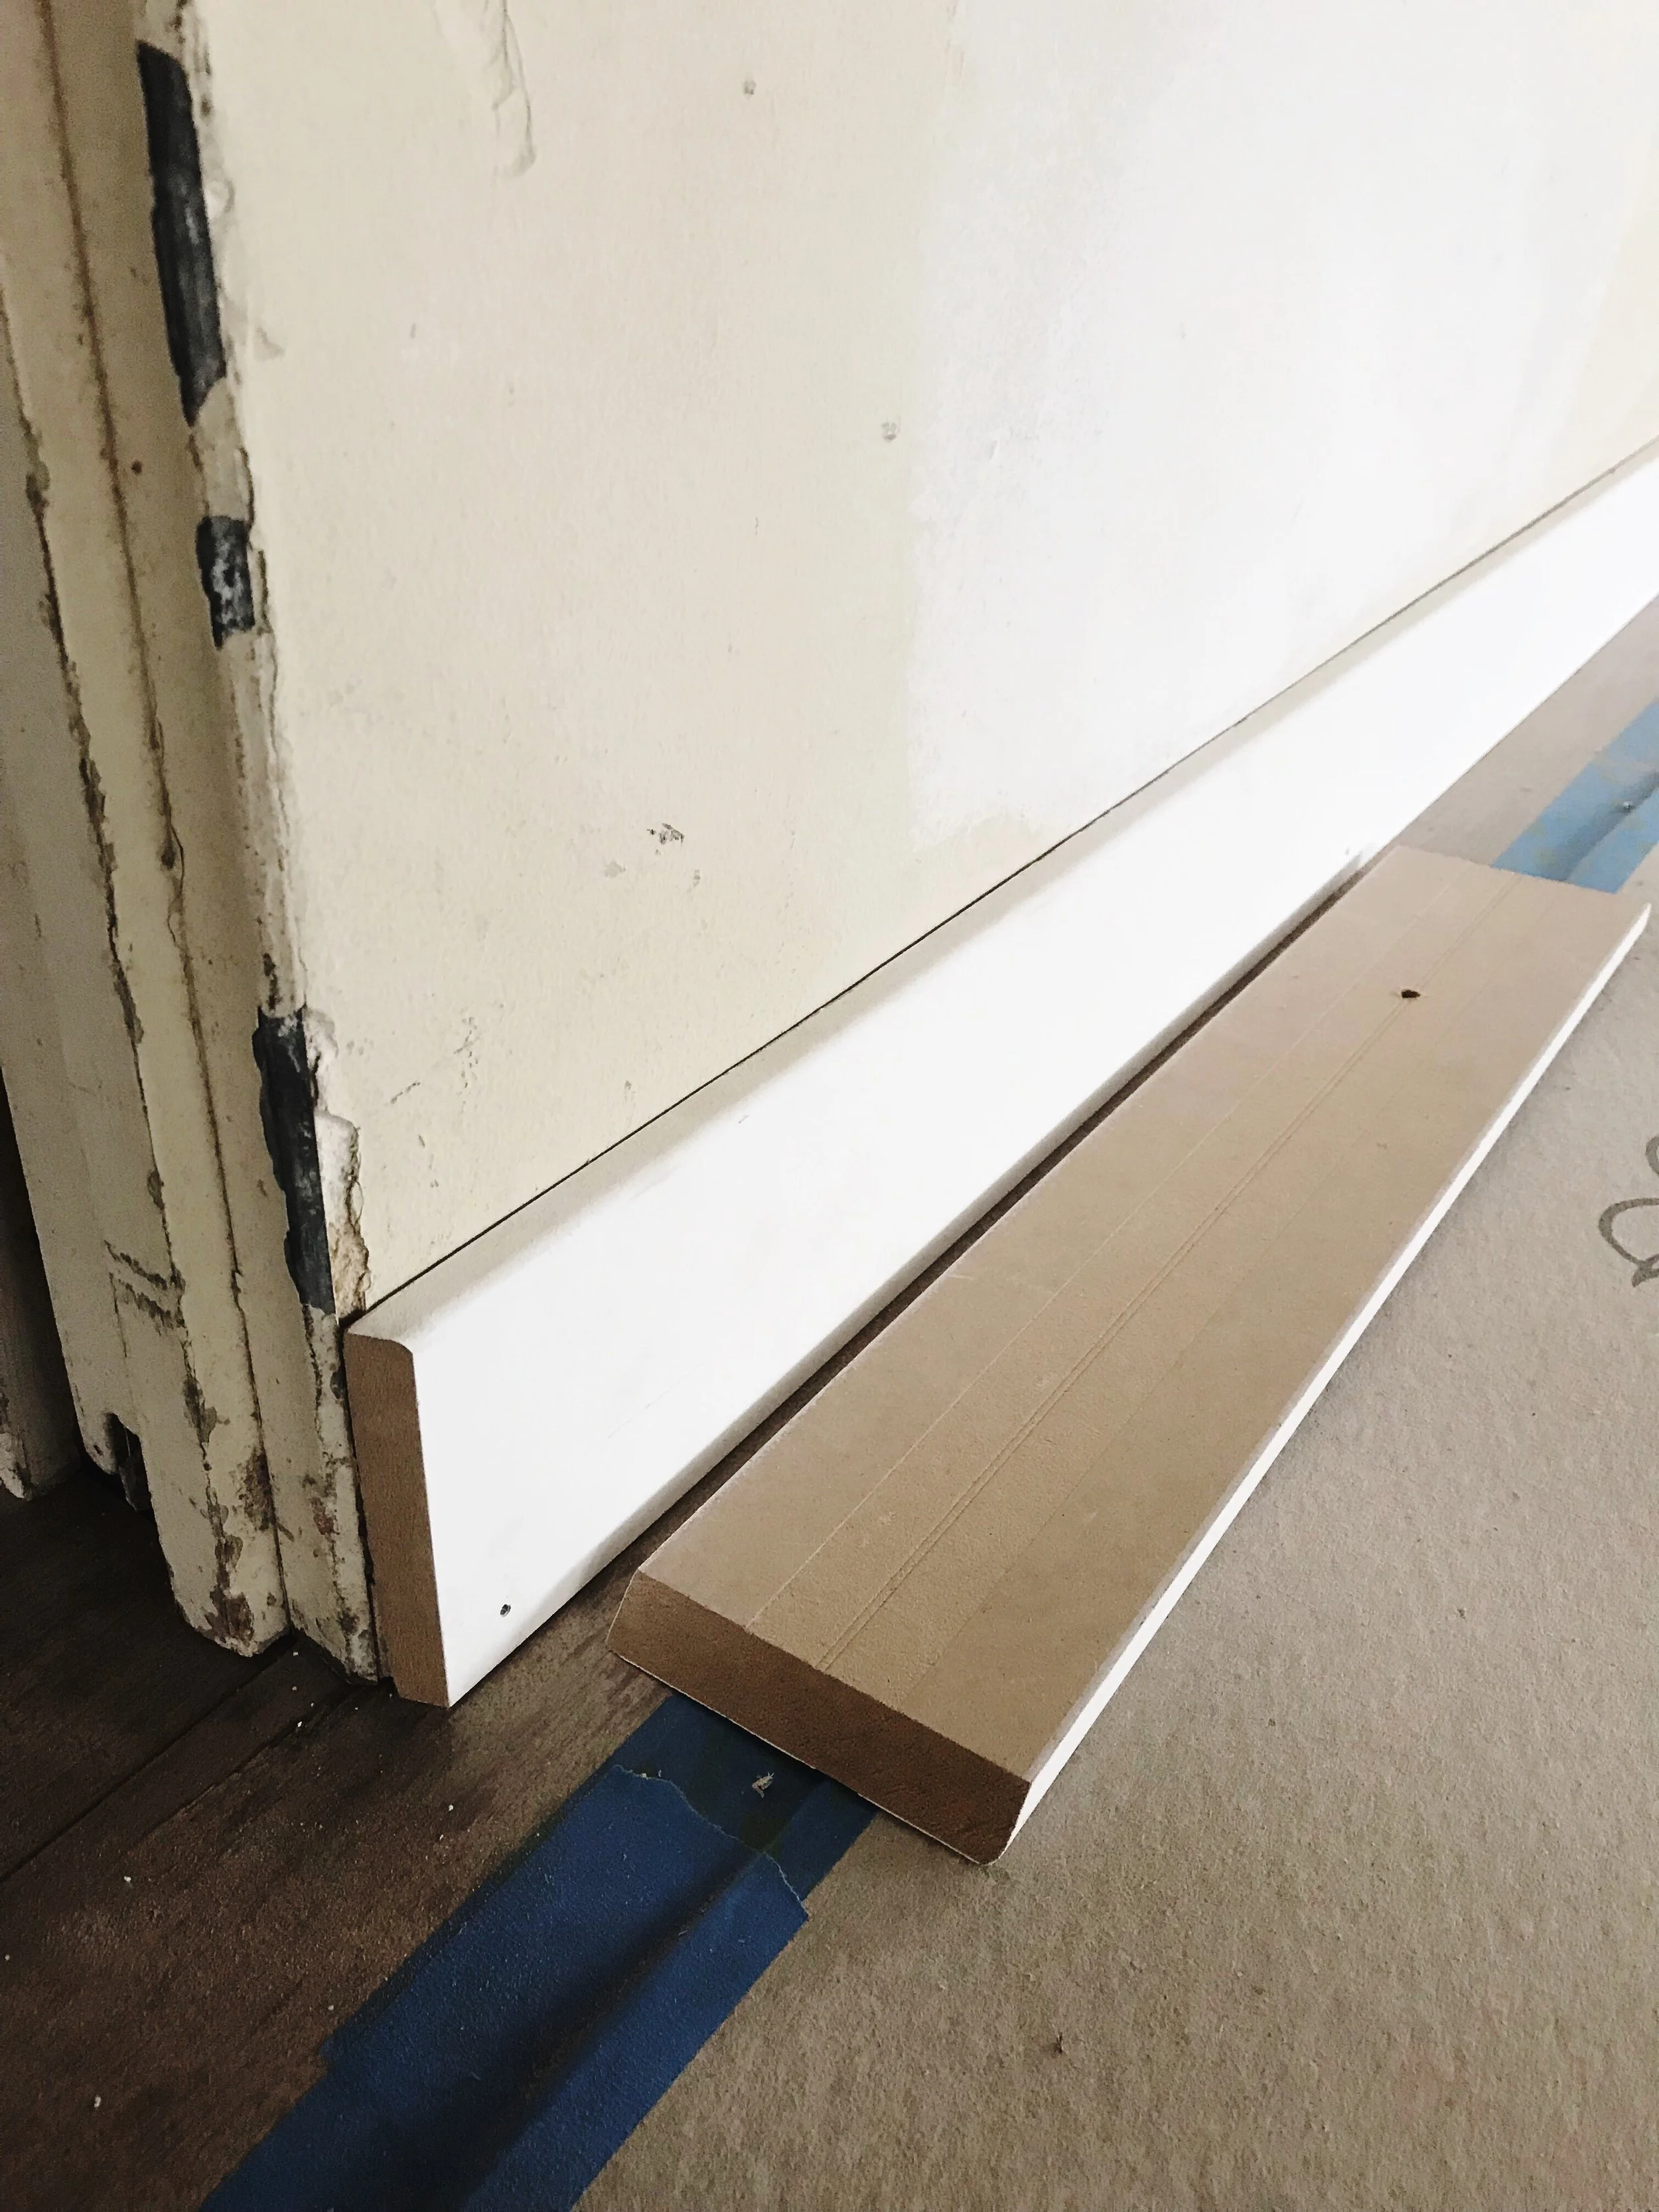
Yesterday, we woke up to an amazing sunrise and a cup of freshly pressed carrot, spinach, and apple juice. We vacuumed, cleaned up some dead leaves, and finished applying the second coat of paint to the cabinets. We also taped and painted the wall above the backsplash.

IMG_5038.jpg

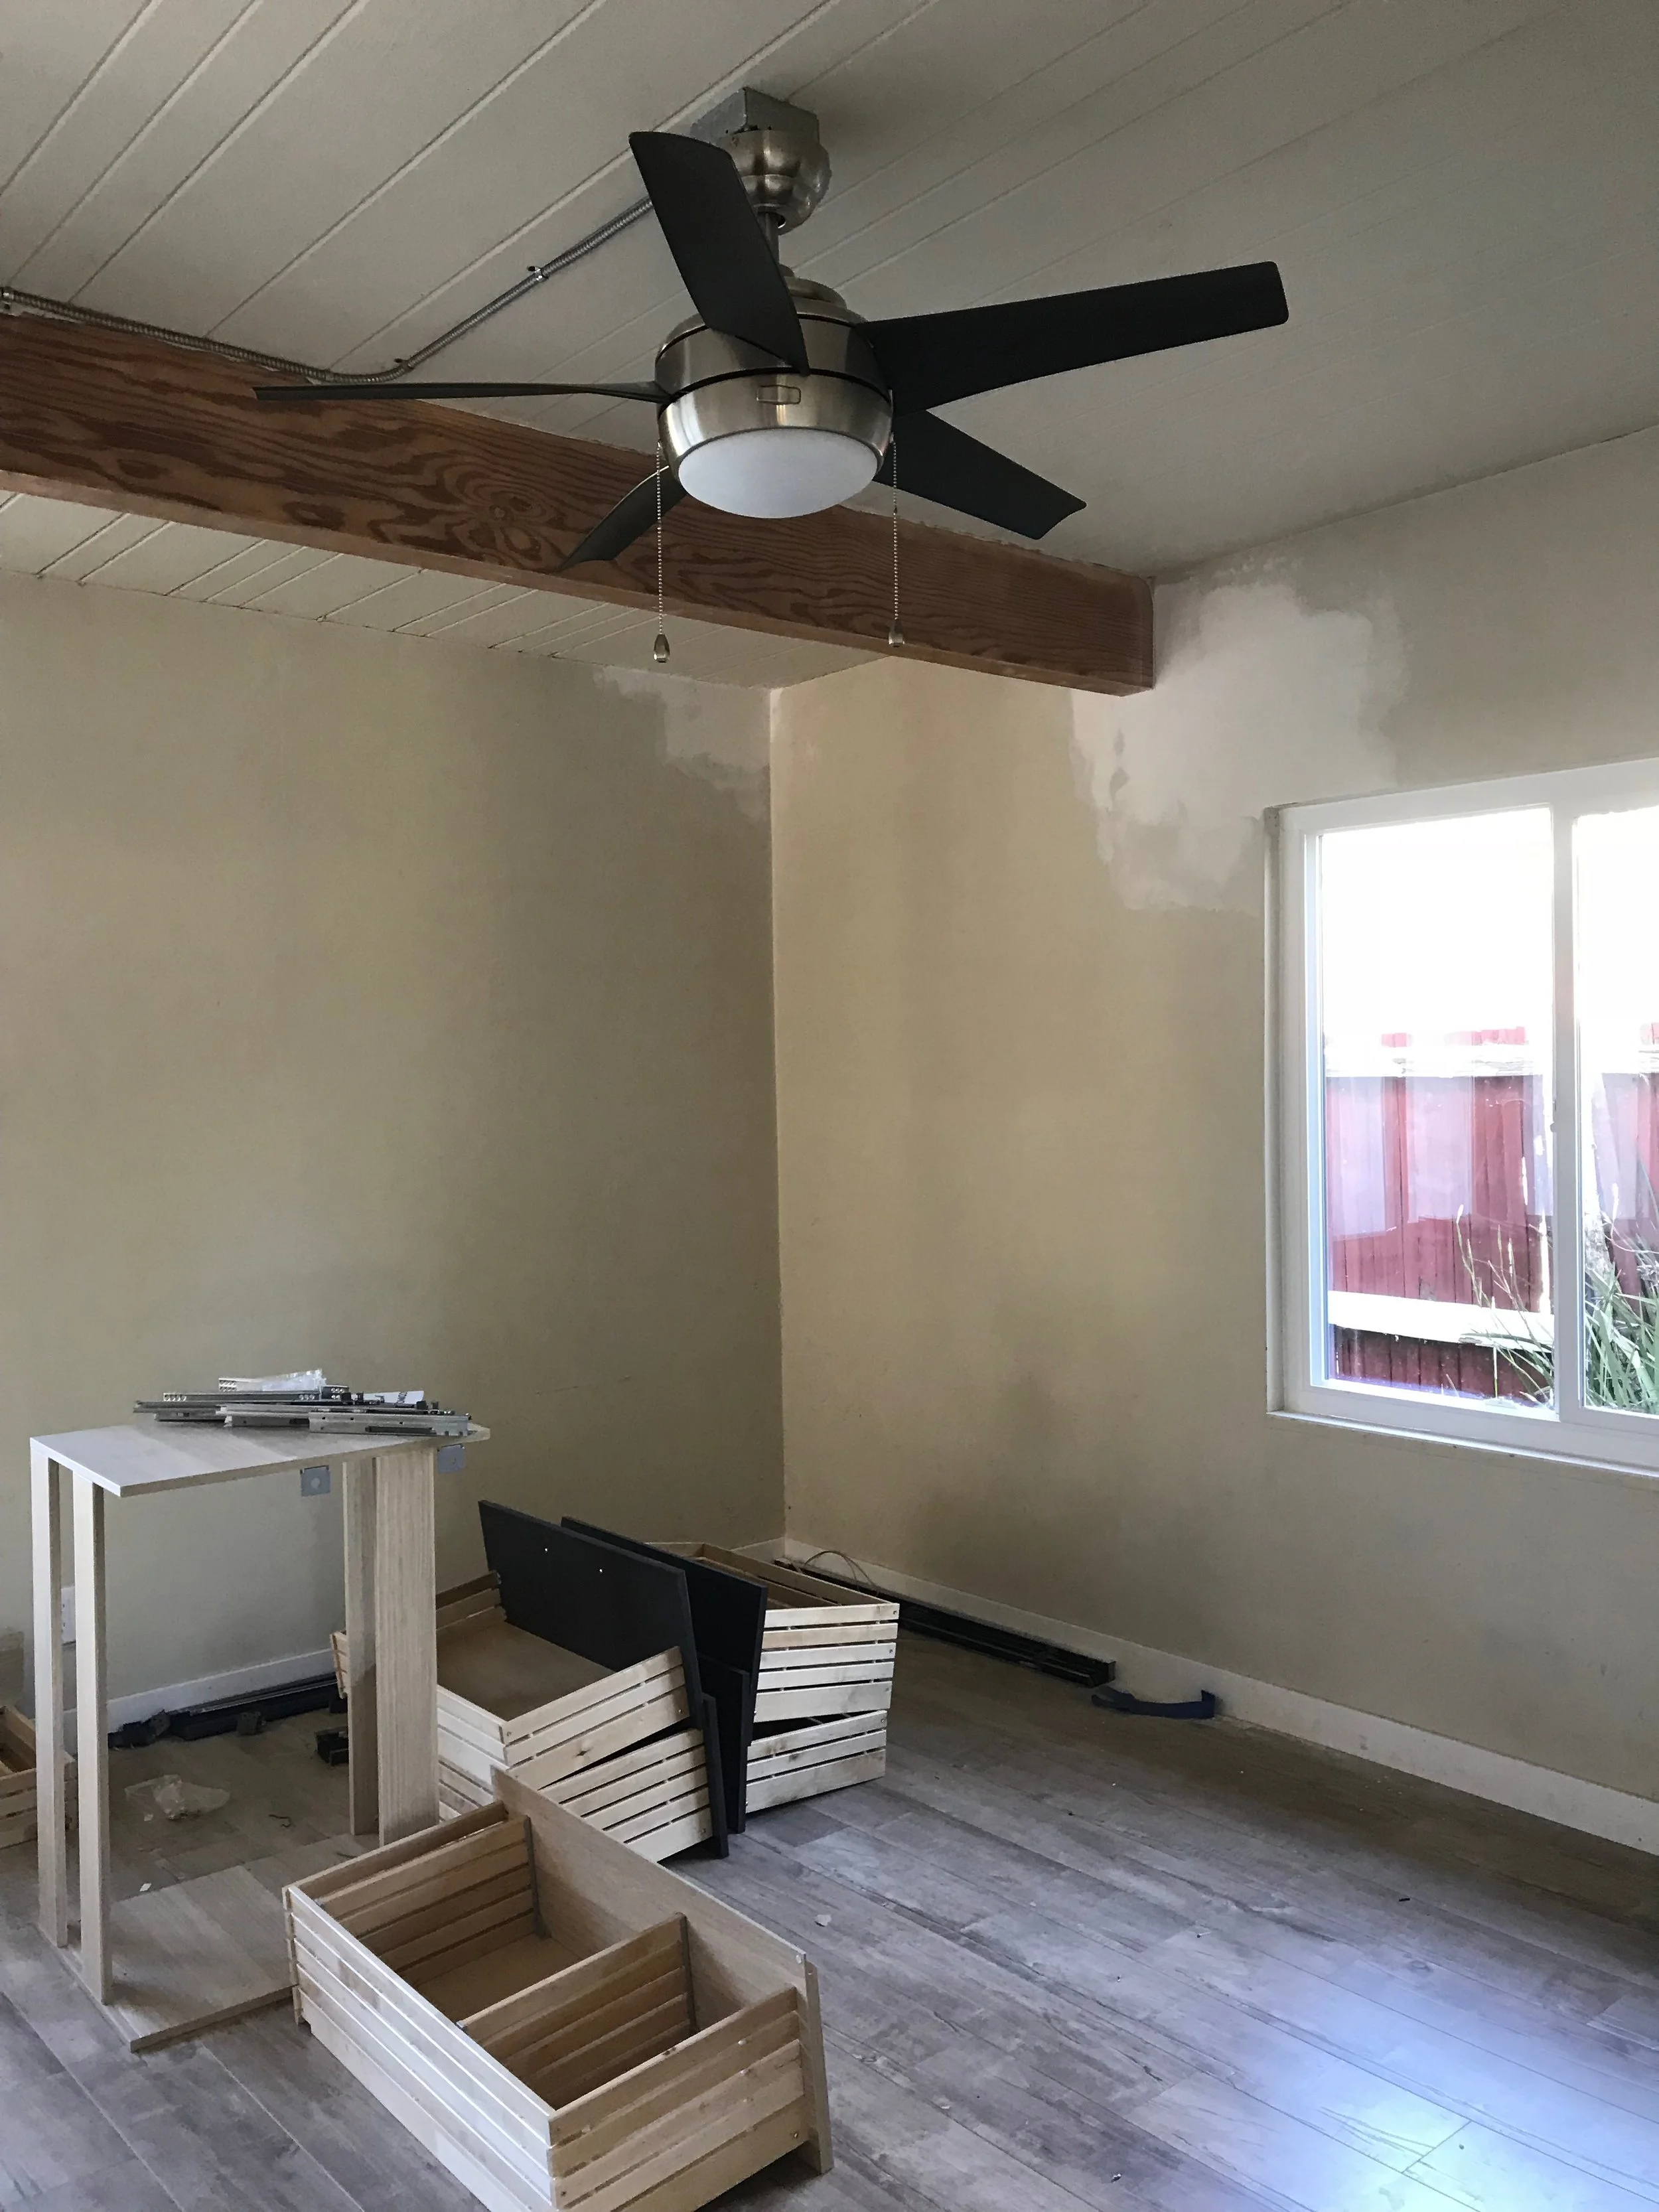
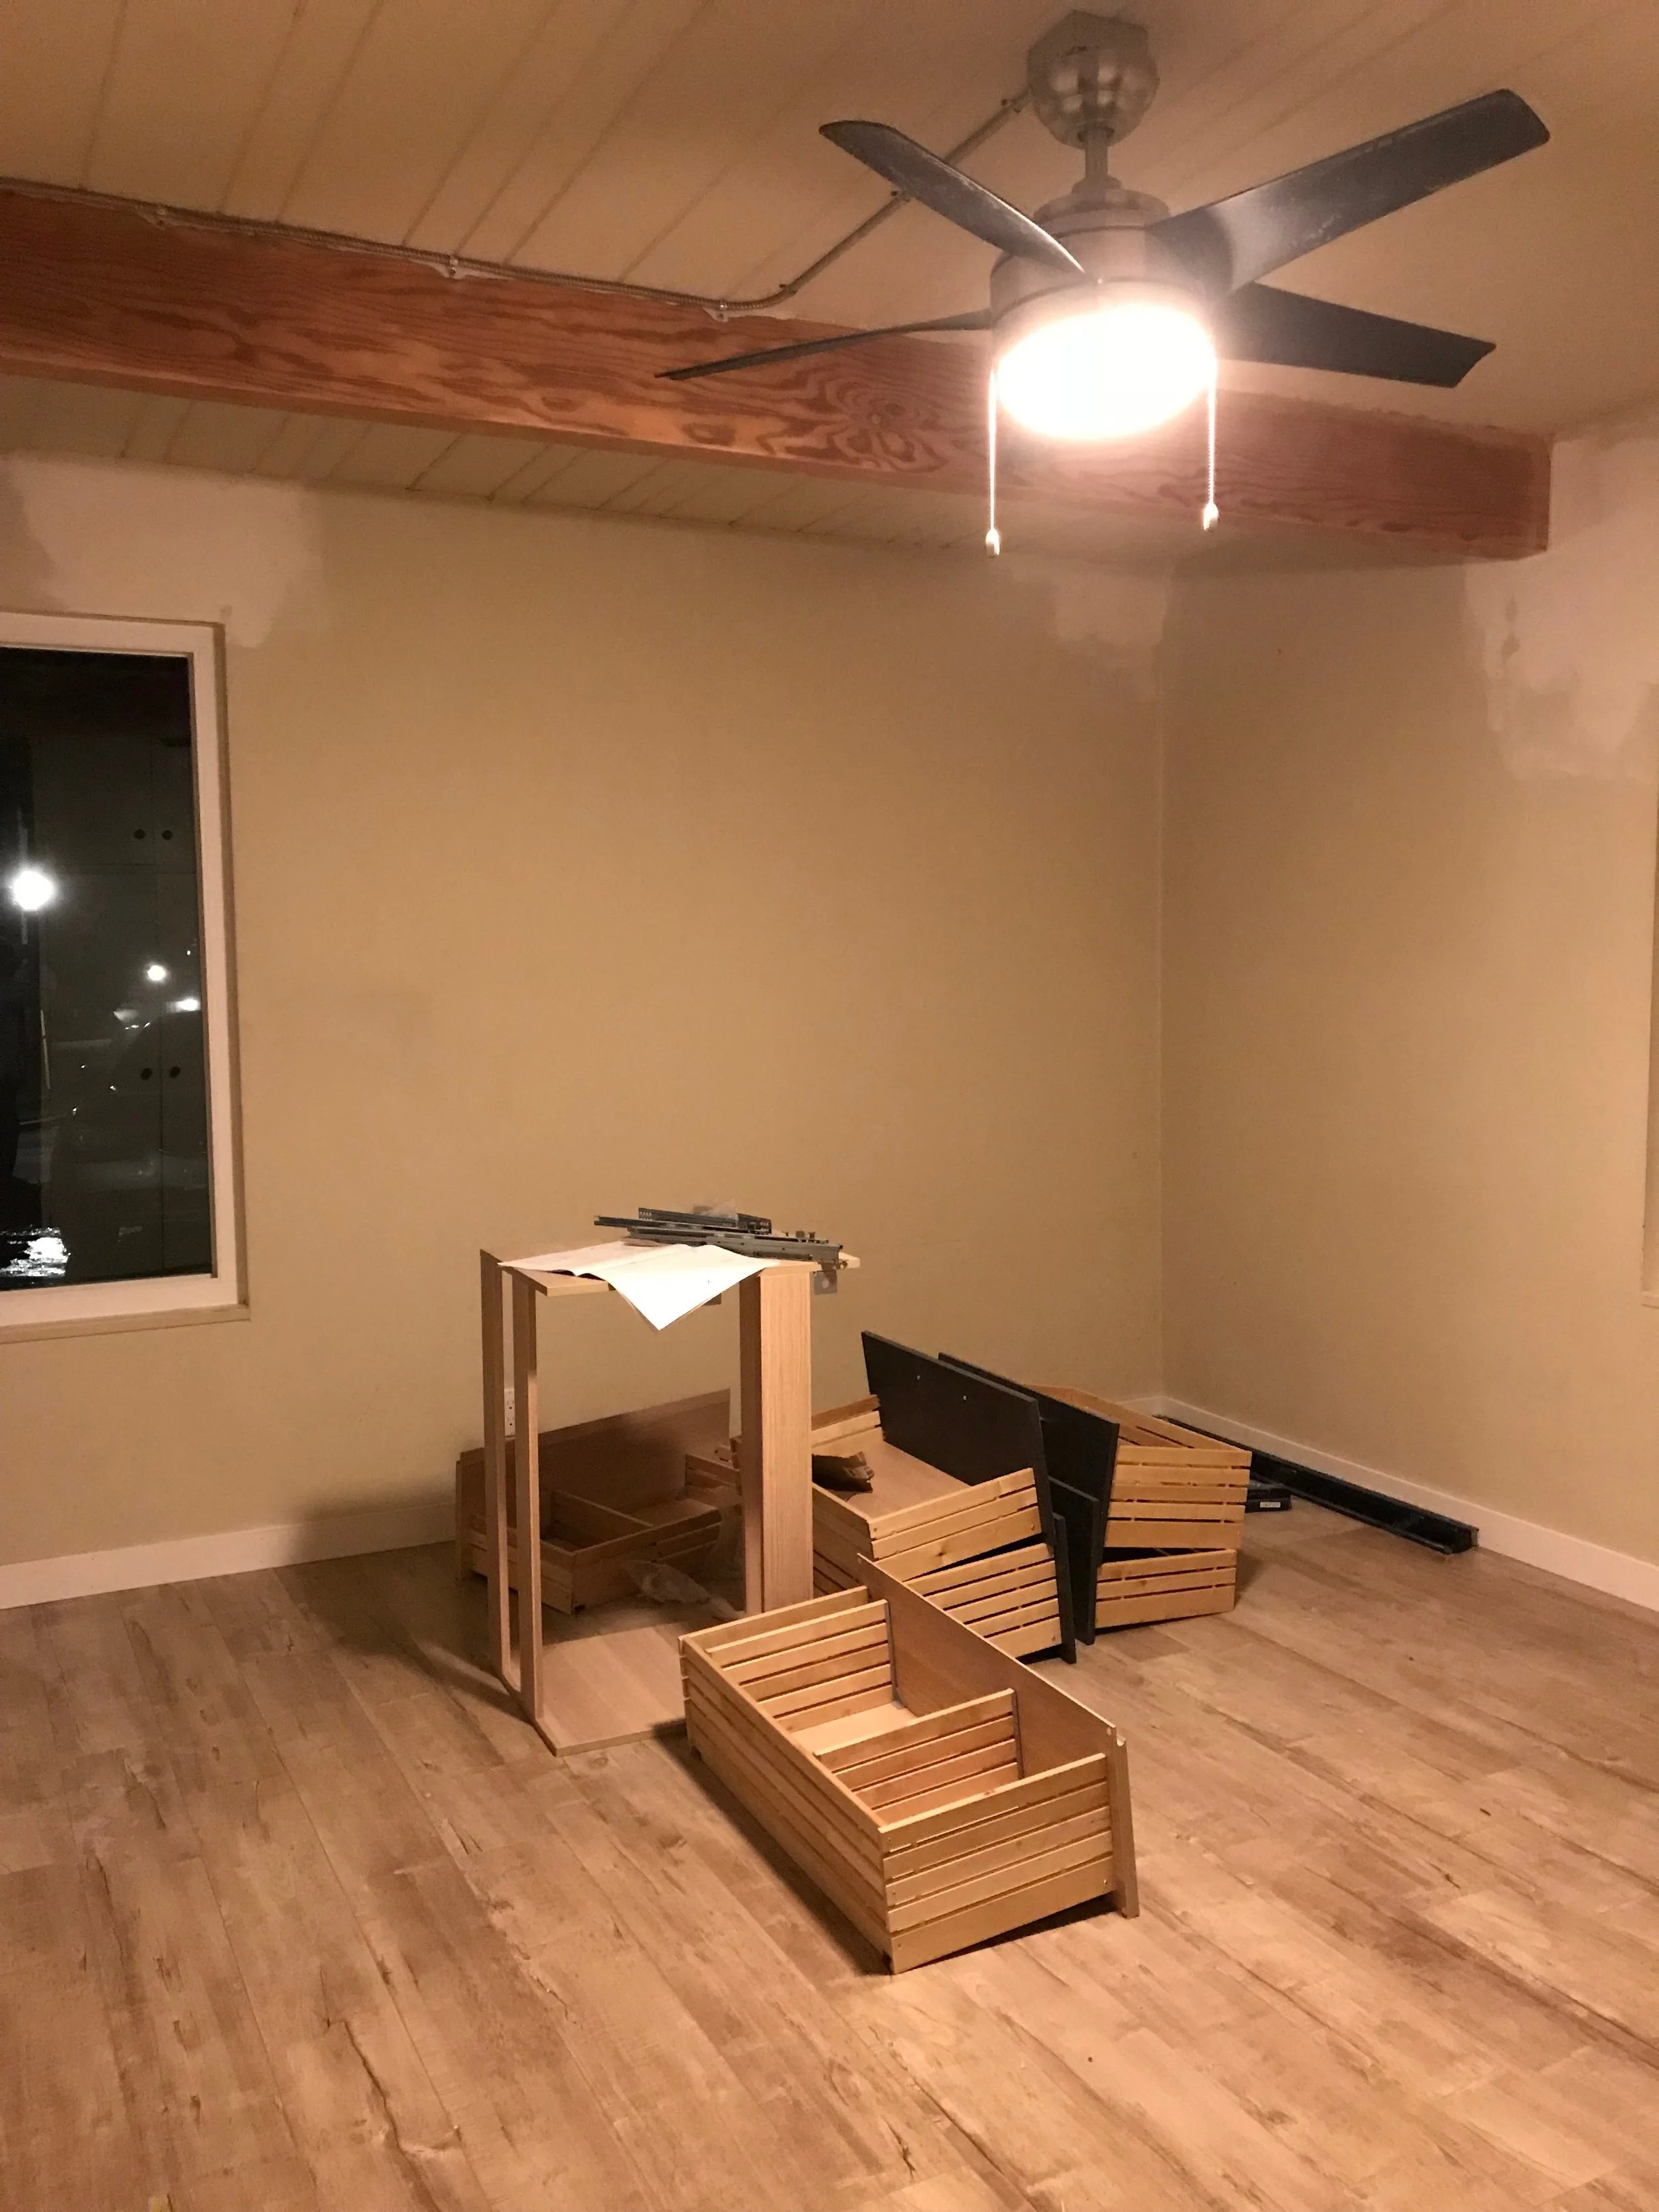
This morning, we removed all the tape, vacuumed, and wiped everything. Tonight, we’ll start to fit the drawers back in and line them so we can unpack and organize. I’ve outlined the next few weeks so we can put the house in a good place before we leave for Thailand at the end of the month.

Screen Shot 2018-04-30 at 11.06.11 AM.png

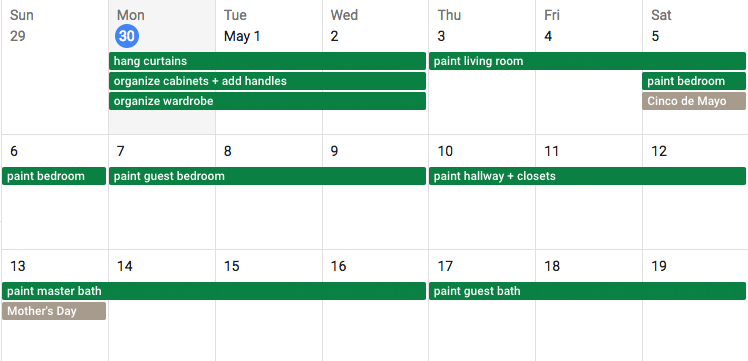
But now that we’re moved in, we can work on the house bit by bit, every single day!

We're Moving TOMORROW

After our final inspection just hours ago, we finally (FINALLY!!) have the all clear from our general contractor to move in tomorrow!

IMG_4929.jpg

This is the happiest we've been throughout this entire process. When we bought the house, we were happy, but VERY nervous. We had a vision that many people couldn't imagine (even contractors we interviewed). They doubted us. They warned us that it would be a ton of work. It was. But our result is even better than we could have imagined.

We had planned to move in at the end of March to align with out apartment lease ending. When that didn't happen, we were bitter and stressed. What could we have done sooner to keep the project on track? What other costs would creep up on us? Would we have any money left in our bank account? Did we make a huge mistake??? But we forged ahead, checking in with our contractor multiple times a day for the past month. Slowly, everything that we had ripped apart started to come back together. Fresh, clean, new.

There are still a few things left for our contractor to finish next week, like installing some lights, baseboards, and the tankless water heaters. We're waiting for the city to turn on the gas too, so we can't cook and don't have any hot water at the moment.

Tomorrow, we'll wipe down the countertops and vacuum. His cleaning lady wouldn't be available until next week, so we're foregoing that and cleaning up ourselves. Plus, we have so much painting, sanding, and staining ahead of us that everything will just get dirty again anyway.

IMG_4916.jpg

To document our renovations, I've kept a running list of all the steps we've taken from when we bought the house in December until now, which I'll post later. I've managed to condense it to a 50-step bullet point list LOL. For anyone who is renovating or interested in renovating, the one word that sums up our experience is intense. Every day was an unpredictable roller coaster of emotions and problem-solving. A kind of controlled chaos. There is no way we could have done this without guidance from Alex's mom (thank you!!!). And since Alex and I both have desk jobs, we had the flexibility of taking phone calls, squeezing in meetings, and always having tabs open to work on spreadsheets and mood boards for the house.

There will always be little details that I wish I had thought about more or done differently. But overall, we are so incredibly happy and thankful to call it our home – demolished and designed with so, so, SO much love and care.

Installing New Shower Doors

We are very much nearing the end of renovations! Yesterday, we had the shower doors installed. Today the rest of the kitchen backsplash went in. And tomorrow, we have our final inspection with the hopes of moving in on Saturday.

Our contractor had given us a quote for the shower doors in the guest bathroom and master bathroom. It was a little above our price point, so I contacted at least 15 other companies in the area. Ultimately, we went with Quick's Glass and Doors because they gave us a great price, communicated promptly, and turned the job around in one week.

We went with a sliding glass door in the guest bathroom and frameless shower door in the master bathroom. Again, lots of decisions were made on the spot like "What kind of door handle do you want? Square or rounded hinges? Where do you want the shower door to meet with the pony wall... flush or overlapping? Where do you want the fixed glass panels?" We made all of these decisions before the bathroom vanities went in, so I have to admit that getting into the guest shower is a little more narrow than I expected. I also know that I'm over-thinking all these little details.

We decided to only use two brackets on the edges to keep the dramatic tiles unobstructed. The glass is SUPER sparkly and clear because they added a coat of diamond seal treatment to the glass. Which reminds me, I need to buy a squeegee on Amazon now.

Painting the First Coat on the Cabinets

It feels like our never-ending project, but coat by coat, we're slowly making progress with the kitchen cabinets. Alex's mom, uncle, and friend Kristy lent us a hand as we sanded, vacuumed, and applied the first coat of Behr Ultra Pure White. We only spent 3 hours (compared to the usual 6+ hours), but we were able to cover almost all of the cabinets.

IMG_4887.jpg

And yes, I crawled on my hands and knees again to reach the back of the cabinets. I know it looks and sounds crazy but here's a reminder of what they used to look like, complete with dirt, grime, and spiderwebs. Pictures don't do it justice.

I didn't take too many pictures because we were busy working. But we're getting to the point where every photo is just getting better, brighter, and whiter. And now that almost all the new appliances are in, the house looks nothing like how it did when we first bought it.

How to Choose Kitchen Faucets

Without a doubt, our kitchen will be the most used space in our house. It's the first thing you see when you walk through the front door. It's bright white and inviting. And it's pretty massive. Since Day 1, I've always had a clear vision for the kitchen transformation, all the way down to the details like the kitchen faucets.

At our weekly grocery trips to Costco, we always walked down the faucet aisle. So when it came time to choose faucets, immediately chose the Kohler Malleco Touchless Pull-down Kitchen Faucet for its functionality (and it was on sale!) for the small utility sink that used to be a laundry sink. But since we love cooking, we knew we wanted something more heavy duty for the main sink.

ACS_0038.jpg

The Hansgrohe Cento Semi-Pro Kitchen Faucet was exactly the kind of statement faucet we were looking for. The only problem was that it was out of stock in-store and online. We were so sad! It was on sale for $100 off, and we suspect someone bought them all to re-sell on Ebay. We were forced to pivot and look for a similar model at Home Depot. We ended up choosing the Kohler Sous Semi-Pro Kitchen Faucet. It doesn't have exactly the same sleek design, but we're really happy with the water pressure from the spray head, the flexibility of the spring, and the height of the faucet's arch.

ACS_0039.jpg

If you really look and think about our faucets, I'd say they fall into the transitional design category. They don't have sleek, sharp lines like that original Hansgrohe faucet we fell in love with. But the soft, natural curves give them hints of contemporary design with traditional overtones. And since our kitchen is a mix of old and new, I think our faucets complement the space perfectly.

Last week, our contractor called me and texted a photo during fabrication to confirm where we wanted the placement of the faucets in the countertop. I knew I wanted the soap dispensers on the far left, and the garbage disposal button on the right since we're both right-handed. We decided to make everything equidistant for uniformity.

Now that both faucets are in with running water (no hot water yet), we're getting even more excited about moving in very, very soon!

Electrical Drama

On Monday, we met with our electrician to finalize outlet placement, fixture arrangements, and other miscellaneous items prior to our inspection. Of course, unexpected things came up.

One of the biggest pain points was the chandelier in the dining room. Our electrician told us that the shape of it would bang against the windows, and the fabric electrical cord had to be a chain in order to pass inspection. This caught us completely off guard, and honestly, made us really angry. Why tell us this now after we purchased this fixture months ago? Why make us rush to find something new when the final inspection is happening in the next couple of weeks? After a lot of pushback, I was able to find this image online to prove that we could actually hang it the way we wanted to.

Our contractor sided with us, and the solution is to cap off the hole for the fixture and put the chandelier in place after the inspection. We also had a discussion with our electrician regarding the pendants and track lights. He's been recommending against track lights from the beginning, so he found us some thin, flush-mount lights as an alternative. We'll be buying them off Amazon and he'll set them up next week.

The joy of remodeling means that every single corner of the house has a story behind it, for better or for worse. We started off this week on a really sore note. We were stressed at work and even more stressed with the hiccups at the house. But by Thursday, we were in much brighter spirits once the countertops were in and even more progress was made. It's a rollercoaster of emotions!

The Quartz Countertops of My Dreams

Installing the countertops was one of the days we've been looking forward to the most throughout this entire renovation process.

As a reminder, the original kitchen had yellow tile everywhere. You can't tell from the photos, but it was covered in dirt, spiderwebs, and the sinks were clogged and rusty. They were so bad that I barely even touched them, let alone take pictures of the atrocity although now I kind of wish I did take more photos.

Anyway, let's just take a moment to soak this in.

When we visited the Pental surfaces showroom in January, we instantly fell in love with the Statuario quartz. We also considered the Misterio which has lighter, cloud-like pockets of veins, but the Statuario was still a clear favorite. The veins are defined yet soft, long, and elegant. It's the kind of quartz countertop that makes you want to cook a fancy 10-course dinner, just because it looks so damn good in photographs.

As you can tell, I can't stop taking pictures of them. I want to rub my face all over them. Ok maybe I already have.

I never thought I would have countertops like these in my house. It's surreal, and I am so, so thankful for this house and the opportunity to make it ours. Literally crying. I need to go hug my counters again now.

Micromanaging towards the End of Renovations

We're nearing the end of renovations. It's exciting, but there are still a lot of loose ends to tie up. Here's what we've accomplished this week:

  • All windows are in! We were waiting on the sliding patio door and one last window in the living room which were both installed on Monday.
  • We passed one inspection on Tuesday. There's another final inspection right before we move in.
  • All electrical outlets and fixtures are in!
  • IKEA bathroom vanities are in!
  • Countertops are in!
  • Sinks are in and cutouts have been made in the countertops for the soap dispensers!
  • Plumbing is done!
  • Shower door measurements are happening tomorrow.
  • Drywall guys patched up any loose holes and blemishes.

We've realized that in order to remain on track, we need to micromanage our contractor. At this point, he and his subcontractors are working on new projects. Instead of weekly e-mail updates, we're giving him daily texts and phone calls. We're also triple checking all our invoices to ensure that we've covered everything we've paid for.

We ran into some expected hiccups because our electrician didn't inform us of areas that would affect the final inspection (i.e. making sure all the lights are LED energy efficient, having a chain instead of a cord for the dining room chandelier, etc). So in the meantime, we're capping off those areas or putting dummy fixtures which we'll switch out later after the final inspection (shh...). At this point, we just need to get past final inspection and hopefully be moved-in in two weeks!

Choosing Doors and Doorknobs

Our new obsession last week was door handles! To be honest, they completely crept up on us. We thought it would be one of the final touches after more of the renovations were done, but when we saw the carpenter last Thursday, he asked us to get the door handles ASAP so we could securely close the doors.

When we re-did the bathrooms, we had to re-frame one of the bathroom doors. This meant that we made the door bigger and needed to fit it with a new door (and new handle). In addition to the front door, we also re-framed the other two exterior doors because they were damaged (one leads to the backyard, the other leads into the kitchen). So three new doors meant three new handles... but we also wanted to re-do all of the door handles to match, so now we were talking about eight new door handles in total.

To make things even more confusing, we quickly realized that we had an overwhelming amount of handles to choose from. I wanted something contemporary that would match the front door, and I had gravitated towards the Schlage Latitude handle at Home Depot from some of our previous research. After we saw the carpenter, we immediately went to Home Depot before work to purchase one so he could start measuring where the latch would go. However, I wanted to get the black handle to match the front door, and the color was currently unavailable even though it was on display. Much like when we were shopping for shower heads, finding the right finish was a challenge we weren't 100% prepared for.

Long story short, we bought a Latitude handle in nickel so that the carpenter could start measuring. In the meantime, we purchased 5 black privacy handles on Build.com which has quickly become one of my favorite sites. They came within 2 days! We made another order a few days later for the same handles, except this time, they were passage door handles for the closets (i.e. they don't lock).

That leads into one more curveball: deciding which doors should lock, and what kind of lock it should be. We settled on making the back door a deadbolt with a privacy lock handle (this is the only handle that has an aged bronze finish because Home Depot only carried the aged bronze deadbolt to match. Literally no one else will notice this because it basically looks black... but it's a fun little Easter egg for all our blog readers!). And for the kitchen door, we decided on a privacy handle. It leads to the exterior now, but eventually we want to turn that area into a laundry room so a deadbolt won't be necessary.

The doors themselves are flat and simple to match the existing doors (which we'll repaint). They feel a little plain now, but they fit our budget and will provide a nice, simple backdrop for our furnishings.

Priming the Kitchen Cabinets

If you've been following along our kitchen cabinets project, you'll know that we started this process back in November. A few weeks ago, we started stripping some of the gross interiors, and this past weekend, we finally painted them with primer.

With the help of Alex's brother Ryan and his fiancé Shelley, we started by vacuuming the debris from the shelves. Then we wiped them down with water and bleach to get them as clean as possible. Afterwards, Alex sanded them all (there are nearly 24 cabinets total), we vacuumed and wiped again, and then I taped down all the nooks and corners that we wanted to keep as is.

This meant getting down on my heads and knees and sticking my head into the cabinets to reach the very far back. I realize that this isn't the most conventional way to re-paint cabinets, but we were working around what we had. These cabinets were most likely from the 1970s, and the backs were painted once upon a time. Although no one will ever see that far into the cabinets, I wanted to give it a fresh coat to cover up the gross dirt and blemishes that have accumulated over the years.

I kept the wood exposed on the sides of the drawers to ensure that they slide easily. Eventually, we will likely finish the sides with Minwax Paste Finishing Wax and/or change the old roller tracks on the bottoms of the drawers.

Ok, now the fun part! After everything was taped and cleaned, we could finally start priming! Like the cabinets, we found that using a paintbrush to go over all the corners and seams was the best way to start. Then we used a foam roller to fill in all the flat surfaces.

Since this is just the primer phrase, we aren't too concerned about being perfect. There was even some loose drywall in the back of the pantry that fell apart.

Alex even bought a heat gun to strip the paint on the outside of the pantry where we once had cabinets demolished. In the future, we will add our own floating shelves here, but we wanted to get it cleaned up now before the countertops go in.

Next, we'll sand down this first coat of primer and apply a second coat. Then after that, we'll add two coats of Behr Ultra Pure White and finally the gold hardware.

In addition to saving a lot of money, we've learned SO much from this DIY project — stripping, sanding, painting, and finishing. Please comment with any questions!

Why We Chose to Install New Windows

Installing new windows was a significant chunk of our budget that we decided to do now instead of later. Here's why.

Firstly, security purposes. The old windows had to have been from the '70s or '80s. The glass was thin, frames were rusty, and the hinges and screens were flimsy. A few of the windows were even made out of plastic and the window on the backdoor was boarded up with wood. We would have been prime victims for a break-in.

Another reason was insulation and soundproofing. The freeway is basically in our backyard, and with our old windows, we were getting quite a bit of noise and improper temperature regulation. New, double-paned retrofit windows would help solve that.

And then of course, resale value. Like many of our remodel decisions, we want to make sure that our improvements will also be profitable when we eventually sell the house. New windows will add a ton of much-needed curb appeal.

After researching and contacting at least 15 different window companies and receiving quotes back in December, we decided to go with Window Design Group. It was very difficult to find a reputable company with flawless reviews, and to be honest, it hasn't been the most pleasant experience. But overall, we're happy with our decision because the price fit our budget and their quote included helpful, organized details like all the measurements and window materials.

They sent an installer out to measure the windows for the initial quote. After we revised it a bit and had final measurements taken, we put down a deposit and placed our order by February. It usually takes about 3-4 weeks to actually make the custom windows so we were very excited when our sales rep told us that they would be ready to install by mid-March.

Turns out, it was too good to be true. Our new windows weren't installed until the beginning of April, and we're actually still waiting for two of them to be installed. One of the biggest hold-ups was our sliding patio door. Our contractor noticed that the quote didn't include the metal waterproofing pan that goes along the sliding track — a detail that would be required for our final inspection to pass. After A LOT of back and forth because they didn't seem to understand what we were requesting, our contractor finally decided to install the pan himself. As of this morning, I had to book a date for the final installation of the sliding door, but their earliest available appointment is next Monday morning. Like I said... not the most pleasant experience, but we're happy with the results so far.

Of course, we'd probably feel a little differently if we weren't on such a tight timeline. We were aiming to move in by the end of March, but the timeline has been pushed farther and farther back. Now it feels like moving in at the end of April is wishful thinking. But at the end of the day, we'd rather have the job done right than rushing it and making mistakes we'll regret.

Choosing Baseboards

Baseboards are another thing that you NEVER think about before buying a house. To be clear, they're the narrow wooden boards that run along the base of an interior wall that covers the joint between the wall surface and the floor.

IMG_4207.jpg

Baseboards are considered a type of moulding. Other moulding includes crown moulding (on the ceiling), door and window trim (a.k.a. casing), and many others. Plus they come in a bunch of different materials, styles, and profiles. Here's Home Depot's full buying guide.

We looked at some at Home Depot, but our contractor referred us to a flooring place that specializes in baseboards and had more options. Too many options.

We knew we wanted something modern and simple so that helped narrow it down a little. We liked the look of this baseboard, but the notched out area would 100% collect dust, dirt, and grime.

Since we didn't want the baseboards to be the main focus of the room, we opted for this very simple, modern trim with a nice smooth edge (anything that's too square and sharp will hurt if you bump into it!). I don't remember exactly how thick it is, but it's thin enough that our furniture will be pretty flush against the walls.

After it was ordered and installed, we also had to take into account some of the areas that needed smaller trim. For example, the area around the kitchen cabinets and closets have smaller trim so that the doors can swing open all the way and not interfere with the hinges. The more you know!