Posts in Home
Living Room Floors are In

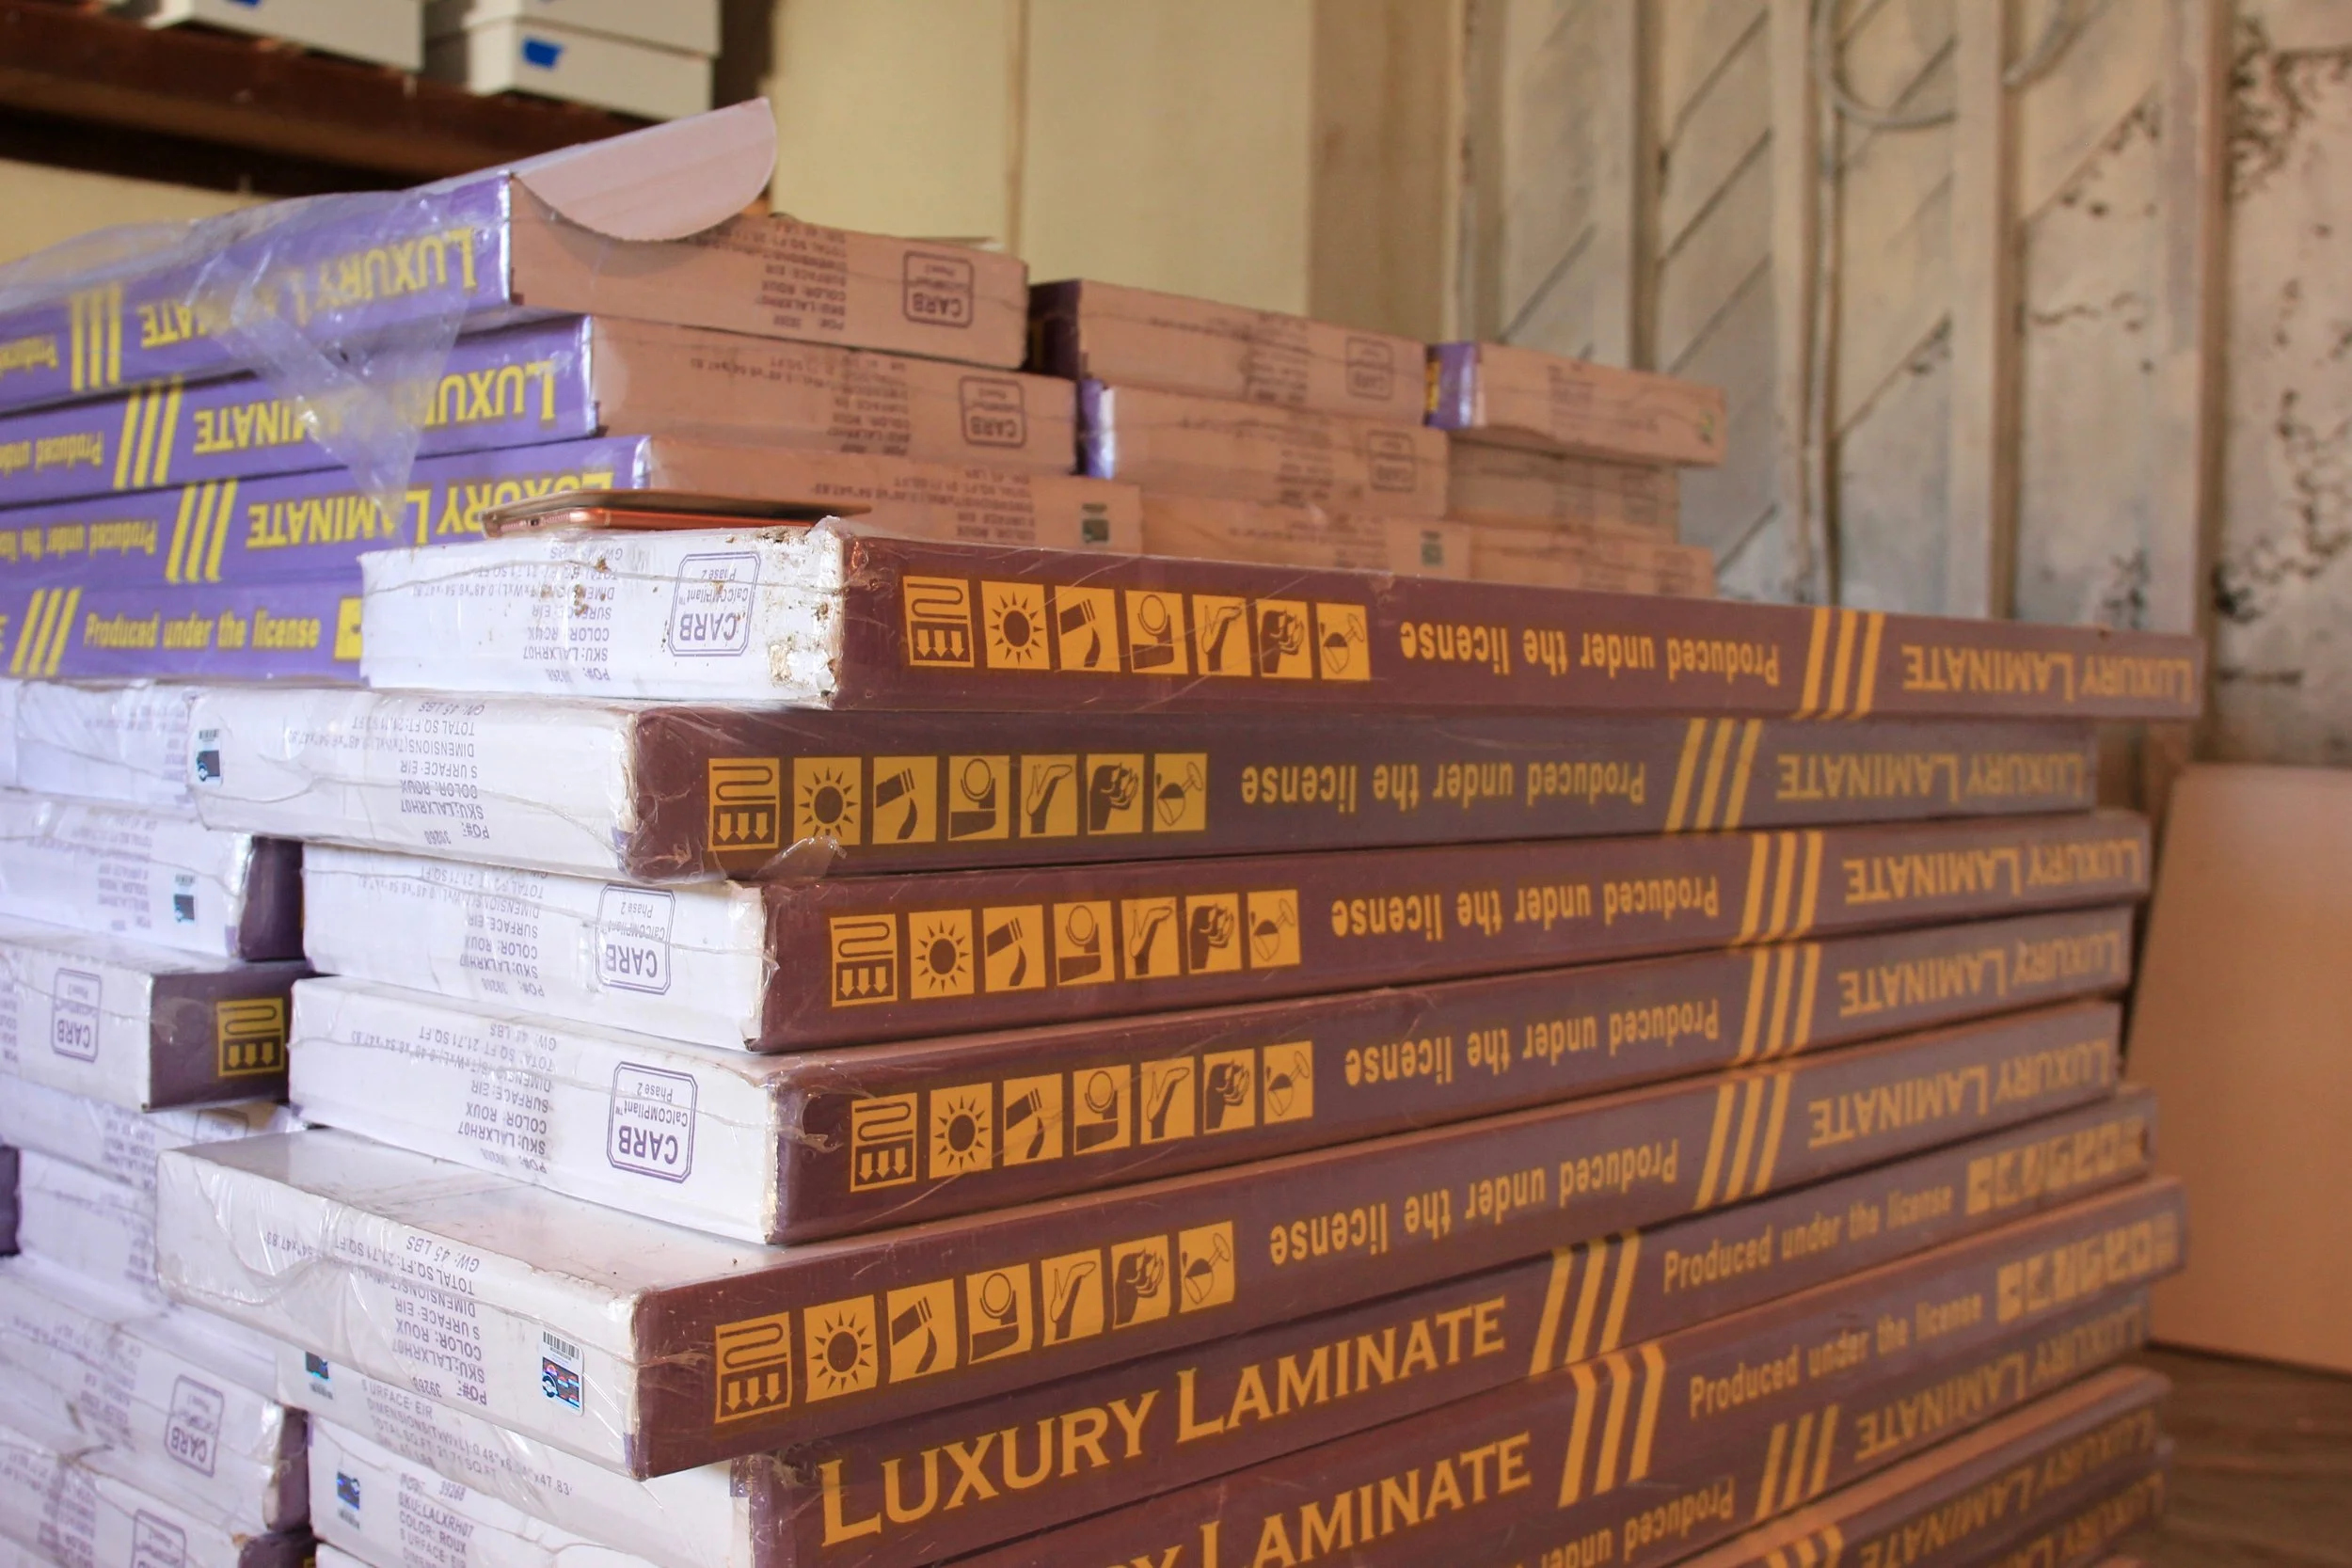
We chose our laminate flooring in January, but it was a little more complicated than we expected. First, the laminate was made especially for Valley Carpet One & Floors. It was a great price, but it almost meant that they were the ONLY ones who provided it. So of course, when it came time to place an order, we found out that it was backordered and wouldn't be ready until 2-3 months. We were nervous about waiting that long, so we put down a deposit and our salesperson was kind enough to expedite our order. The people who had placed their order before us were on a more flexible timeline, so we were able to take their shipment when it arrived on a shipping container from China.

Finally, it arrived safe and sound, and all of the flooring is now in! You'll see some of the areas that they had to level out, plus the underlayment and insulation.

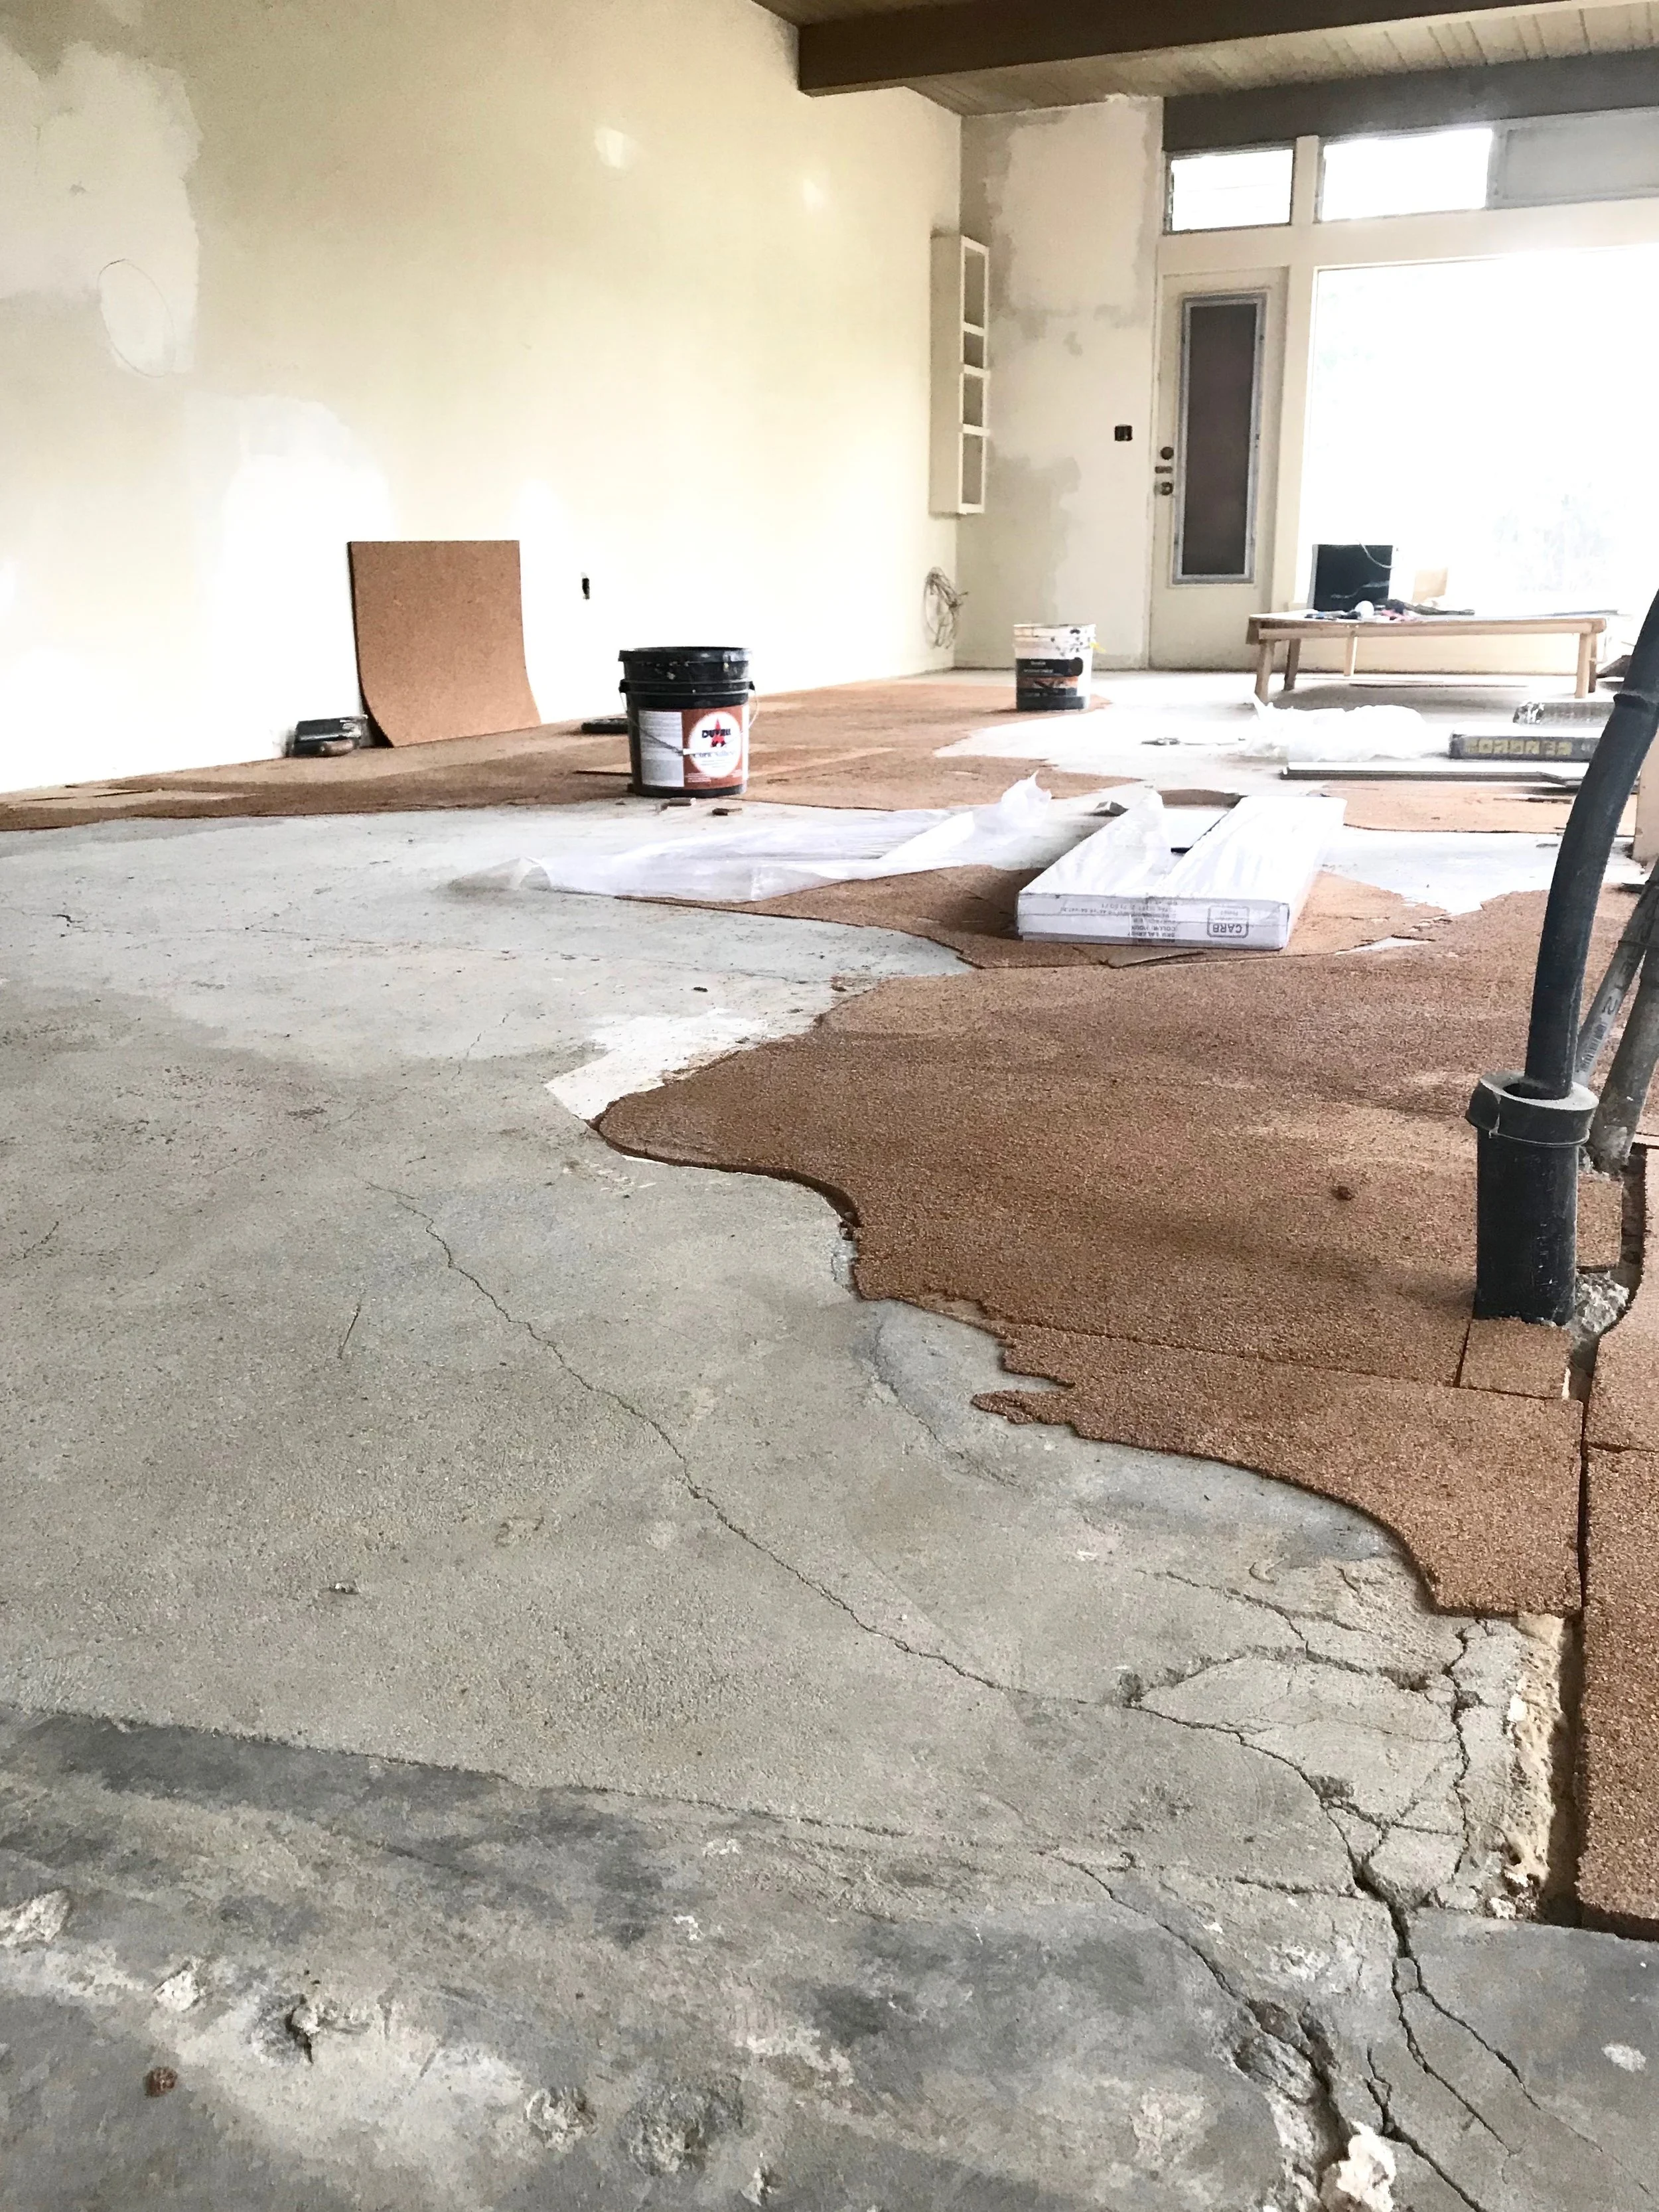
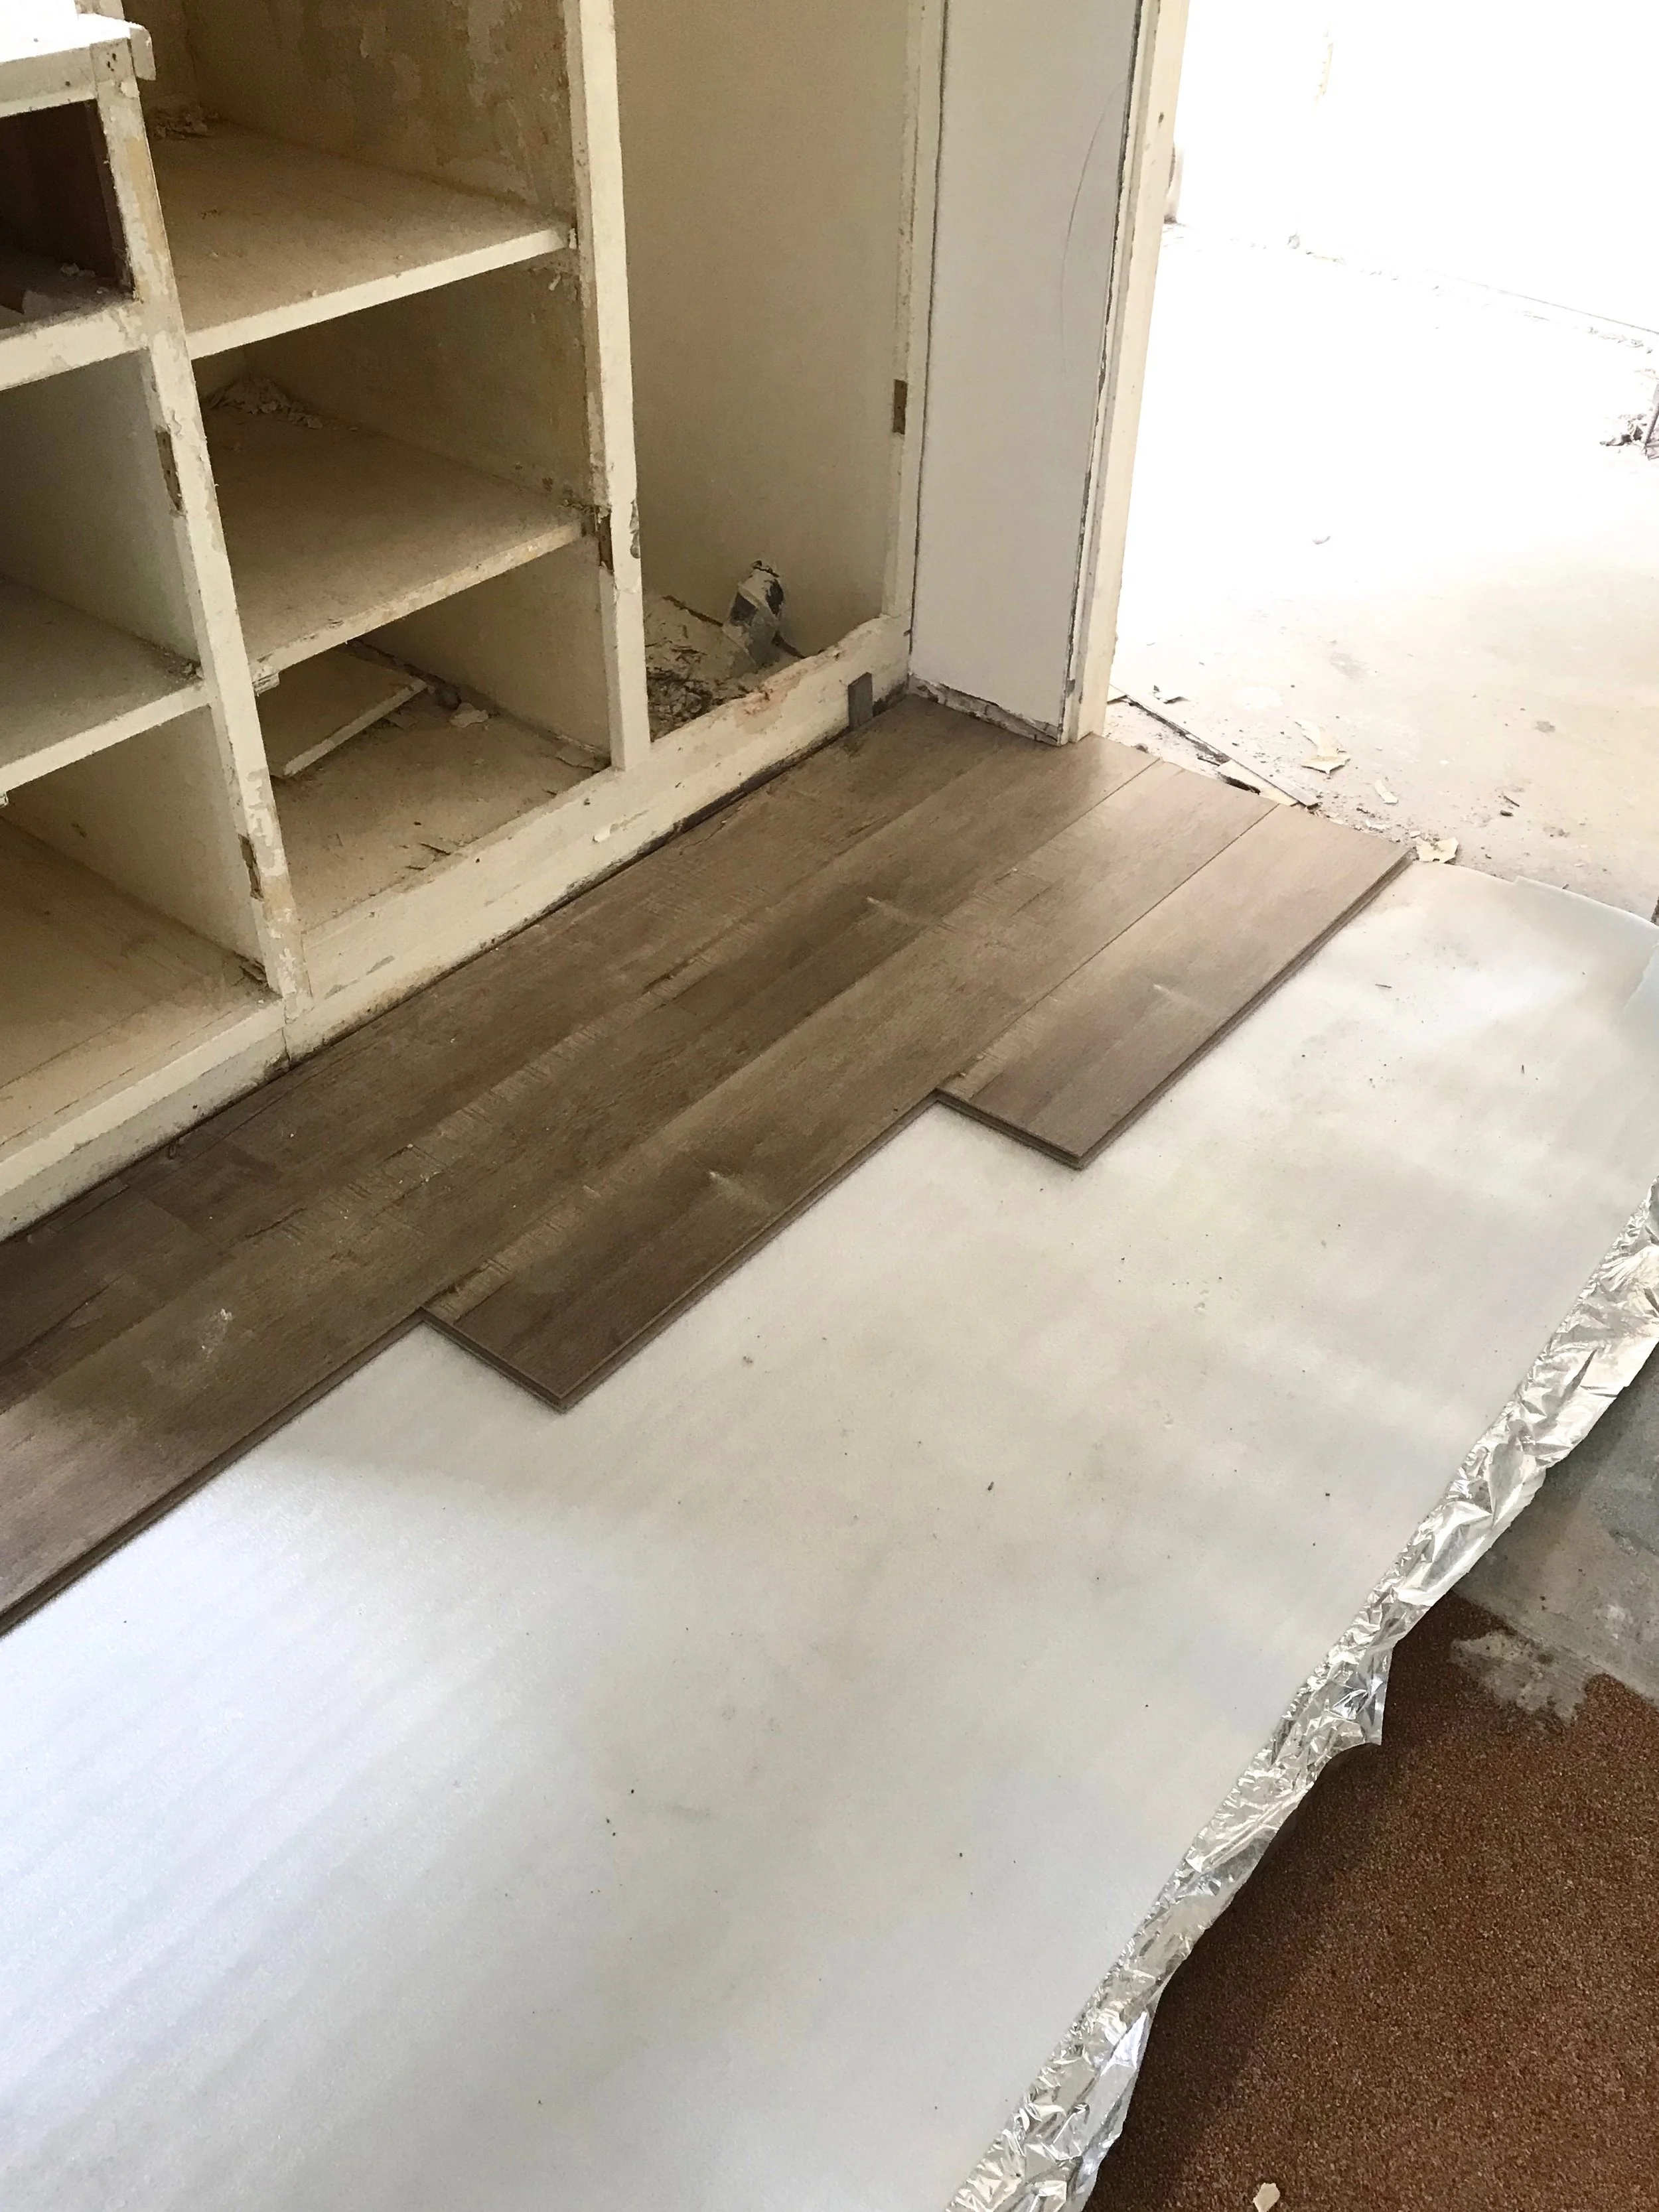
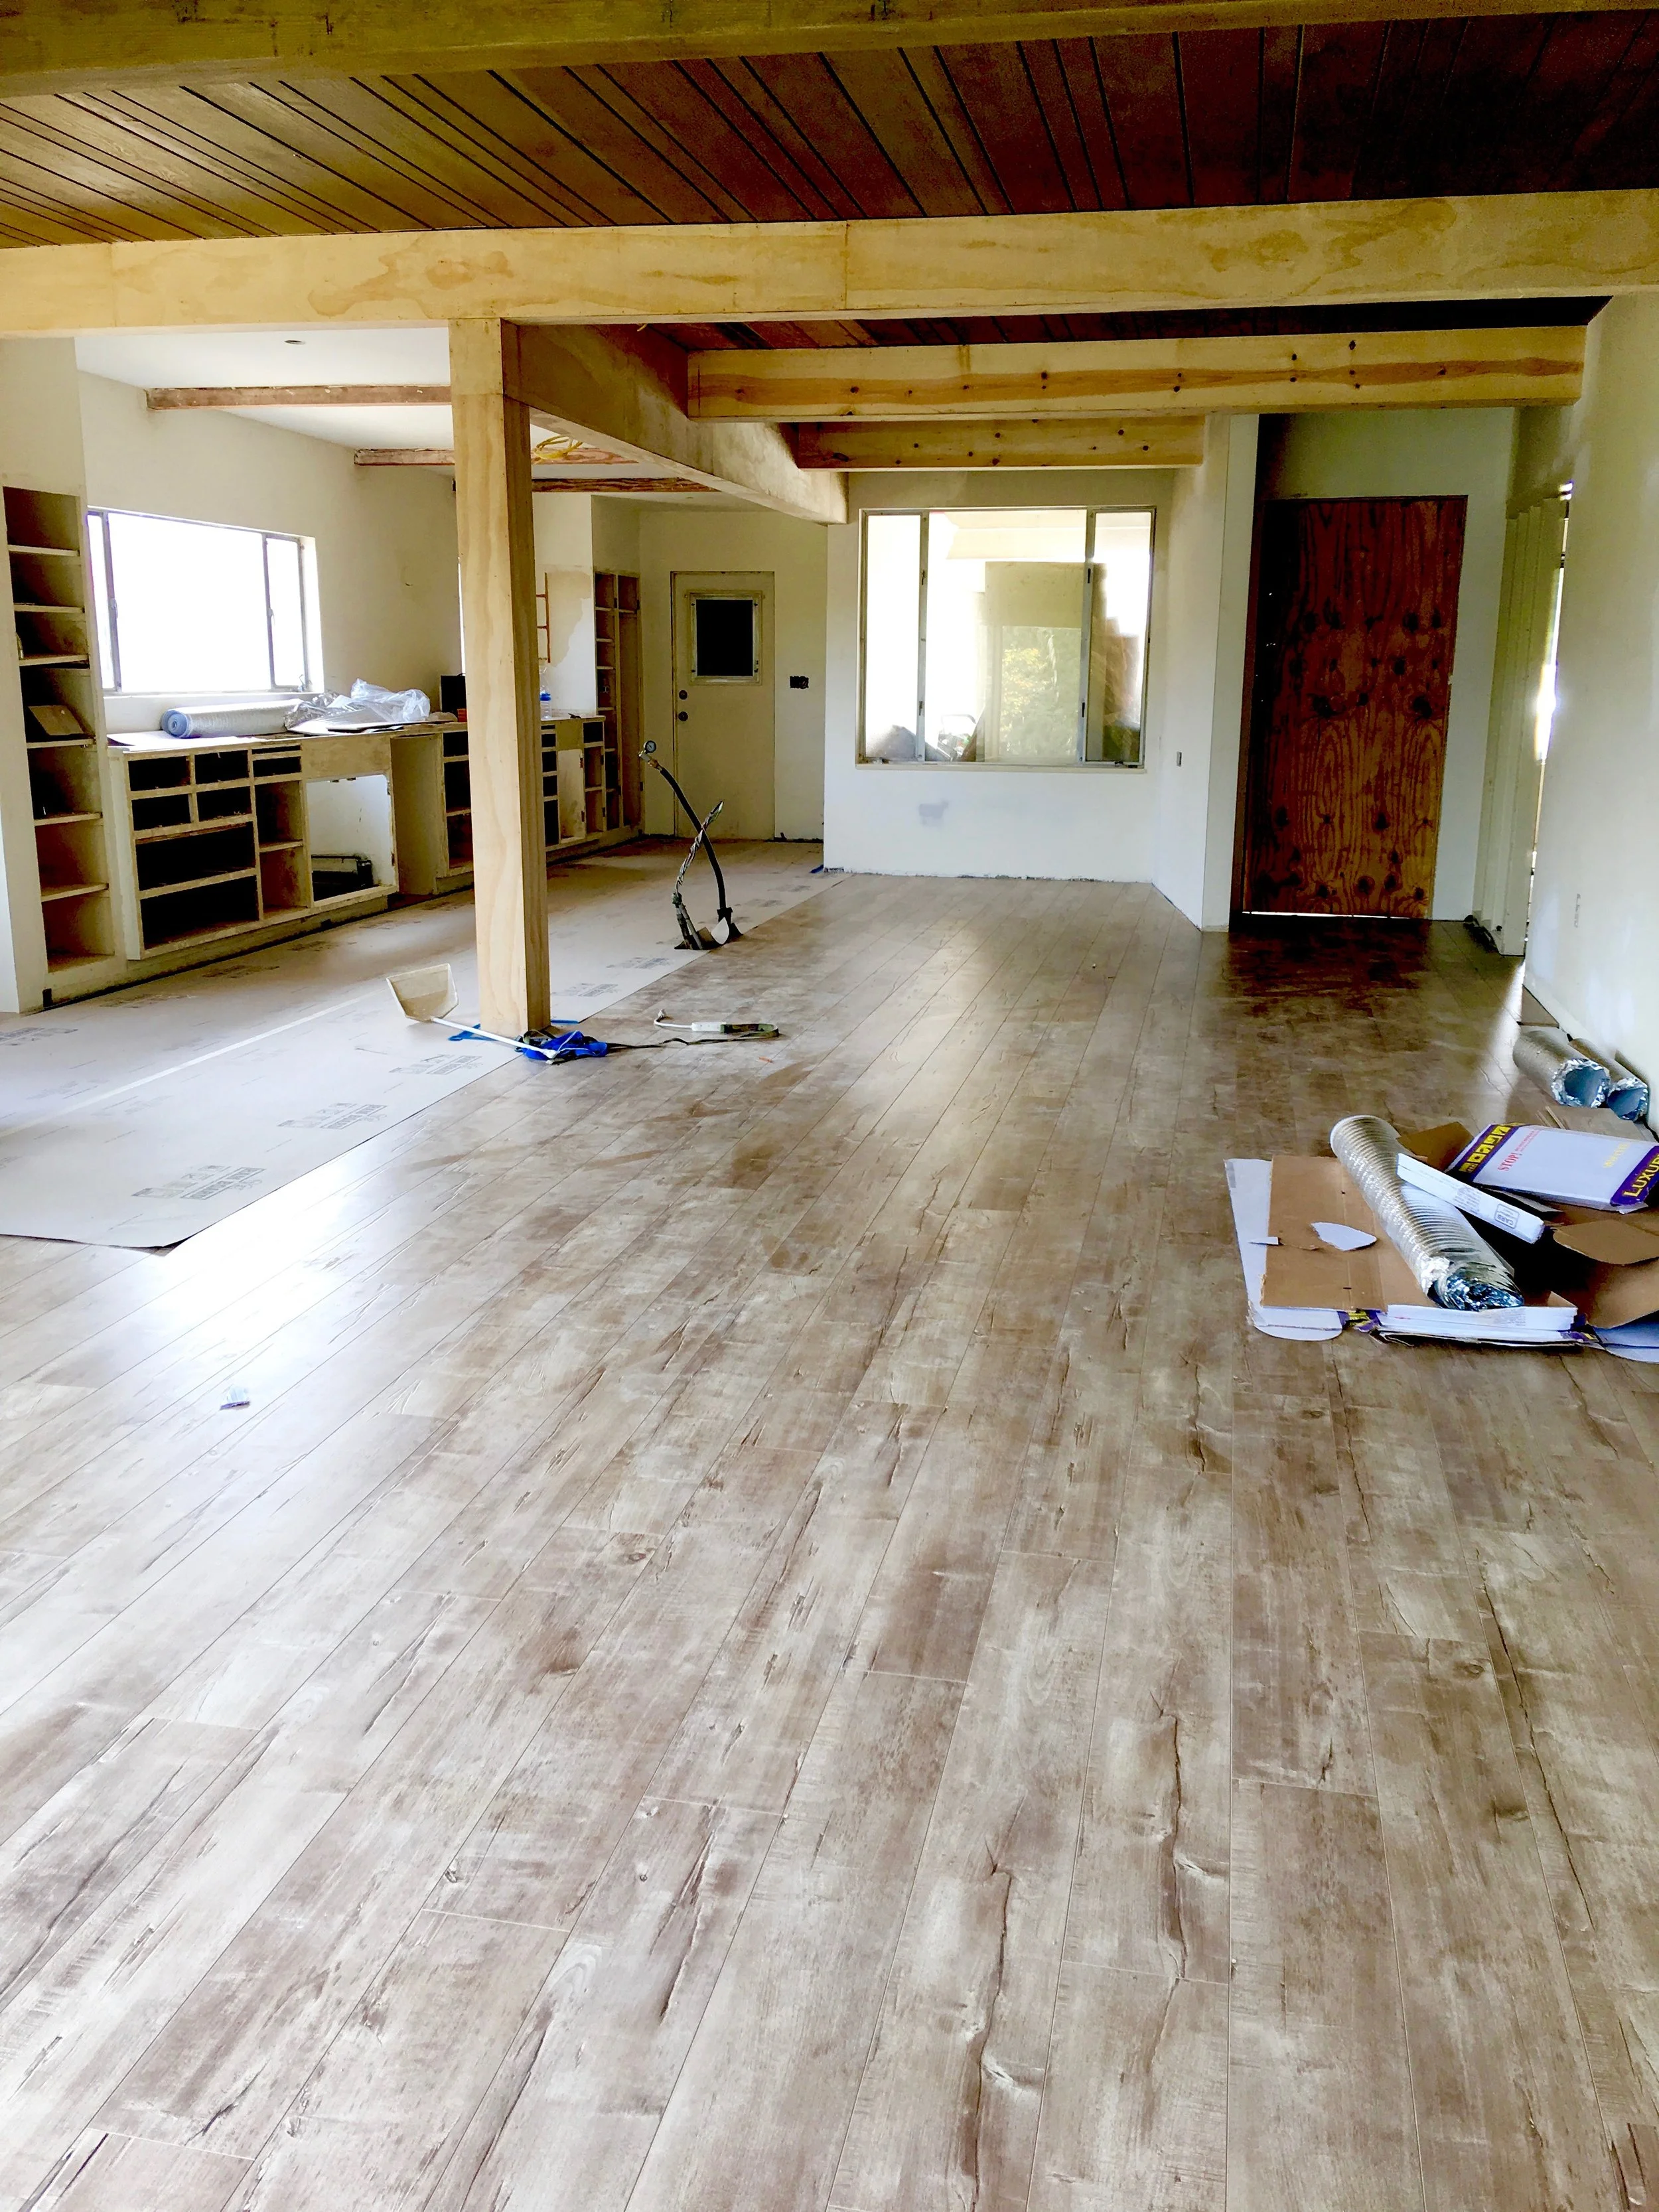
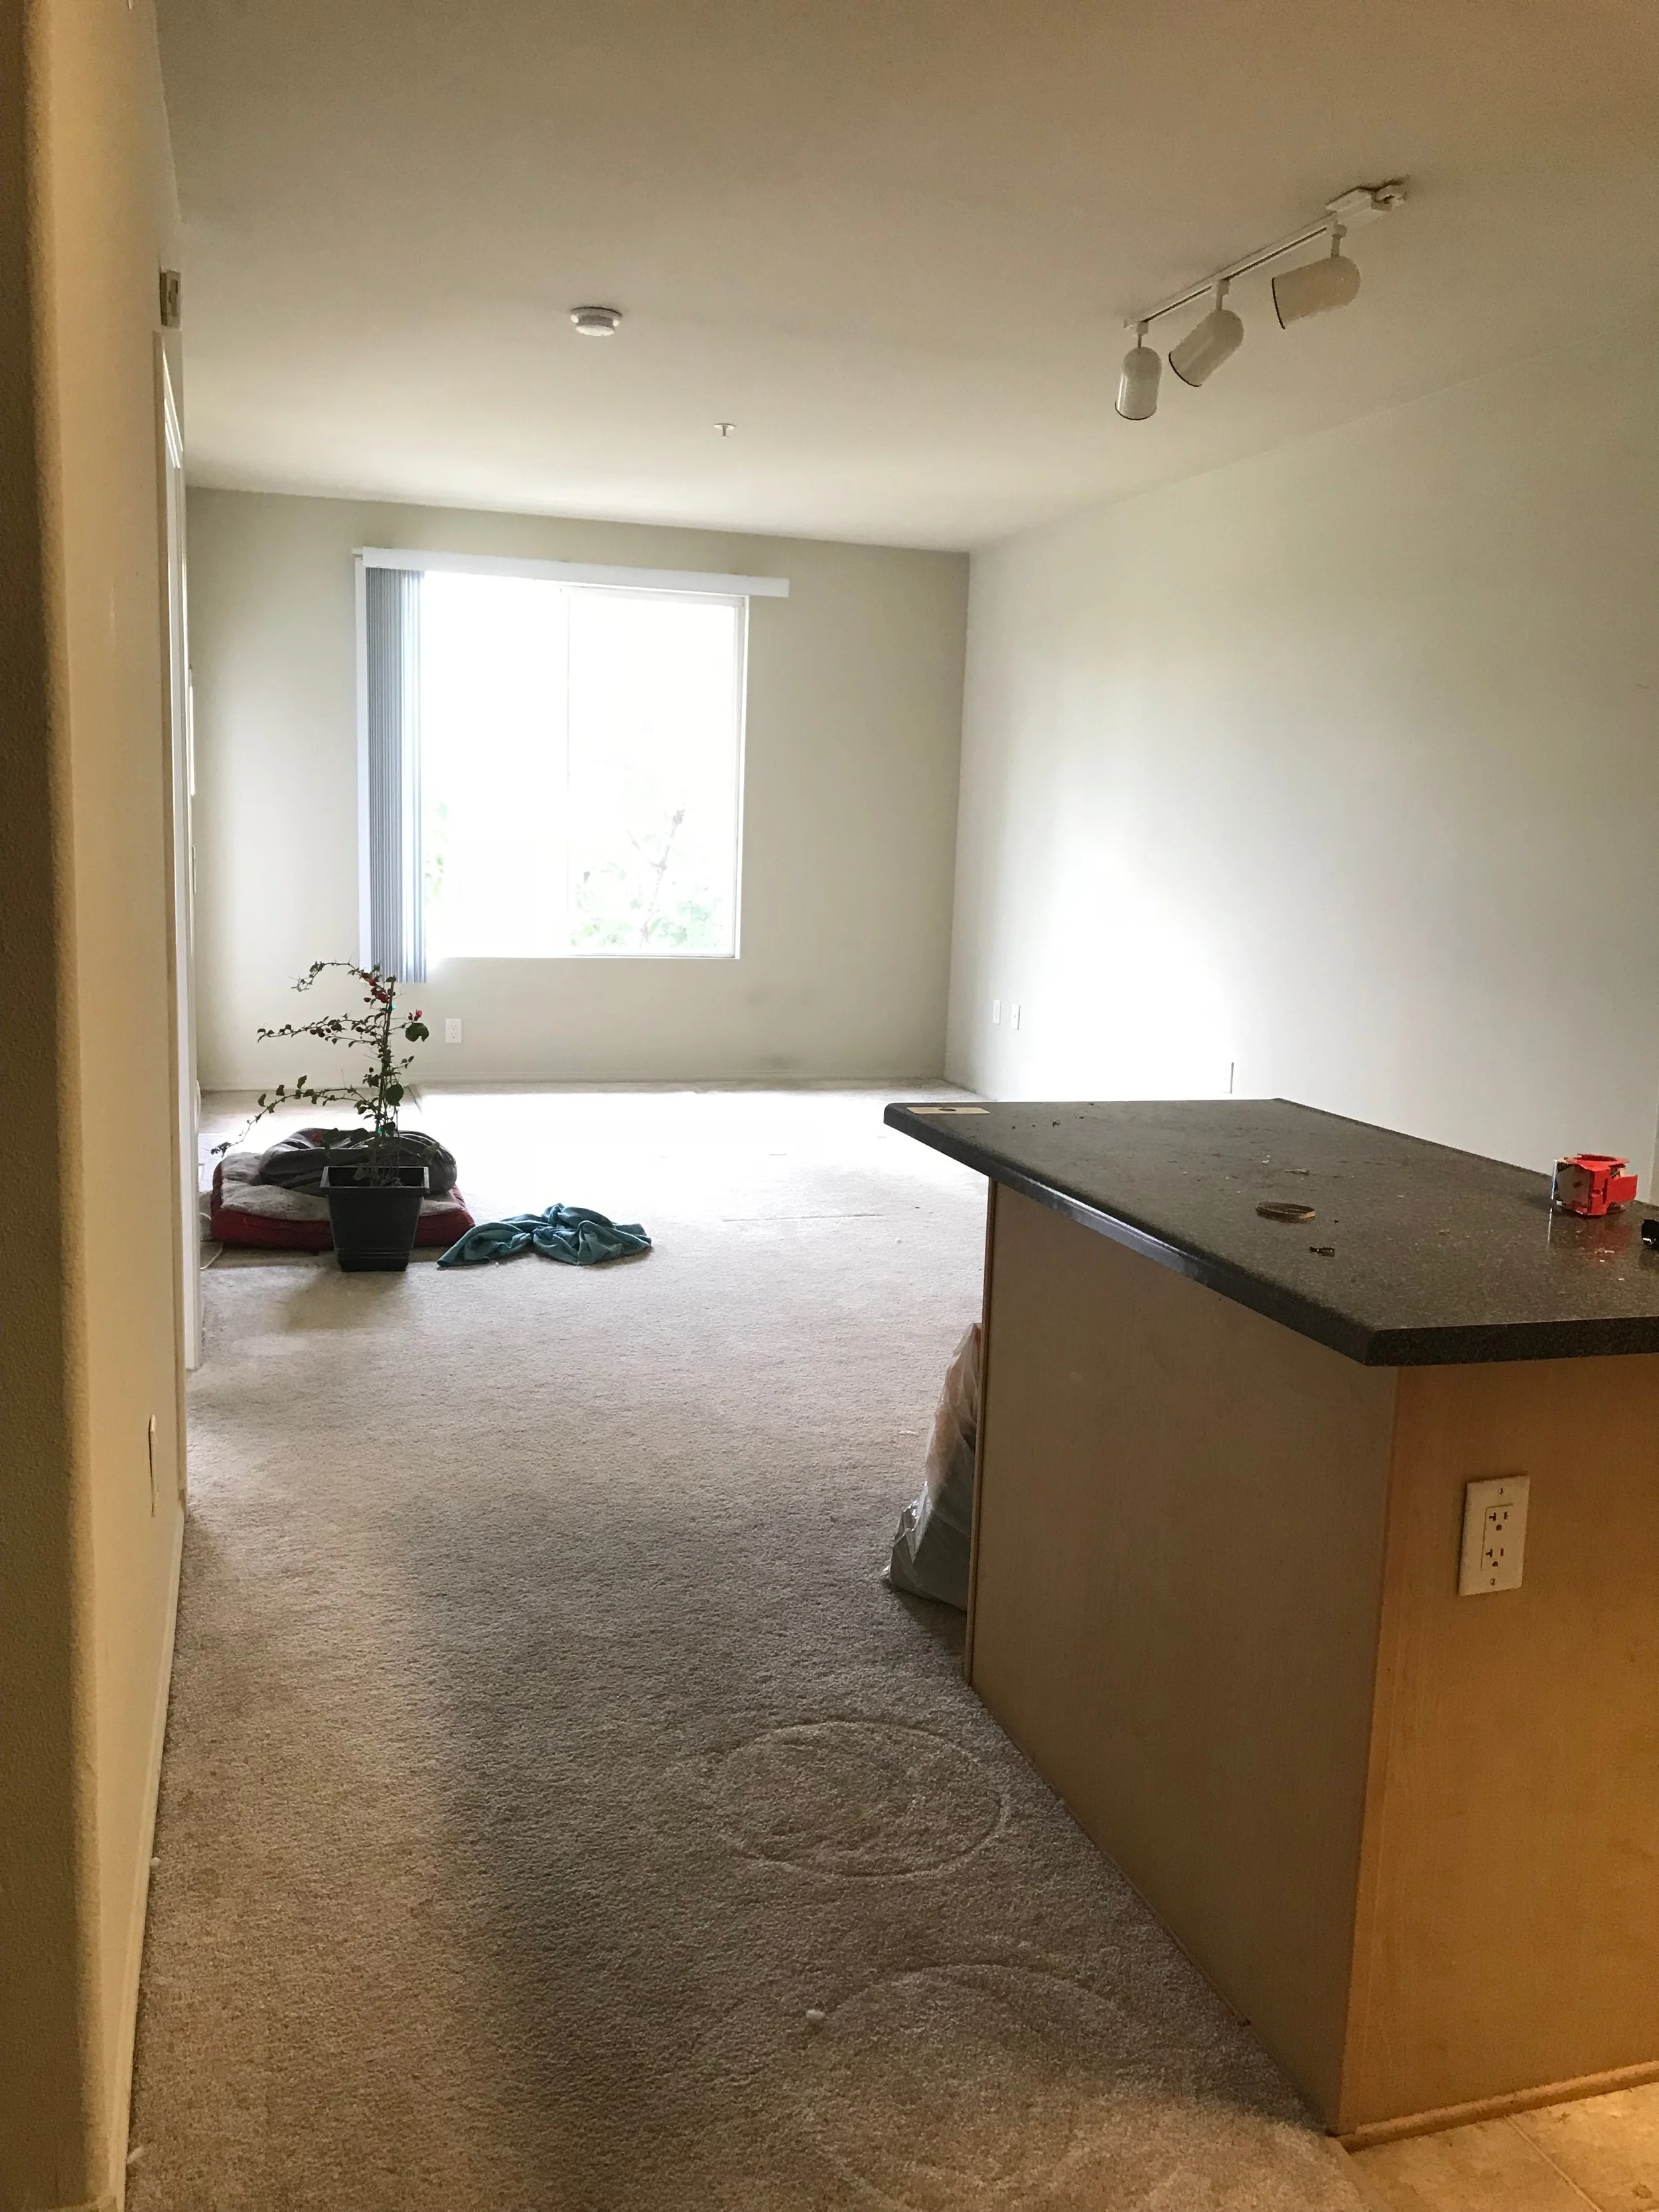
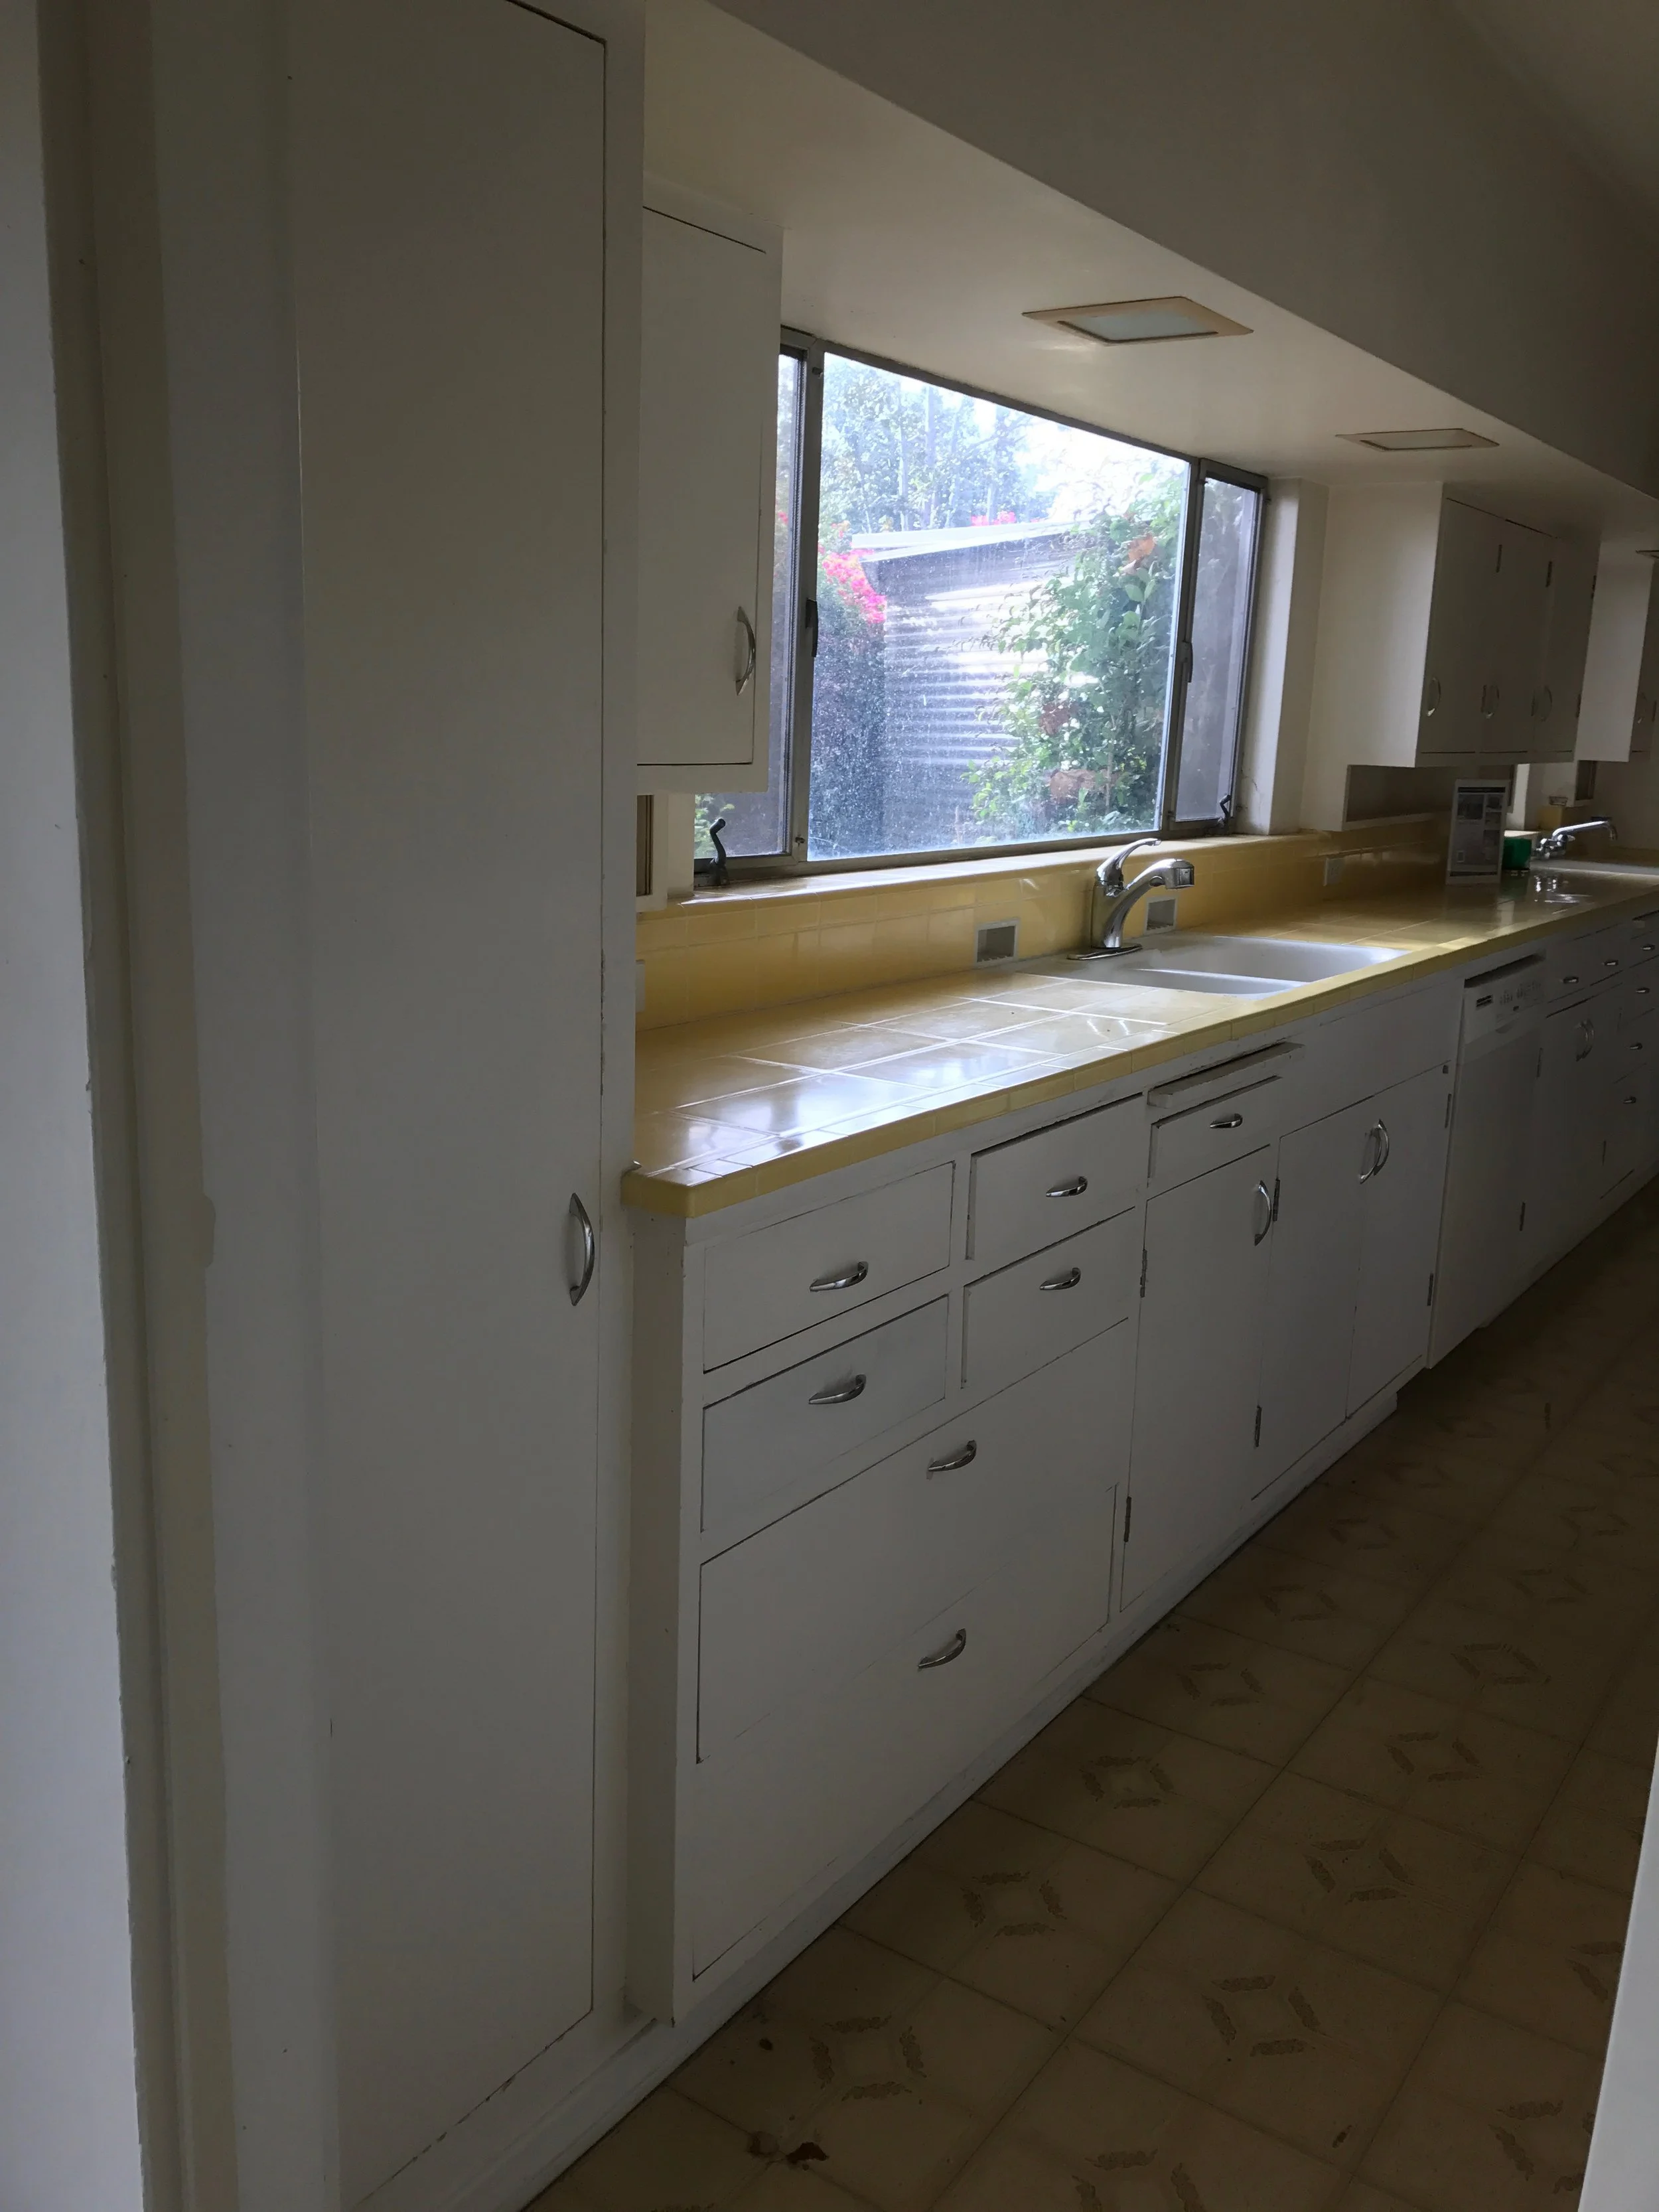
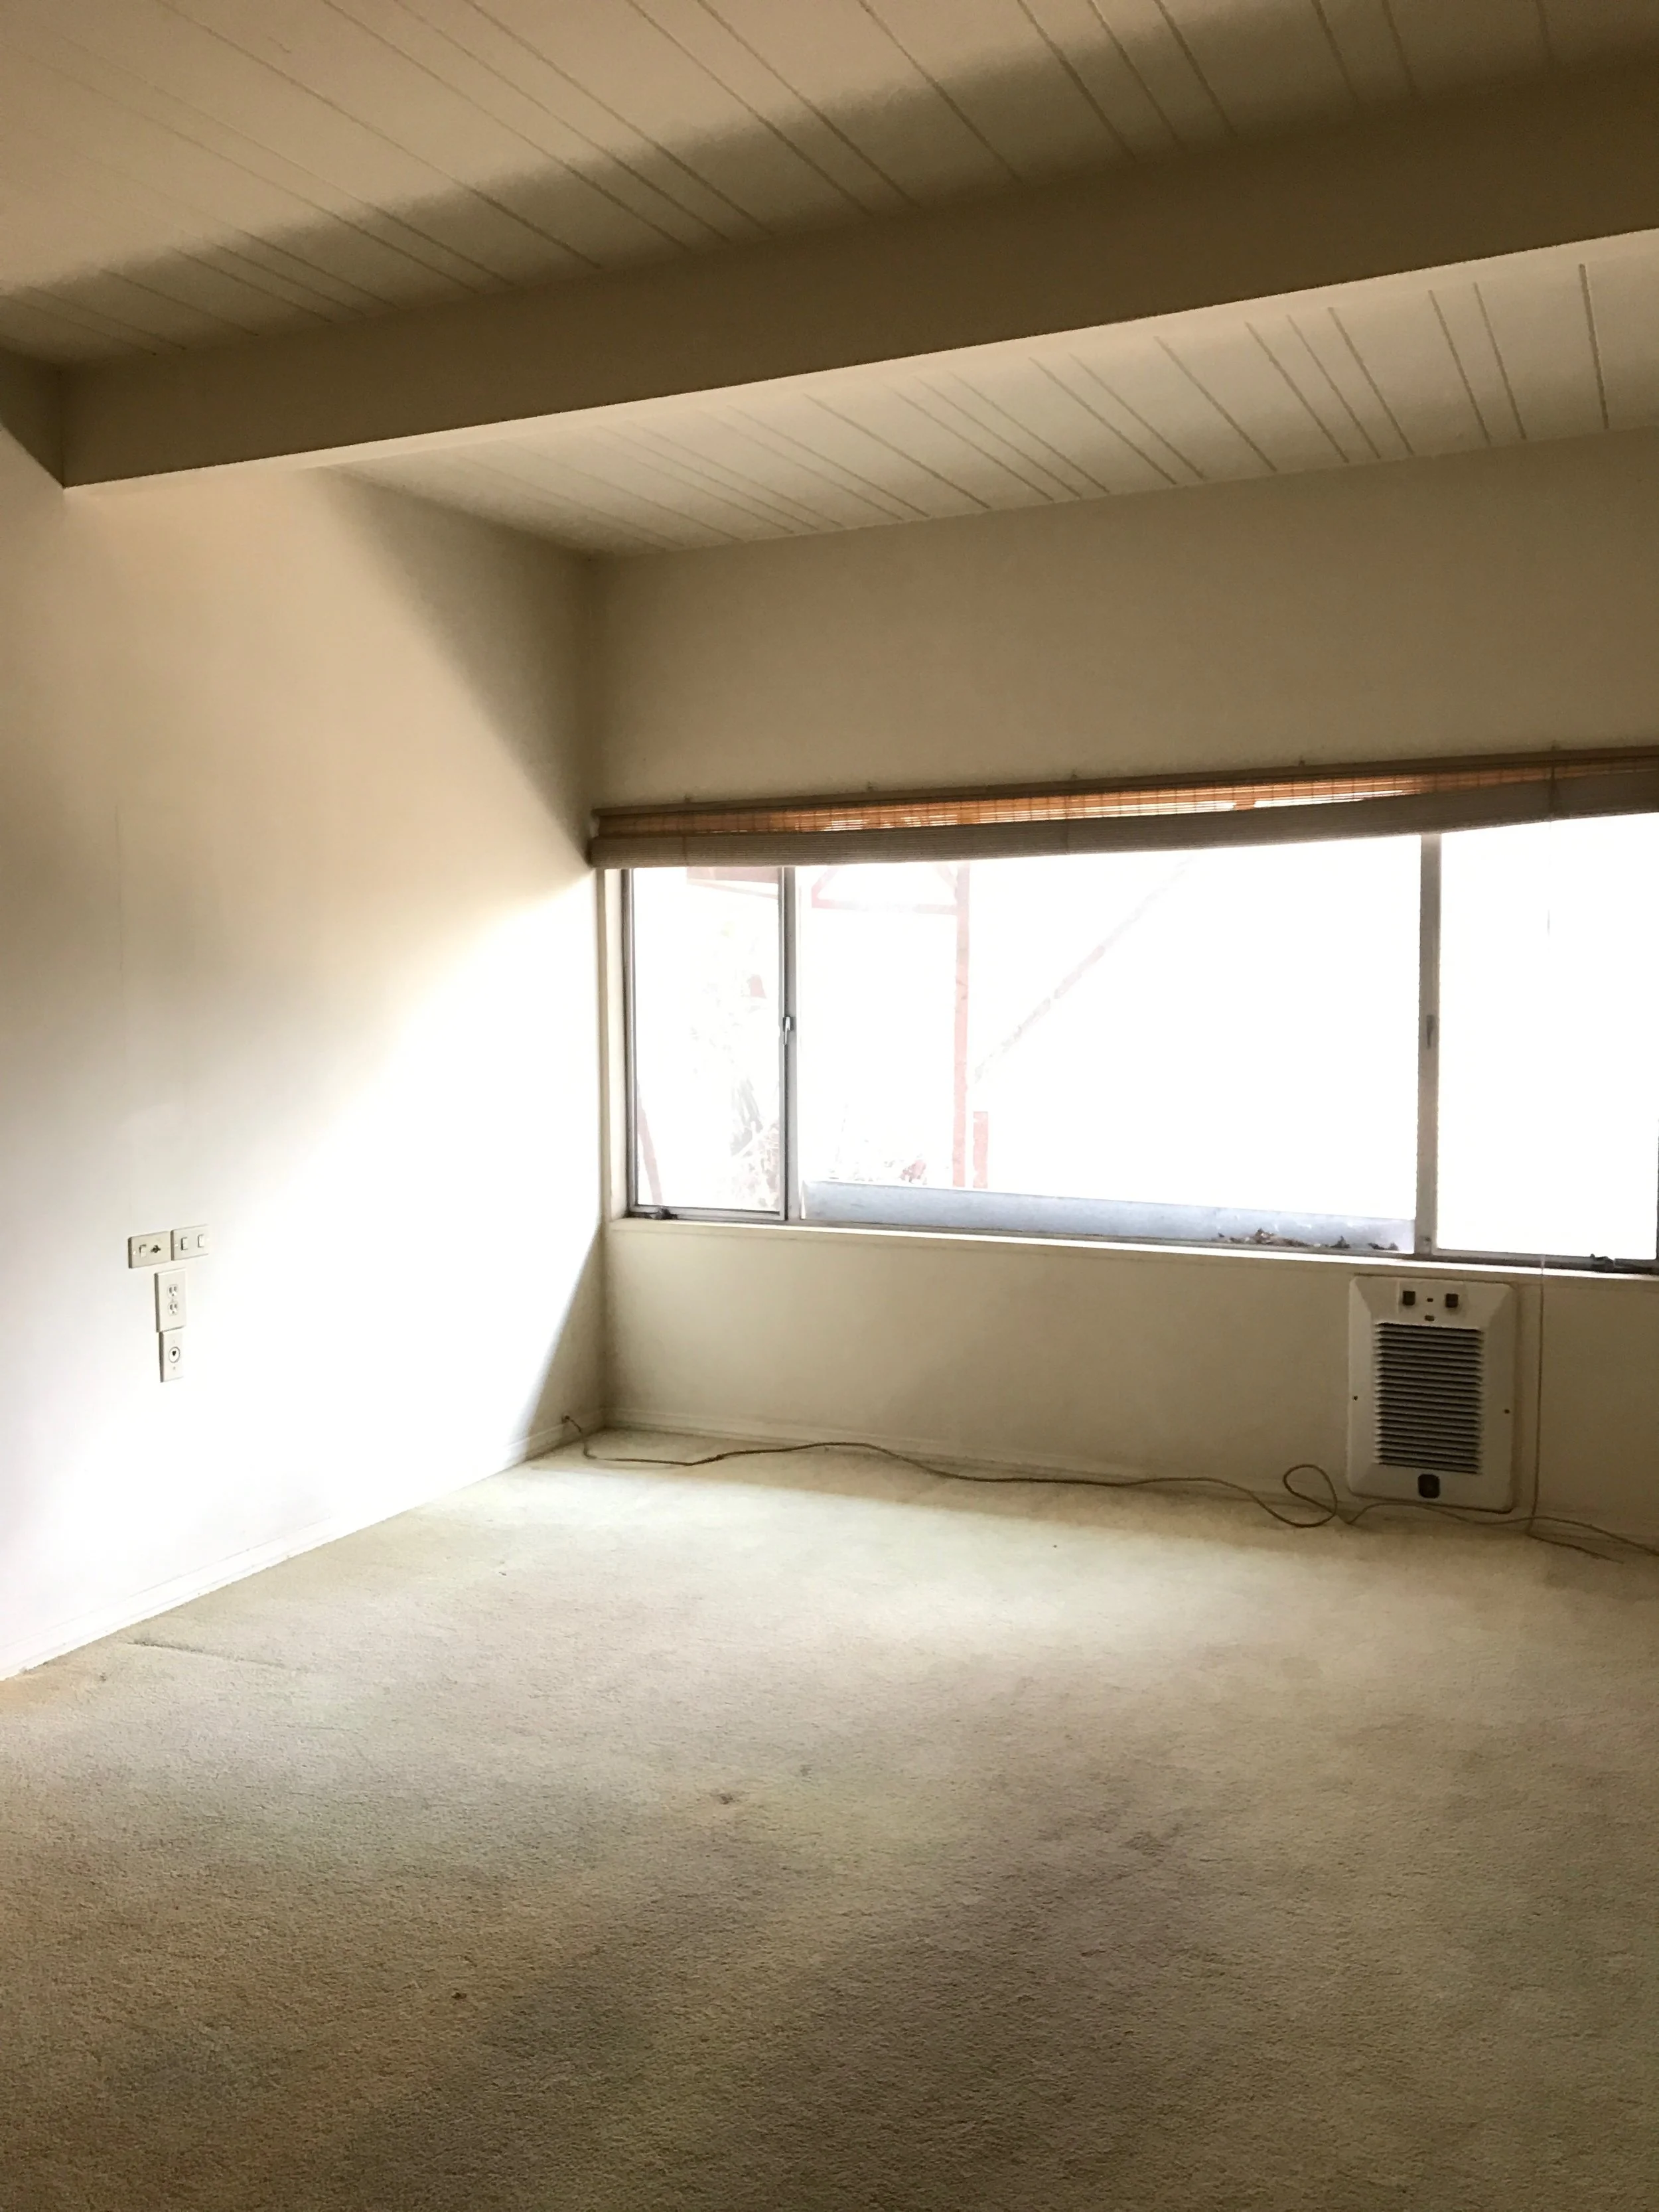
I got a little filter happy, but it's a light laminate with legit grain grooves. They're putting in the baseboards now. Can you believe the floors used to look like this??

This is the first time we're walking around the house with no shoes on. What a luxury!!!

Bathroom Tiles are In

This is the face of someone who is VERY HAPPY with 3D shower tiles!!!

IMG_4371.jpg

As a reminder, this is what our bathrooms looked like when we bought it. We reconfigured the layouts and went through a lot of construction to re-do the plumbing, electrical, and framing.

We chose the tile last month, and this weekend, we were finally able to see the transformation take shape! We know the style strays from mid-century modern, but we wanted the bathrooms to feel luxurious, clean, and inviting. After the kitchen, they'll be the most-used rooms in the house.

In the guest bathroom, we have the Style Selections Calacatta White Porcelain on the tub/shower walls with Bright White grout and silver edge trim. The floors are Fresco Blanco tiles with Cape Gray grout.

In the master bath, we have 3D tiles (similar to these, but I can't find the exact product) with Eclectic Vintage Exposed Concrete backsplash for the shower floor. Again, we used Bright White grout, silver edge trim, and floors that are Fresco Blanco tiles with Cape Gray grout.

Next up is installing the shower heads and faucets and getting a quote for the shower doors. This weekend, we'll be assembling the IKEA sink vanities for our contractor to slide in.

Moving Out of Playa Vista

Our apartment lease ended today. We rented a U-Haul and officially turned in our keys.

Over the past month, we've been packing up our apartment and slowly moving things over to the garage. As happy as we are to not have to pay another month of both rent and mortgage (it overlapped by three months), it's still bittersweet to say goodbye to our little corner of Playa Vista. Reminiscing on the past year has really shown us how much we've grown. Alex and I both started new jobs. I walked and biked to work. We took our first international trip(s) together — first Tokyo, then Rome, Florence, and Paris. We got ENGAGED. We spent so many weekends at the most beautiful dog park we've ever visited. We had an incredible Whole Foods also within walking distance. We hosted game nights. We dog-sat for friends. We had a solid gym routine for a few months (until we bought the house). We grilled in the communal area. We even had a pool and hot tub! We're closing a very special, pivotal chapter in our lives, but we're so excited to start the next one.

Also, let it be known that I DEVOURED this sul lung tang soup at our favorite Korean restaurant when we took a lunch break during the move.

For the next few weeks, we'll be living with Alex's mom and commuting to work until the house is ready for move-in. Thank you for the memories, Playa Vista! We won't be moving far, but we'll definitely miss all the little luxuries you've given us!

HomeDaphne ChanComment
What I'm Loving Right Now

Starting tomorrow, we'll be living out of a suitcase at Alex's mom's house until our house is ready to move into. There's a lot of change happening, so I wanted to take a moment to capture everything I'm feeling, thinking, and currently obsessed with in this moment.

  1. Favorite color: Used to be blush pink. Then it became rose gold. Now it's somewhere in between ivory and gray.
  2. Favorite clothing store(s): Irene's Story, Morning Lavender
  3. Favorite show: "The Office." I'm finally watching all the way through! Definitely much-needed after a stressful day of work or house chores. I relate WAY too much with Pam. :)
  4. Favorite outdoor spot: Fiesta Island. As part of our Valentine's Day tradition, Alex and I spent the weekend in San Diego with our two dogs: Chef (7 yr. old rescue Chiweenie) and Shabu (1.5 yr old Shiba Inu).
  5. Favorite Disneyland ride: Space Mountain. We've been annual passholders for the past 2 years, but we won't be renewing to save up for the house instead. 
  6. Favorite song: "Good Old Days" by Macklemore and Kesha
  7. Favorite snack: fried chicken wings, as usual
  8. Favorite furniture store: Room & Board
  9. Favorite Instagram girl crushes: Carizza RoseThe Little Bukowski, A Cozy Kitchen
  10. Favorite destination: Bali! Well... we haven't been there yet, but we're getting married there in September! We've locked down all our vendors with the help of our wedding coordinator, and we'll be visiting at the end of May to scope everything out in person.

P.S. Follow my personal Instagram or Pinterest for more!

Hot Mopping in the Bathrooms

It sounds like some kind of weird dance or new trend, but in fact, it's actually a process that's essential to any shower! Hot mopping is basically where you apply a thick layer of hot tar to the floor of a shower pan to create a waterproof seal that prevents leaks from damaging the subfloor. There are a few other ways to waterproof it (including sheet, roll-on and trowel-on products), but our contractor preferred hot mopping.

Now that we have drywall covering the bathroom walls, ceilings, and exterior, it's really starting to feel like an actual house. We even chose grout for the shower floors and shower tiles.

Next, we'll install tiles, the recessed light fixtures, and vanities. All the pieces are fitting back together!

Stripping and Painting the Cabinet Interiors

The goal for this weekend was to make everything as dirty as possible. We’re anticipating that the floors will go in sometime this week so we wanted to make sure that we finished sanding the beams and stripping the cabinet faces while we still had the chance to make a mess. The paint stripper is extremely corrosive and it would break our hearts if it messed up our new floors.

First, I applied paint stripper to the cabinet frames (the parts that face outward, in between the cabinet doors). That was the easy part.

Then, I applied paint stripper with a putty knife to the inside of the cabinet. This was a bit trickier because it's harder to reach and the angles were weird. I didn't do the entire interior. Just enough to remove the gross stains or yucky oils. These cabinets will house our pots, pans, dishes, and pantry items and even though they'll all have cabinet liners, I was grossed out by the thought of years of grime touching our food and ingesting who knows what.

We plan to do some more stripping and sanding this weekend. But if the floors are installed, we'll save it for after we move in and lay out tons of painters plastic.

French vs. Sliding Patio Doors

As a little girl, I remember falling in love with French doors (and outdoor courtyards) at a restaurant in Chicago called Versailles that has since closed. Romantic, elegant, and charming, French doors have always been a huge YES for me at hotels or Airbnbs. But when it came time to think about installing them in our master bedroom, I had to put my personal preferences aside and really think about what made sense for our lifestyle.

FRENCH PATIO DOORS

Pros:

  • Beautiful, duh

  • When both doors are open, it’s large enough to move things in and out or host large groups of people

Cons:

  • Hinged doors must be propped open, inviting lots of bugs and dirt inside (unless you hang mosquito netting, which takes away from the open-airness)

  • Swinging doors can also be loud and problematic if it’s windy

  • Inswing or outswing doors require unobstructed floor space which affects the configuration of furniture

  • Often found in homes with more traditional architectural styles

  • Could potentially be more expensive depending on the door design

Source Unknown

SLIDING PATIO DOORS

Pros:

  • Sliding door can easily be opened, closed, or propped open in any type of weather

  • Built-in screen door

  • Door frame is usually narrower than French doors, allowing in more sunlight and taking up less space — ultimately making the space feel larger

Cons:

  • Sliding track must be cleaned and maintained to ensure smoothness

Ultimately, we decided to go with sliding patio doors for their convenience factor and sleek, modern style. We know that we’ll be using the door mostly to let our dogs out in the backyard, and keeping it closed otherwise to help reduce the noise from the freeway. I’ll save the French doors for my future Tuscan villa. :)

How to Add a Clear Coat Finish to a Front Door

Last month, we bought our front door from Urban Doors. After placing our order, it would take an estimated 3-4 weeks to custom make. Last weekend, our contractor was able to pick it up so we spent this weekend (my birthday weekend!) applying a clear coat finish to it — a $400 cost that we were able to pull off for $47.

Yep, Urban Doors was going to charge $400 for the clear coat! Since our door doesn't receive any sunlight and won't require weatherproofing, we knew it would be easy and felt comfortable doing it ourselves. That said, we did some research but approached it with a "figure-it-out" mindset, for the most part.

While feeling a little overwhelmed by all our options at Home Depot, we did a quick search on Minwax's website to figure out which clear coat would fit our project best. We narrowed it down to their products designed for exterior doors which pointed us to the Water Based Helmsman® Spar Urethane (Clear Satin). We bought 1 gallon and got to work using a high quality synthetic brush.

I lightly sanded the surface with a sheet of super thin sandpaper, just to make sure the surface was smooth and even. I decided not to use the sanding block because it put too much friction on the surface. After sanding, I wiped down the surface with a damp cloth and poured the clear coat in a paint tray. I applied a thin coat, making sure to cover all the crevices and not agitate too many bubbles (thick coats take longer to dry and are more likely to be uneven and attract dust). It felt a lot like applying a nail polish topcoat!

I could instantly see a great improvement. With the clear coat, the wood became much richer and glossier. I'm glad we didn't stain the door beforehand because the clear coat brought out a much deeper color than I expected. Applying the clear coat took about 45 mins., and we waited 2 hours for it to dry. Then, we flipped the door over and I repeated the process. We left it overnight to dry, then came back the next day to sand it down and apply another coat to each side. I even had enough time to apply a final 3rd coat to one side. Ultimately, I'll do the same to the other side, most likely after it's installed this week.

The final product after 3 coats.

All in all, the project took about one weekend to complete (keep in mind that we still aren't living in the house, and we let the door dry overnight). We're so happy with the results! It's smooth, glossy, and really brings out the beautiful wood grain. Plus it saved us hundreds of dollars!

Design Inspiration: Hanging Plants

Last summer, I was really dedicated to my plants and herb garden on our apartment balcony. I'm excited to pick it back up again and fill our house with lushness.

Hanging planters help bring the eye upwards and give life to unexpected corners of the room. By hanging them off curtain rods, there's basically no assembly required.

I literally can't wait to make these with leftover wire in my craft stash! Just a few simple supplies help transform your space into something straight out of Anthropologie.

These gorgeous hanging brass bowls can be easily thrifted and are great for holding fuller plants. 

Terrain

Terrain

Super trendy hanging baskets or birdcages add an eclectic touch. They're also great for succulents or other smaller plants that need something to latch onto.

Petscaping Plans for the Dog Walkway

Once we move in, we’ll be turning one of the walkways on the side of the house into a dog run for Chef and Shabu. The house isn’t fully fenced off yet either so we’ll keep them on leashes for now.

Here’s what we’re working with.

But after we level out the walkway with soil/sand, we’ll place concrete slabs or deck tiles and fill in the gaps with gravel/river rocks. There’s also a concrete wall that I’d like to paint black. And we already made sure to install a motion sensor light to make it a nice designated spot for them to do their business. We haven’t brought them to the house yet because it’s still littered with glass and nails. We can’t wait to see their reaction once we move in!

Source

Weekend Progress: Stripped Ceiling Beams (Finally)

Last weekend, Alex started stripping the paint from the wooden beams in both bedrooms. The task was much harder than the kitchen cabinets because the layers of paint were thicker and more difficult to reach. Alex’s co-worker Daniel helped us sand the beams in the master bedroom while Alex stripped the paint in the guest bedroom. After about 6 hours, the beams in the master bedroom were done! The next day, Alex finished up the beams in the guest bedroom.

One of the main reasons why we wanted to strip the paint now was because the flooring hasn’t been installed yet. This means we can make a giant mess without worrying about damaging anything. The paint stripper is extremely abrasive (we’ve gotten a few splatters on our skin and it burns) so when Alex scrapes the paint off, it lands on the floor in giant,  chemical-filled piles — completely harmless to the ground that is soon-to-be covered in our beautiful laminate.

More updates:

  • We have walls! Drywall went up last week, and we just need them to “skim” it with a smooth surface for us to paint when we move in. The other option would be a textured surface, but we want it smooth.
  • The kitchen soffit is now filled with insulation, also ready to be drywalled this week.
  • The roofing guys were there on Saturday to install foam insulation.
  • All of the flooring has been picked up and is waiting in the garage to be installed. It was a little bit of a stressful ordeal to get it ordered and expedited so when we opened it up, I couldn’t help but hug it. We also have baseboards chosen.
  • Our front door is ready for pickup! Our contractor will get it and install it. He’s also picking up the bathroom floor tile for us.
HomeDaphne Chanhome, DIY
Design Inspiration: Black Kitchen Islands

When we started thinking about color themes for the kitchen, a part of me wanted to go bold and expected. I was drawn to moody, sophisticated black cabinetry, and the thought of covering up all the ugly stains and imperfections on our old doors and drawers really inspired me.

But in the end, I decided against it. Knowing that we’ll get a ton of sunlight from the big living room windows, I didn’t want all the black to swallow up the room. I was also concerned about how often they would need touch-ups and if they would easily attract dust or fingerprints.

I’ll just admire these kitchens on Pinterest for now instead!

Jeff Madalena and Jason Gnewikow // Source

Jeff Madalena and Jason Gnewikow // Source

Maison de Pax // Source

Maison de Pax // Source

The Arts and Crafts Kitchen // Source

The Arts and Crafts Kitchen // Source

Arrital // Source

Arrital // Source

Biasol // Source

Biasol // Source

Crocodile Rocks - Black Moonstone // Source

Crocodile Rocks - Black Moonstone // Source