Posts tagged home
Renovations Continued: Two Bedroom additions + One Bathroom

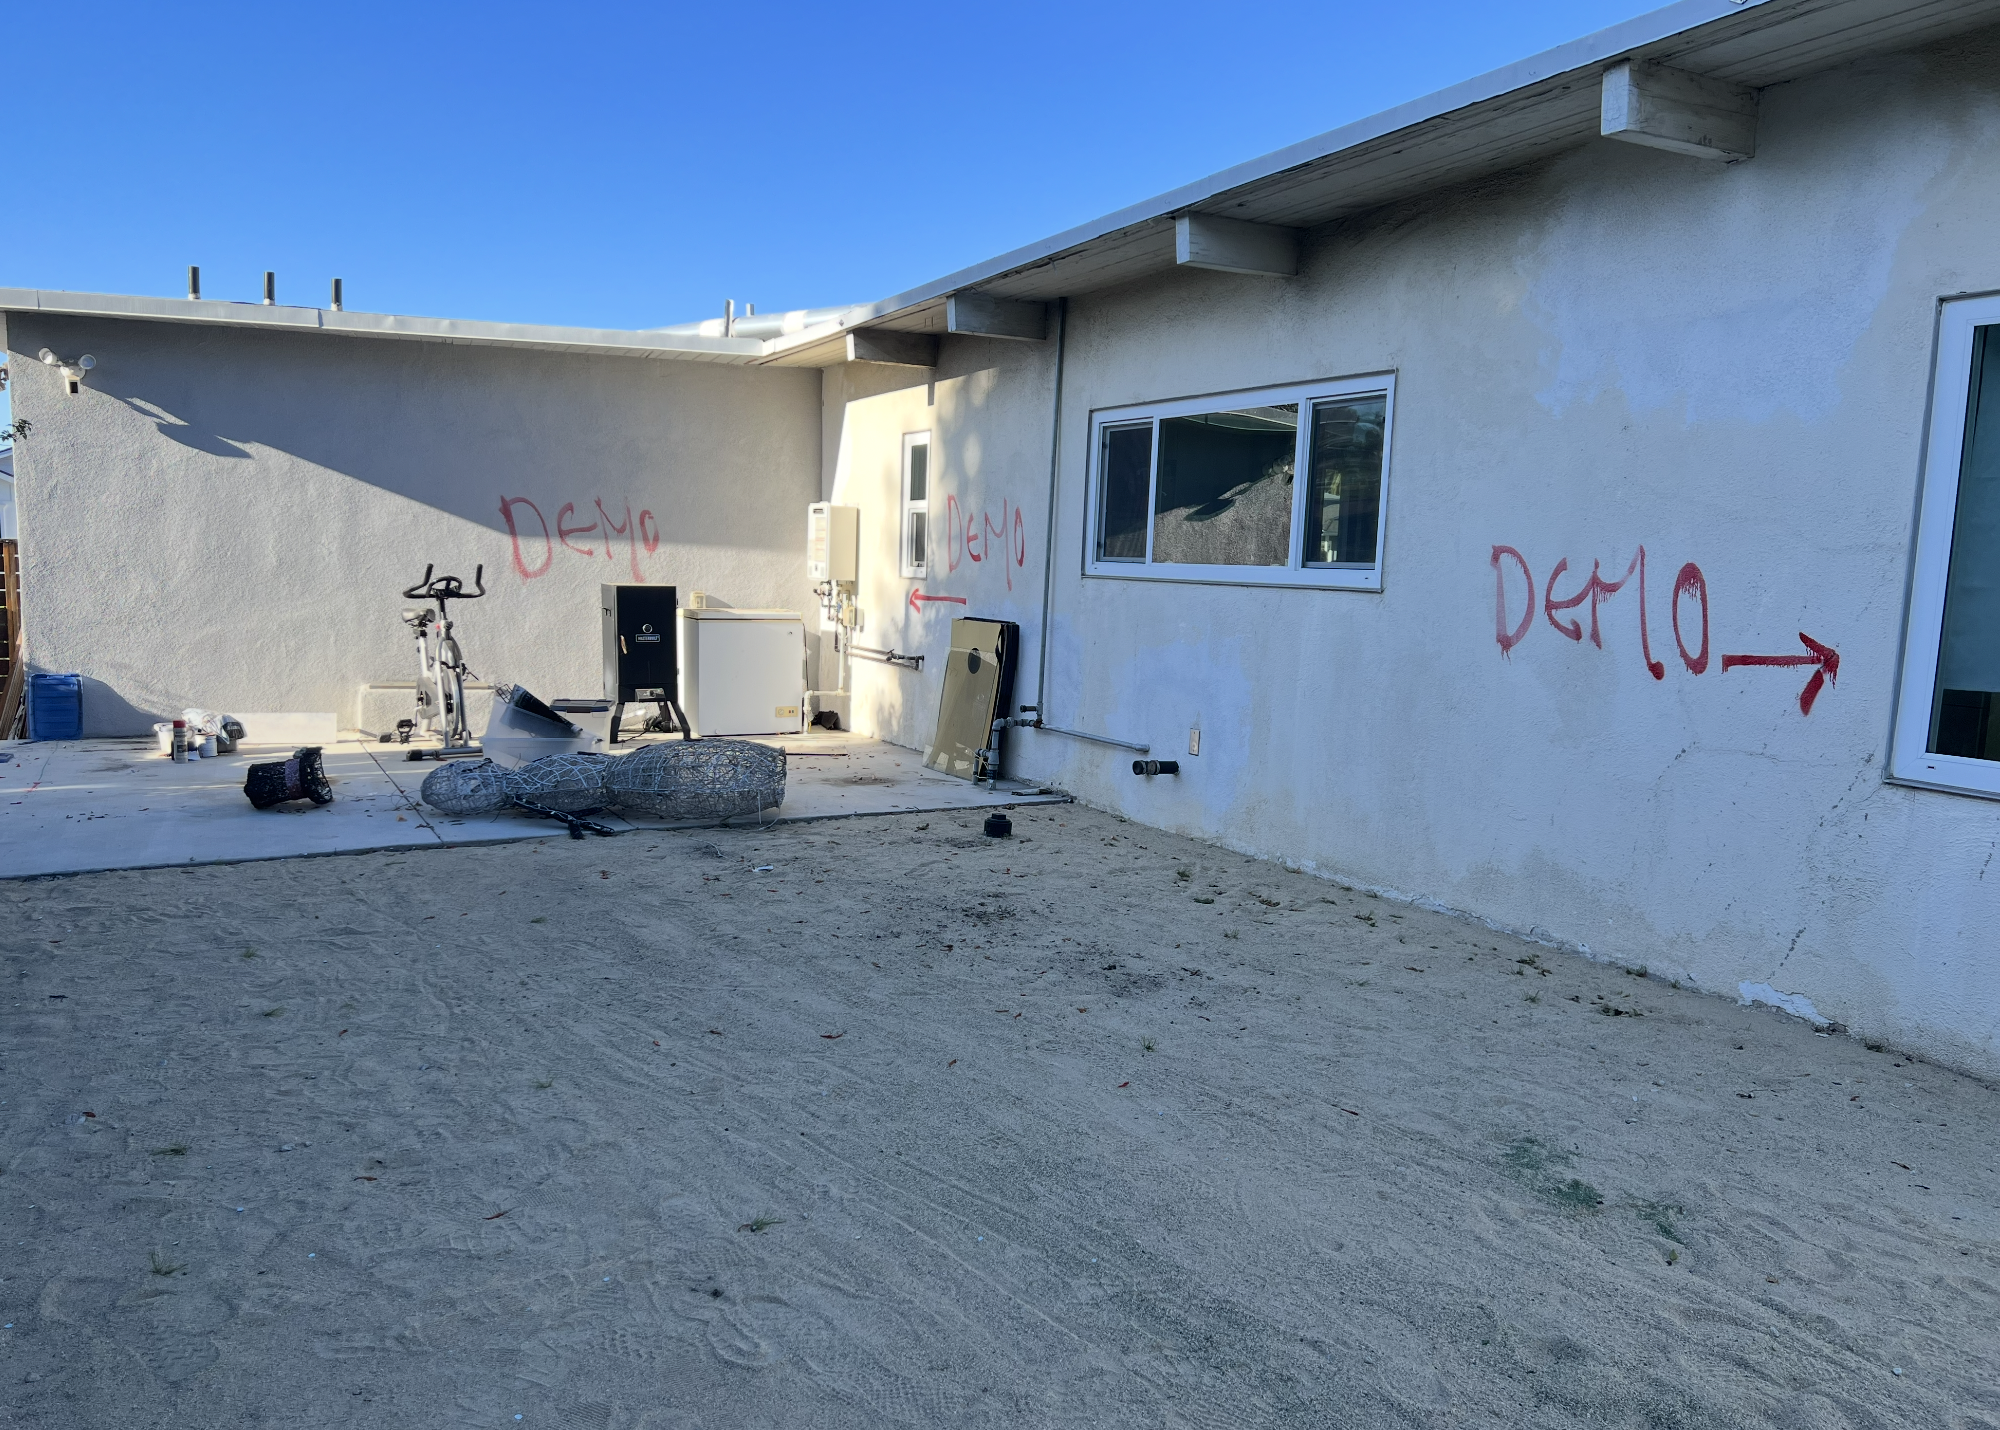
In November 2023, we broke ground on transforming our beloved playground space into something much more functional for our growing needs.

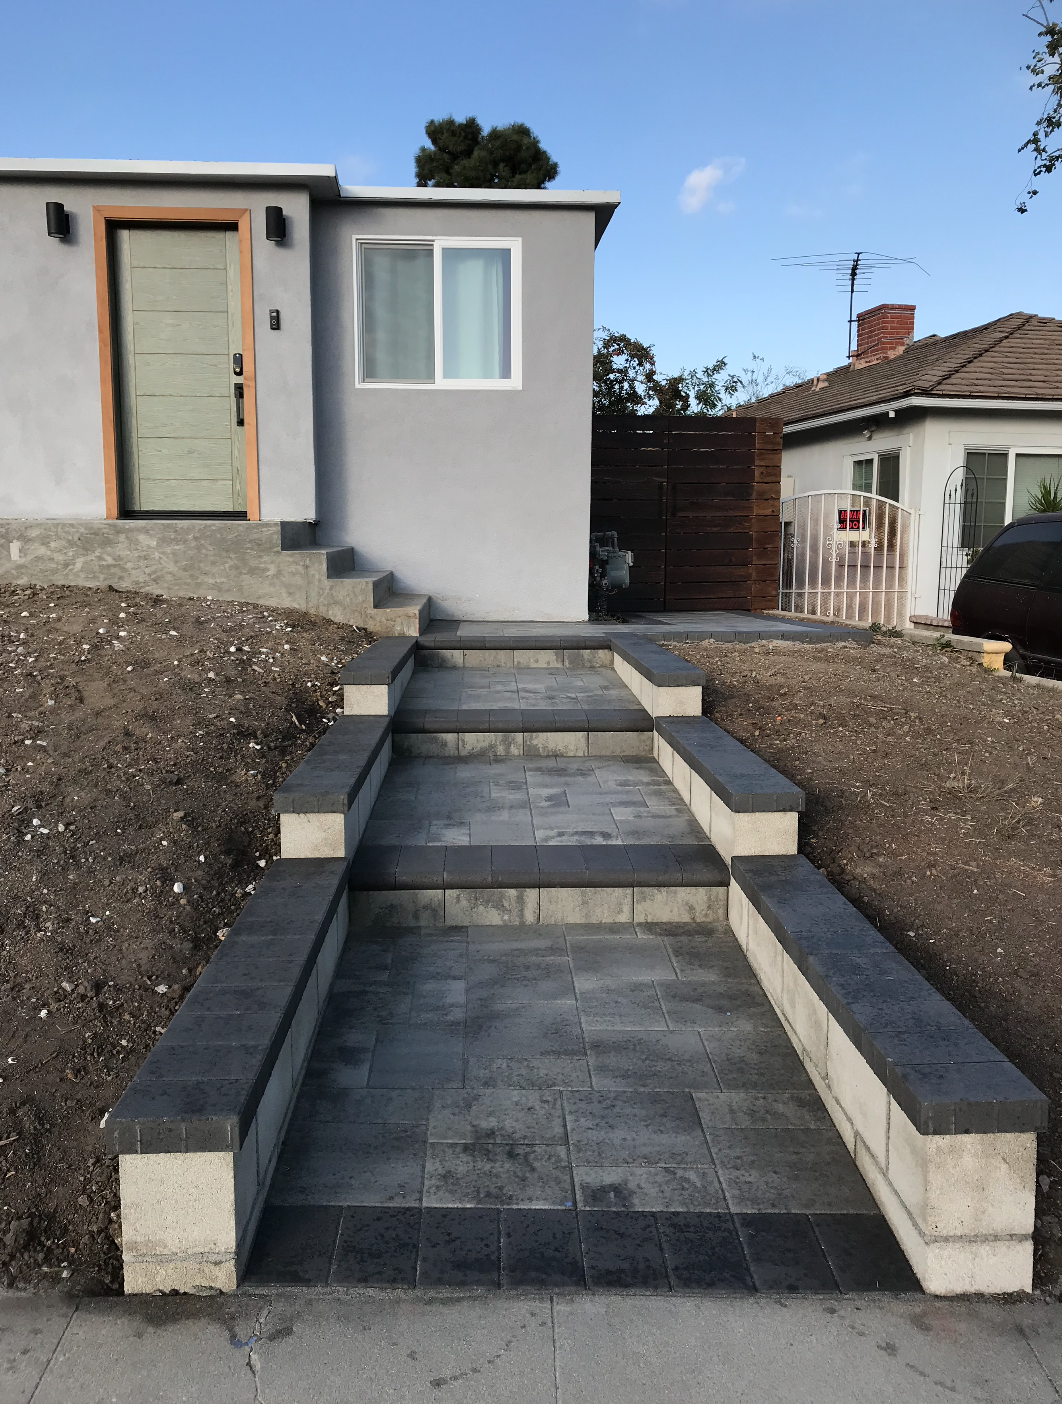
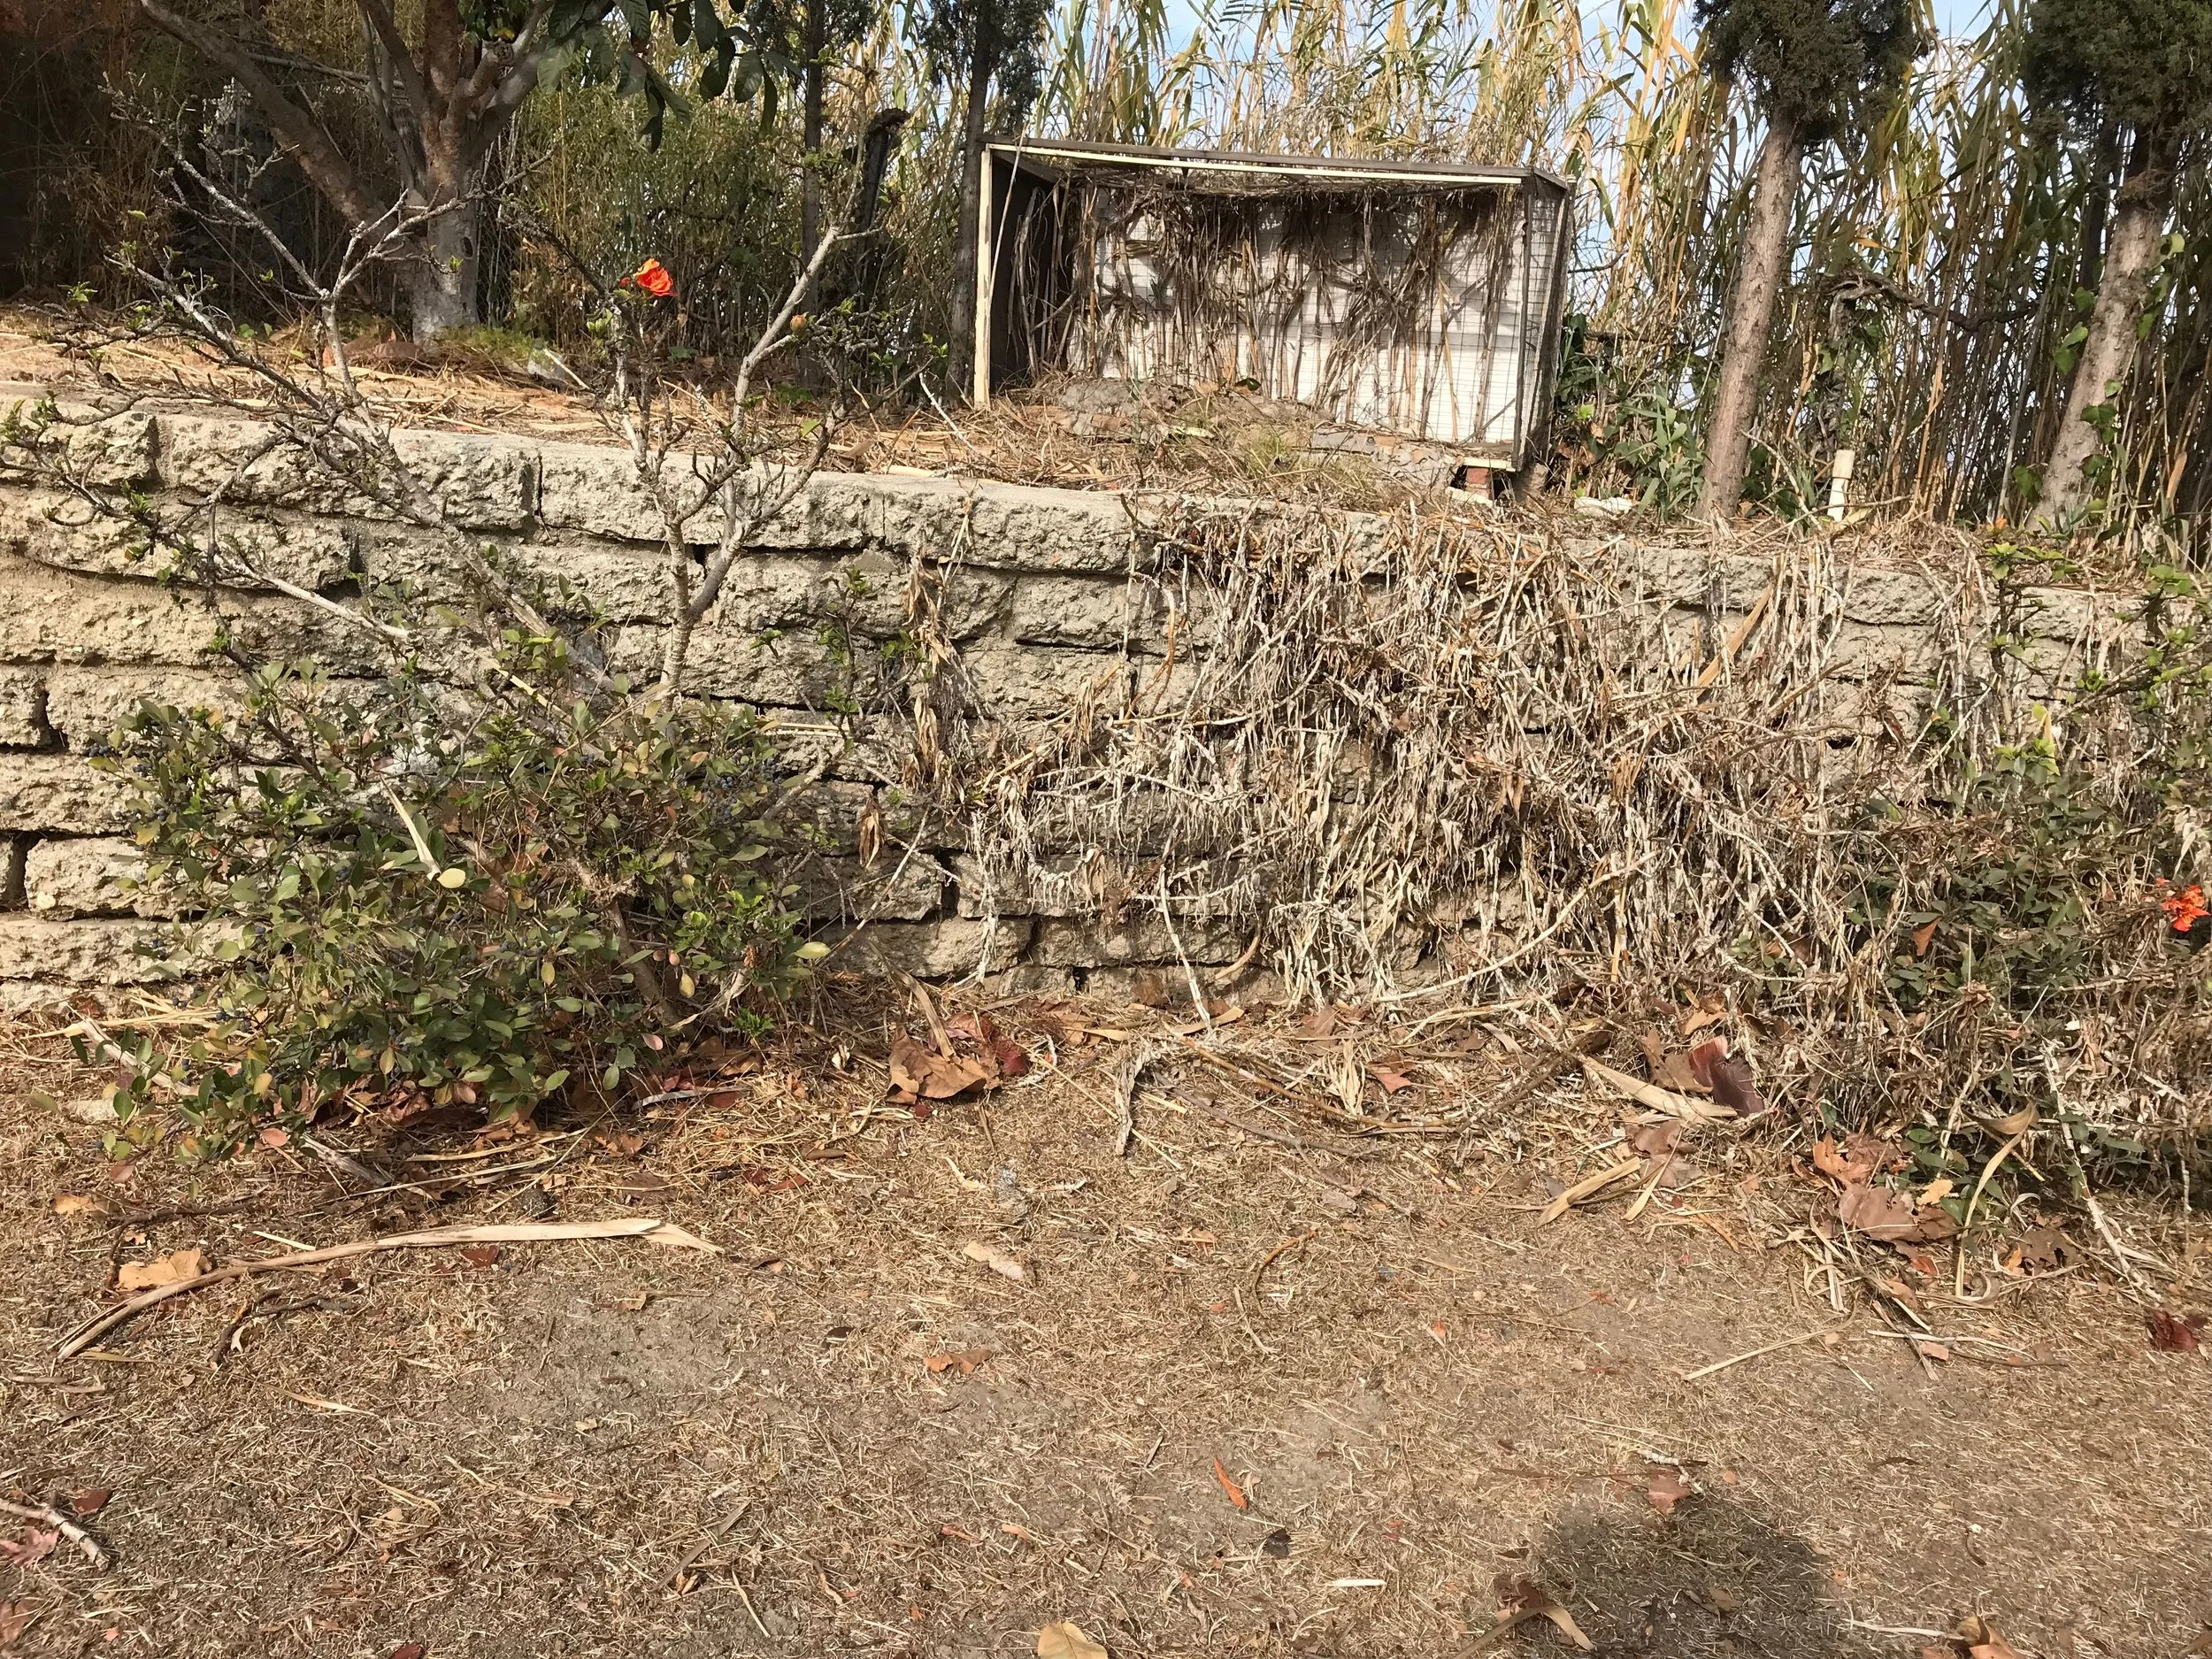
Let’s rewind. This is what the space looked like when we bought the house. After about four years of dirt, weeds, and overgrown trees, we poured concrete to level it out.

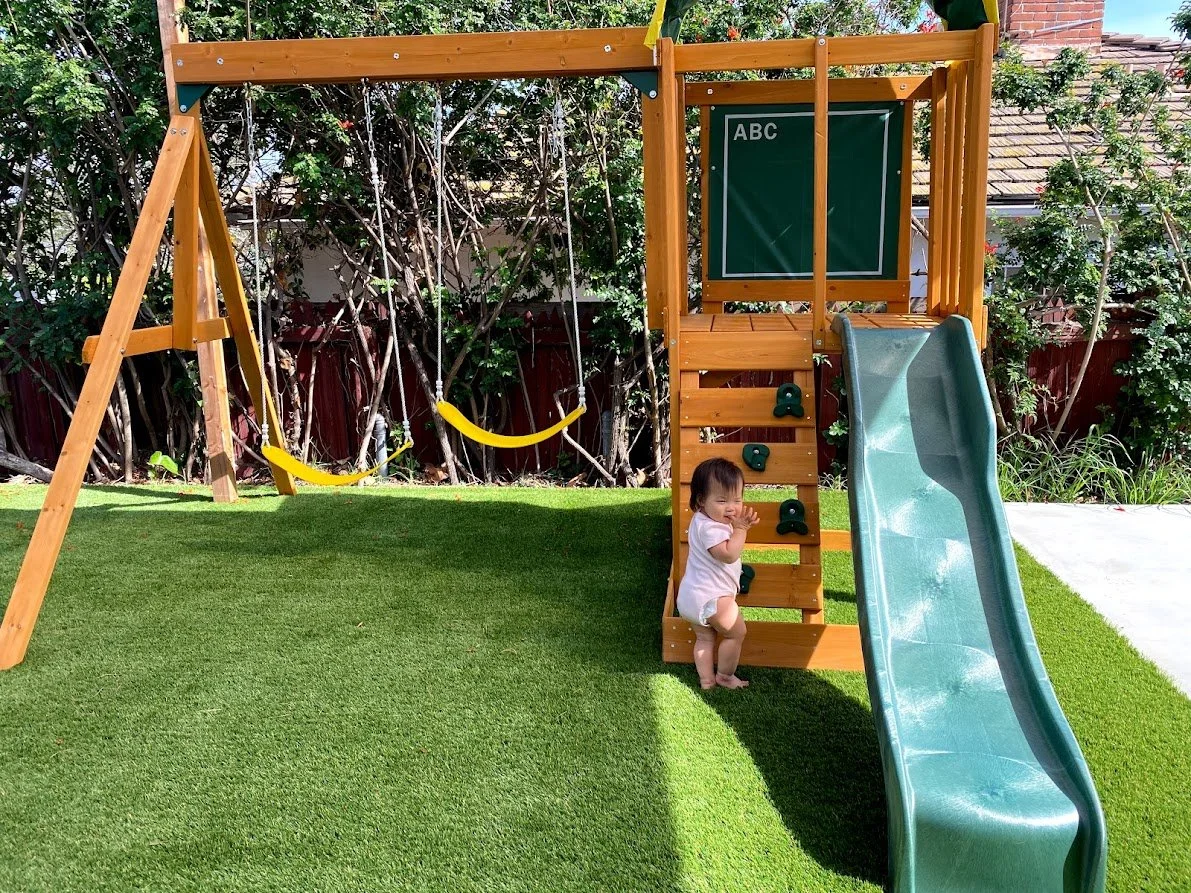
Then we added turf and built a playground swingset. That was our Covid home improvement project.

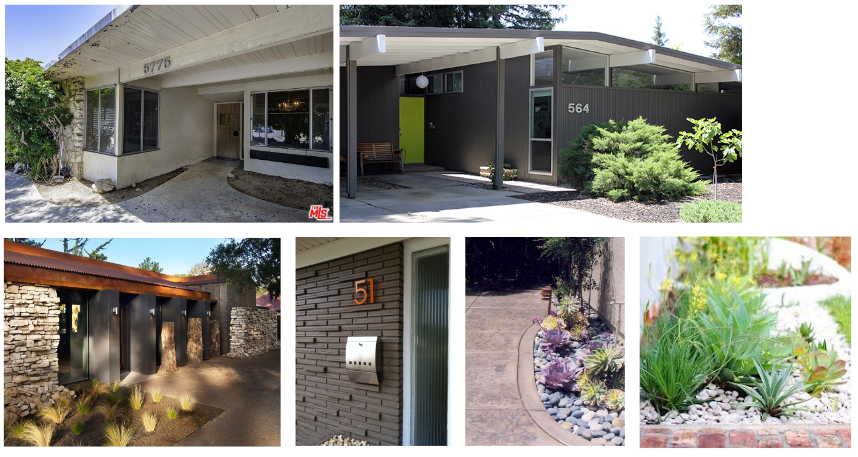
From Playground to Practical: Our Home Expansion Journey

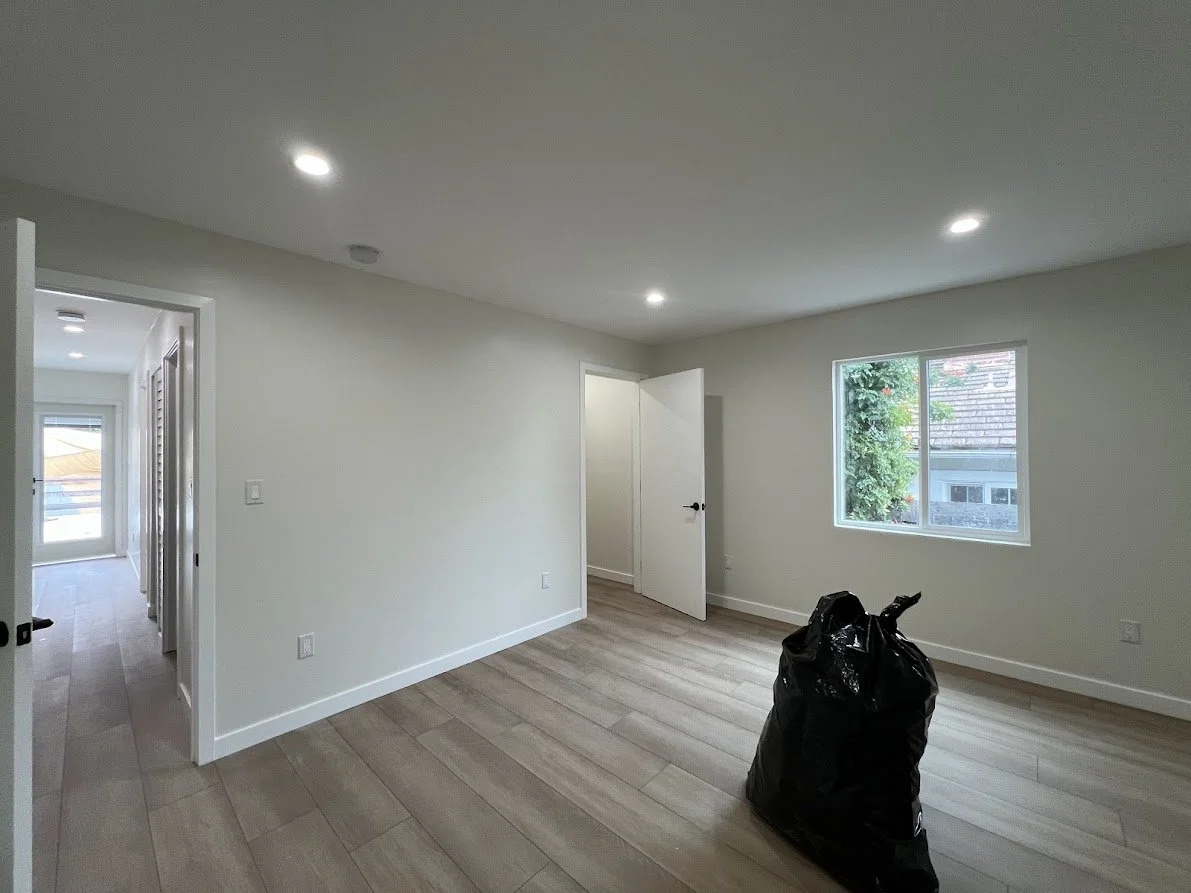
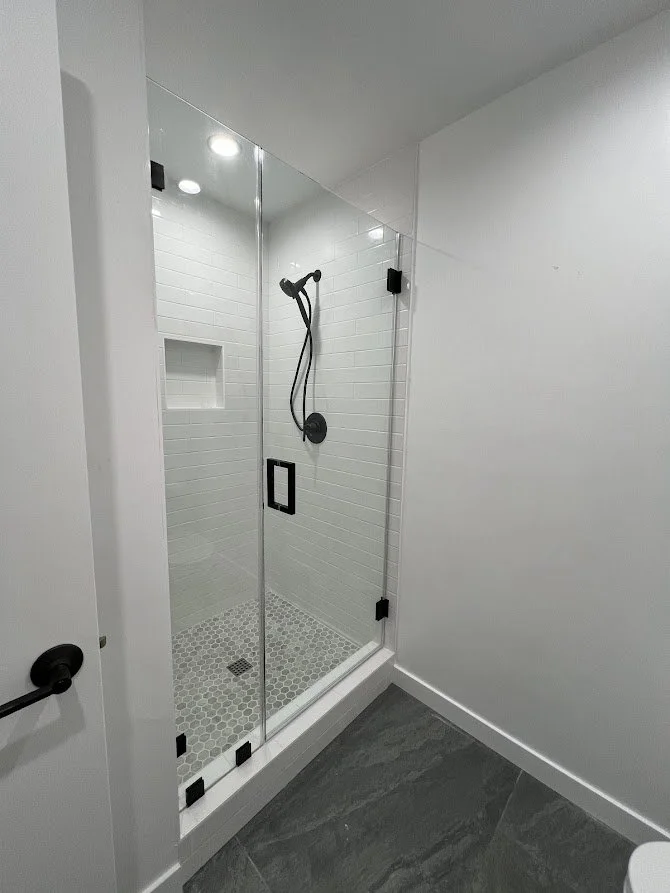
This project started with some bittersweet moments. The backyard playground had been home to so many memories—birthday parties, pizza nights, and summer barbecues. Letting go of that space wasn’t easy, but with two kids quickly outgrowing our 2-bedroom, 2-bathroom house, we knew it was time. The vision: convert the playground area into two bedrooms (one for each child), plus a shared bathroom with a shower and a closet for a stacked laundry unit.

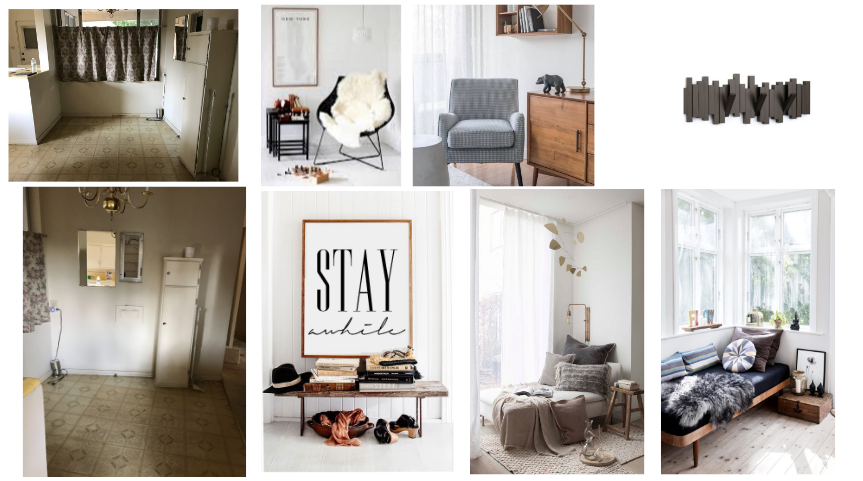
Designing a New Flow

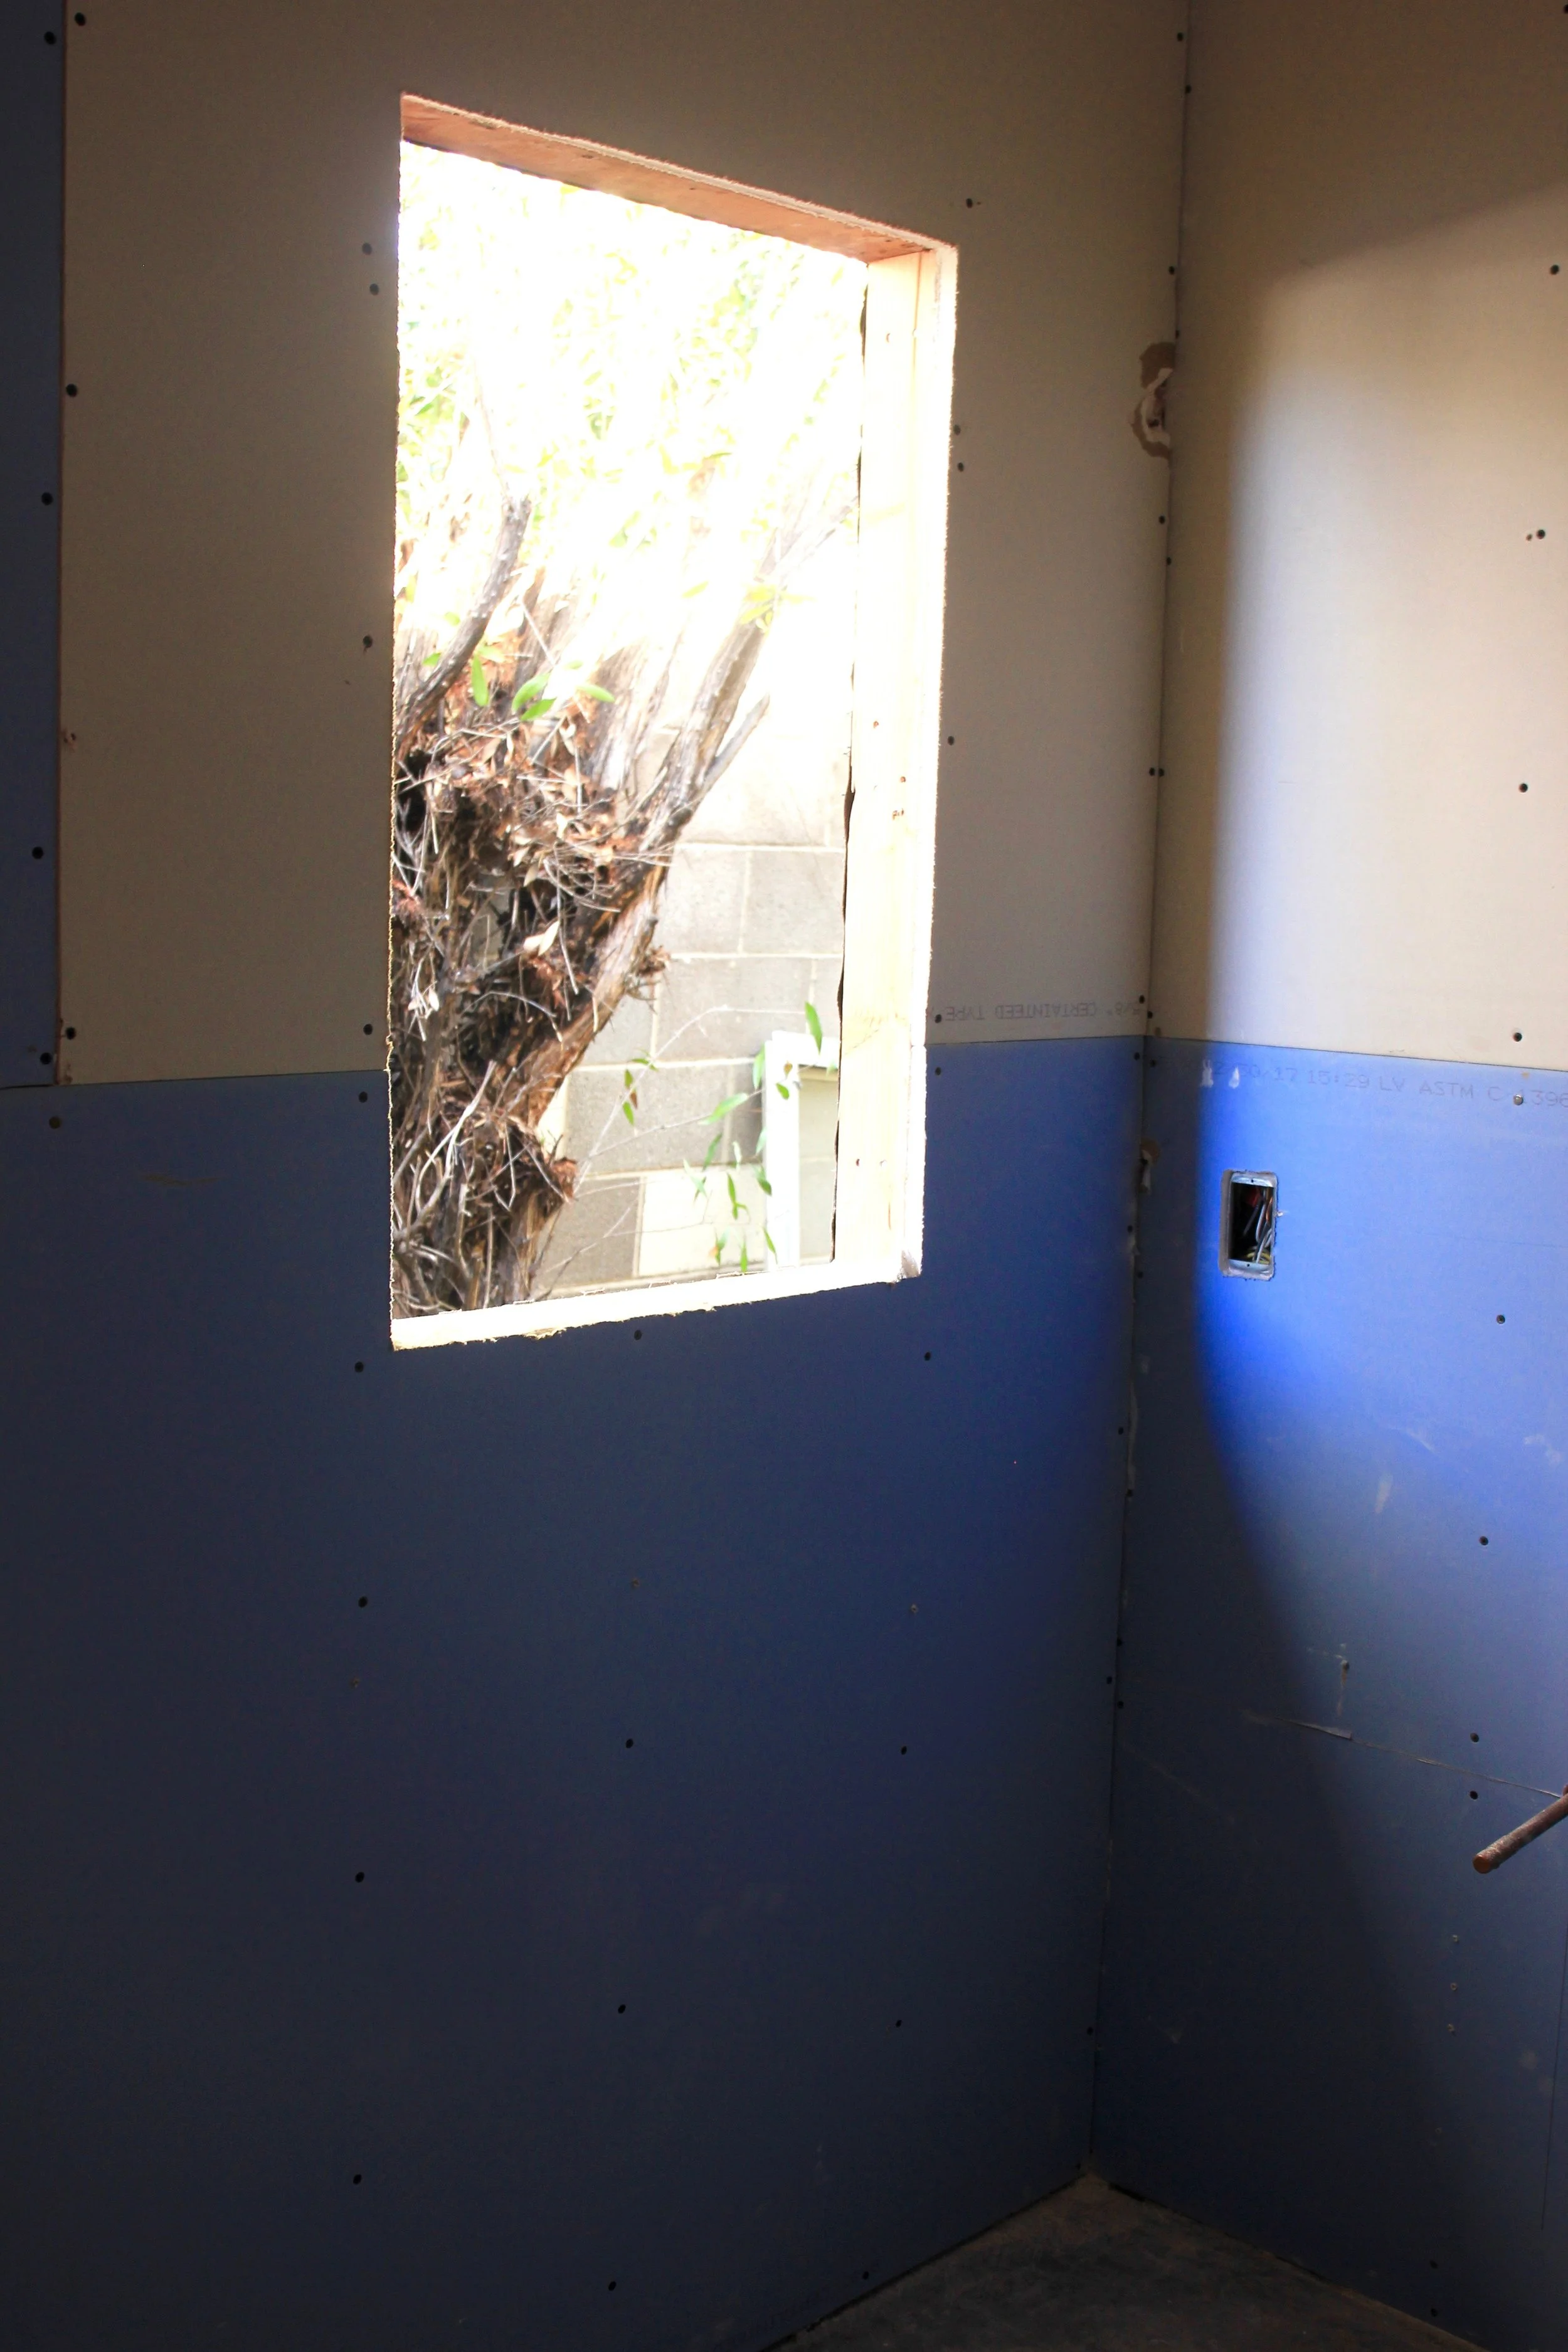
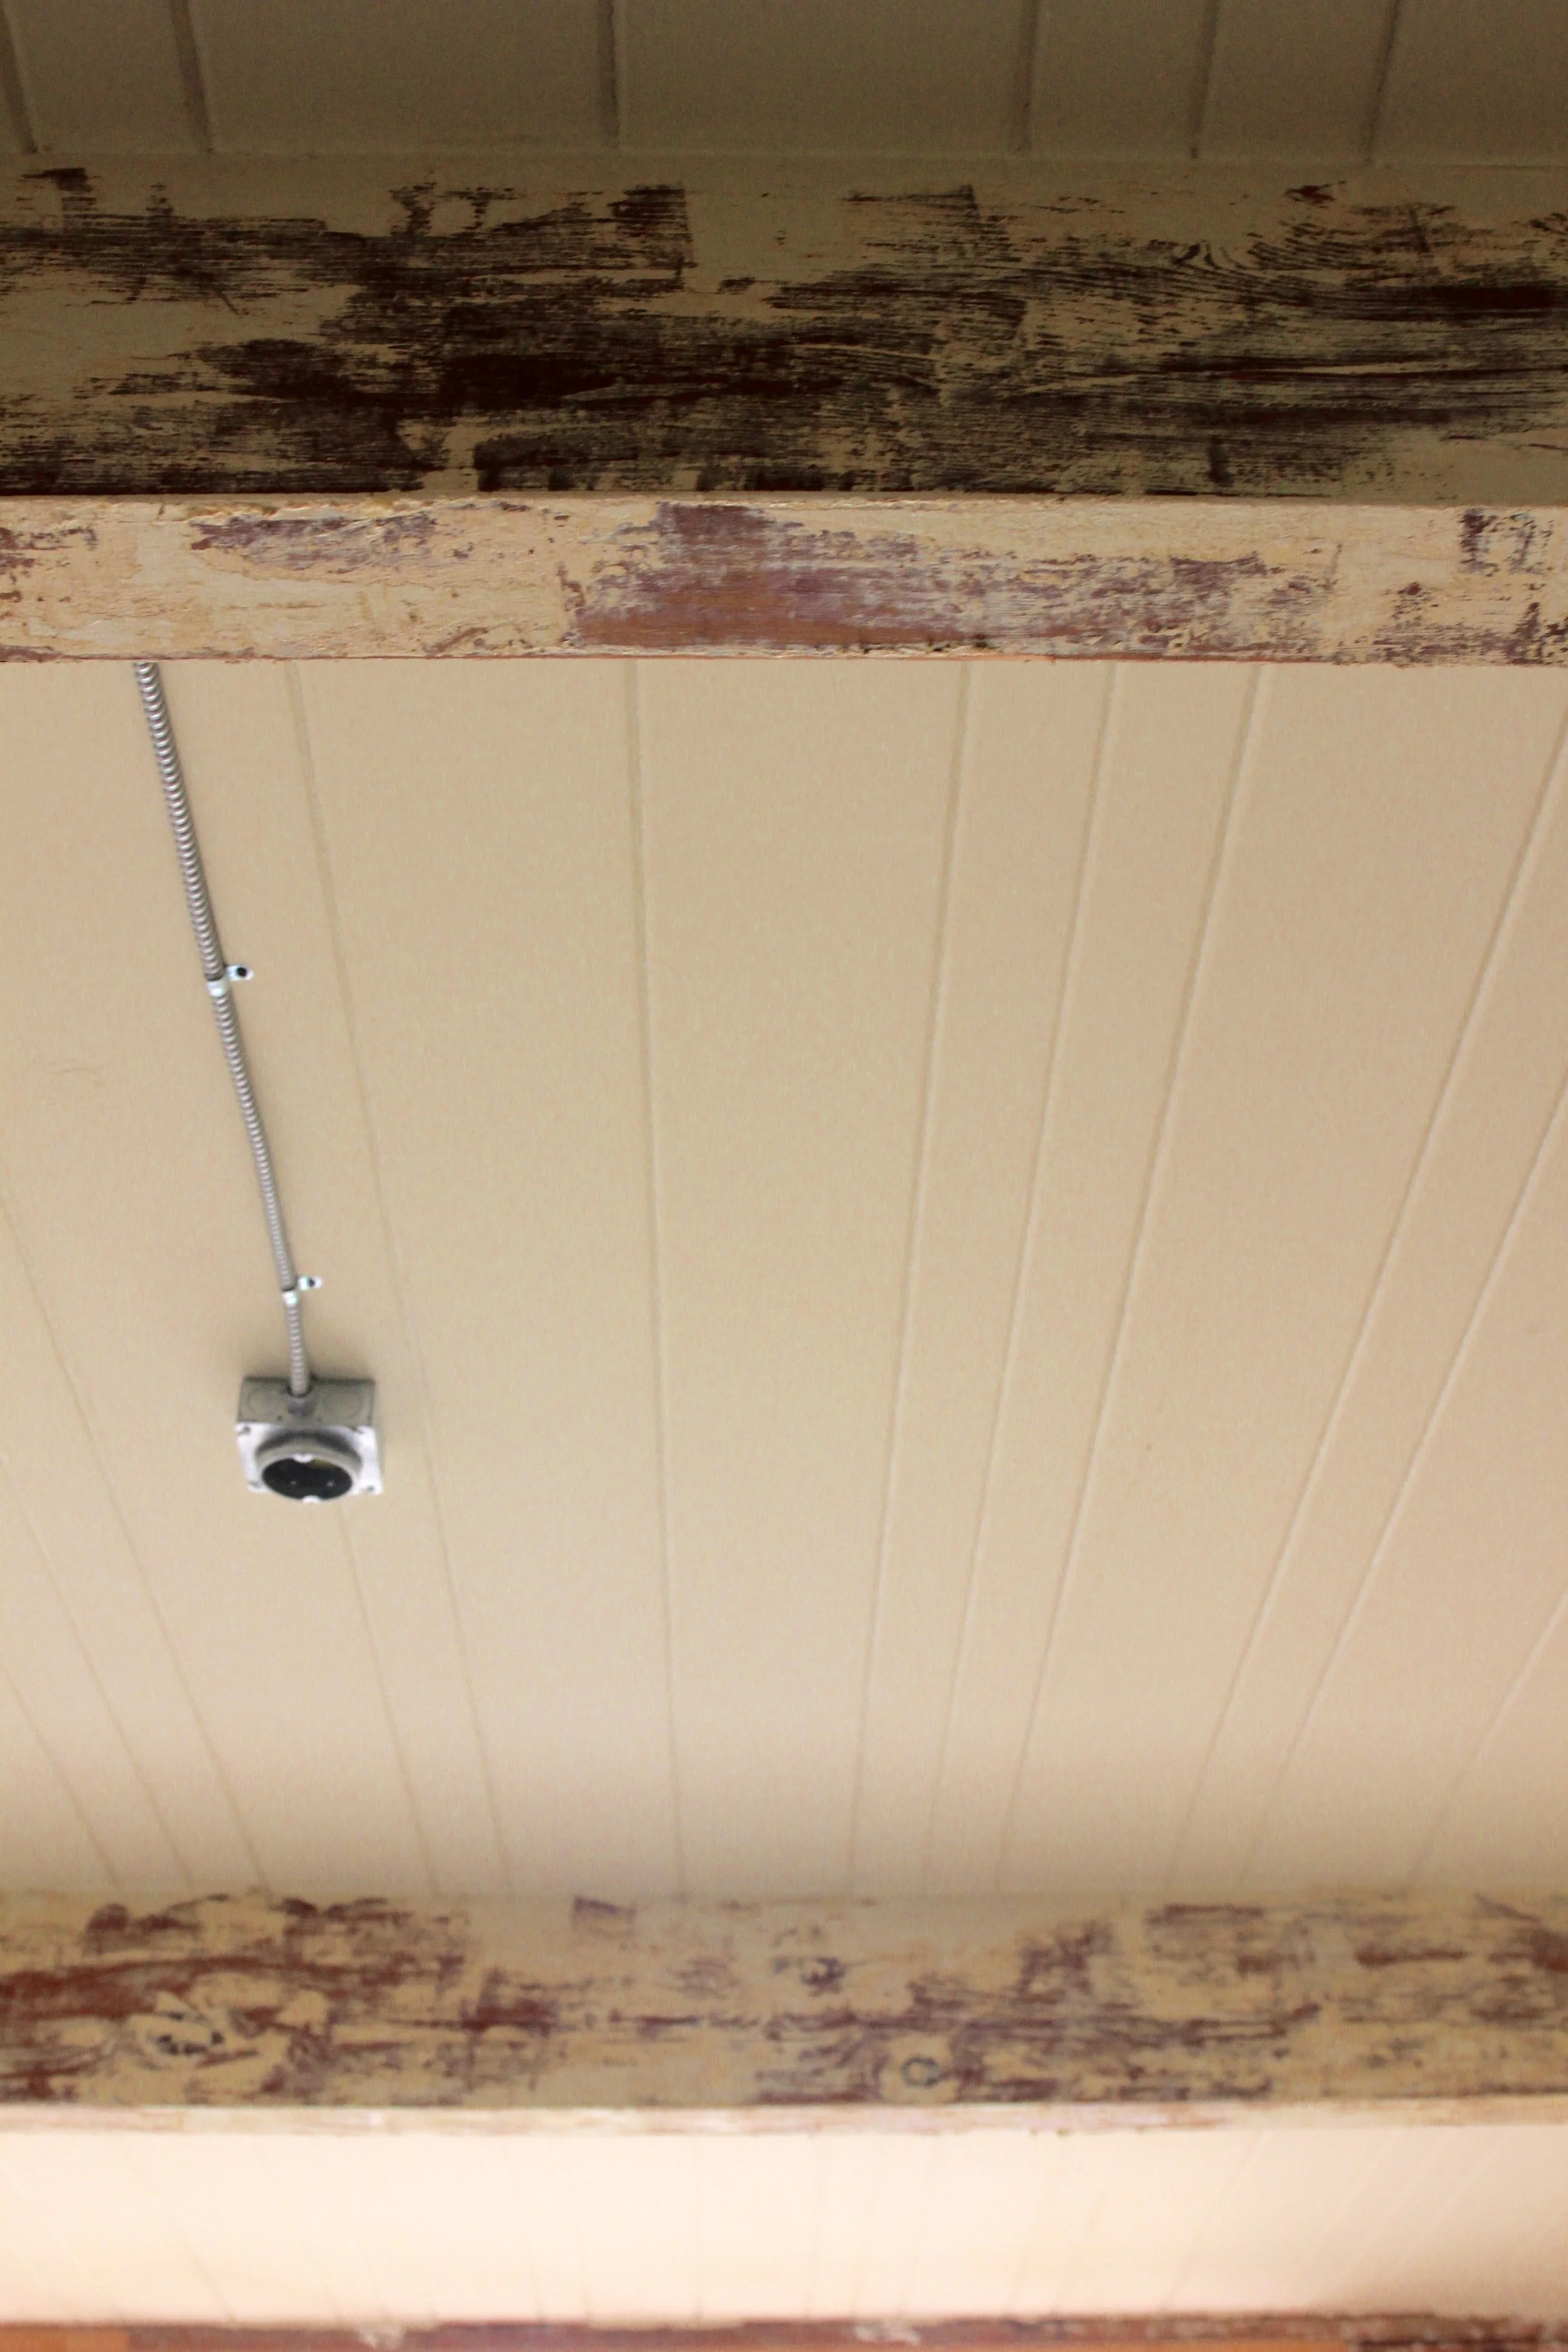
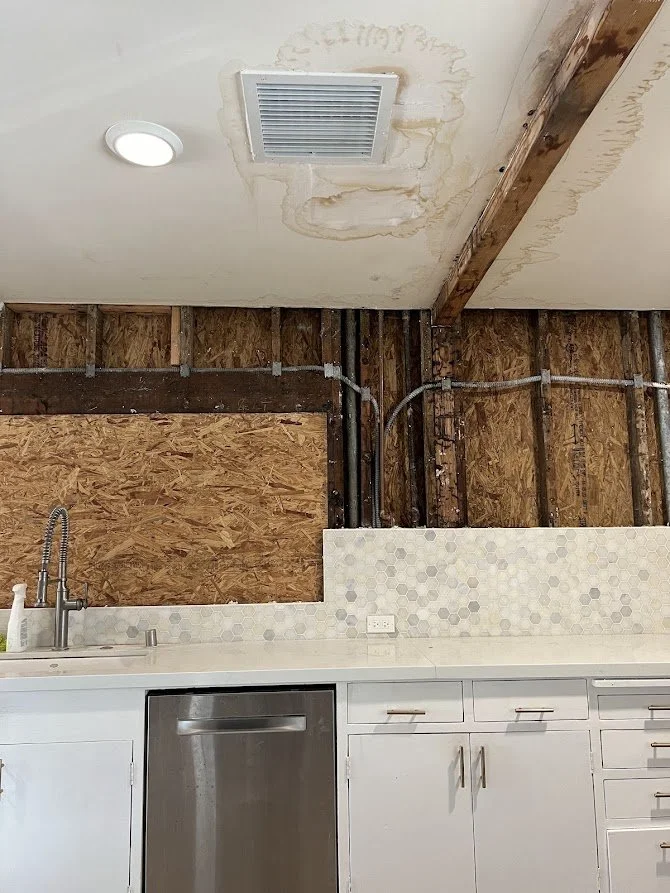
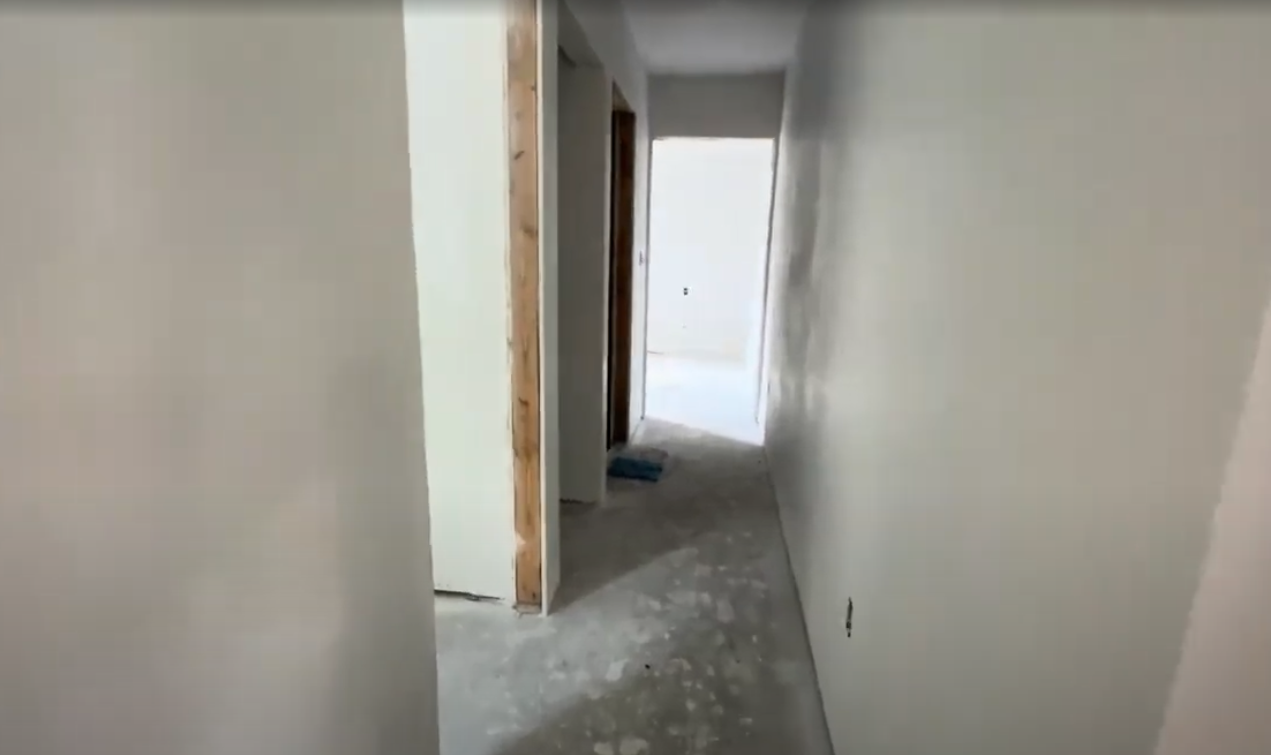
One of the first big decisions was to close up the kitchen windows. It was tough saying goodbye to all that natural light, but it allowed us to create a cohesive hallway that would connect the new bedrooms and bathroom seamlessly into the rest of the home.

During construction, we paused our ADU rentals to repurpose it as a storage room and office space.

Weathering the Holidays

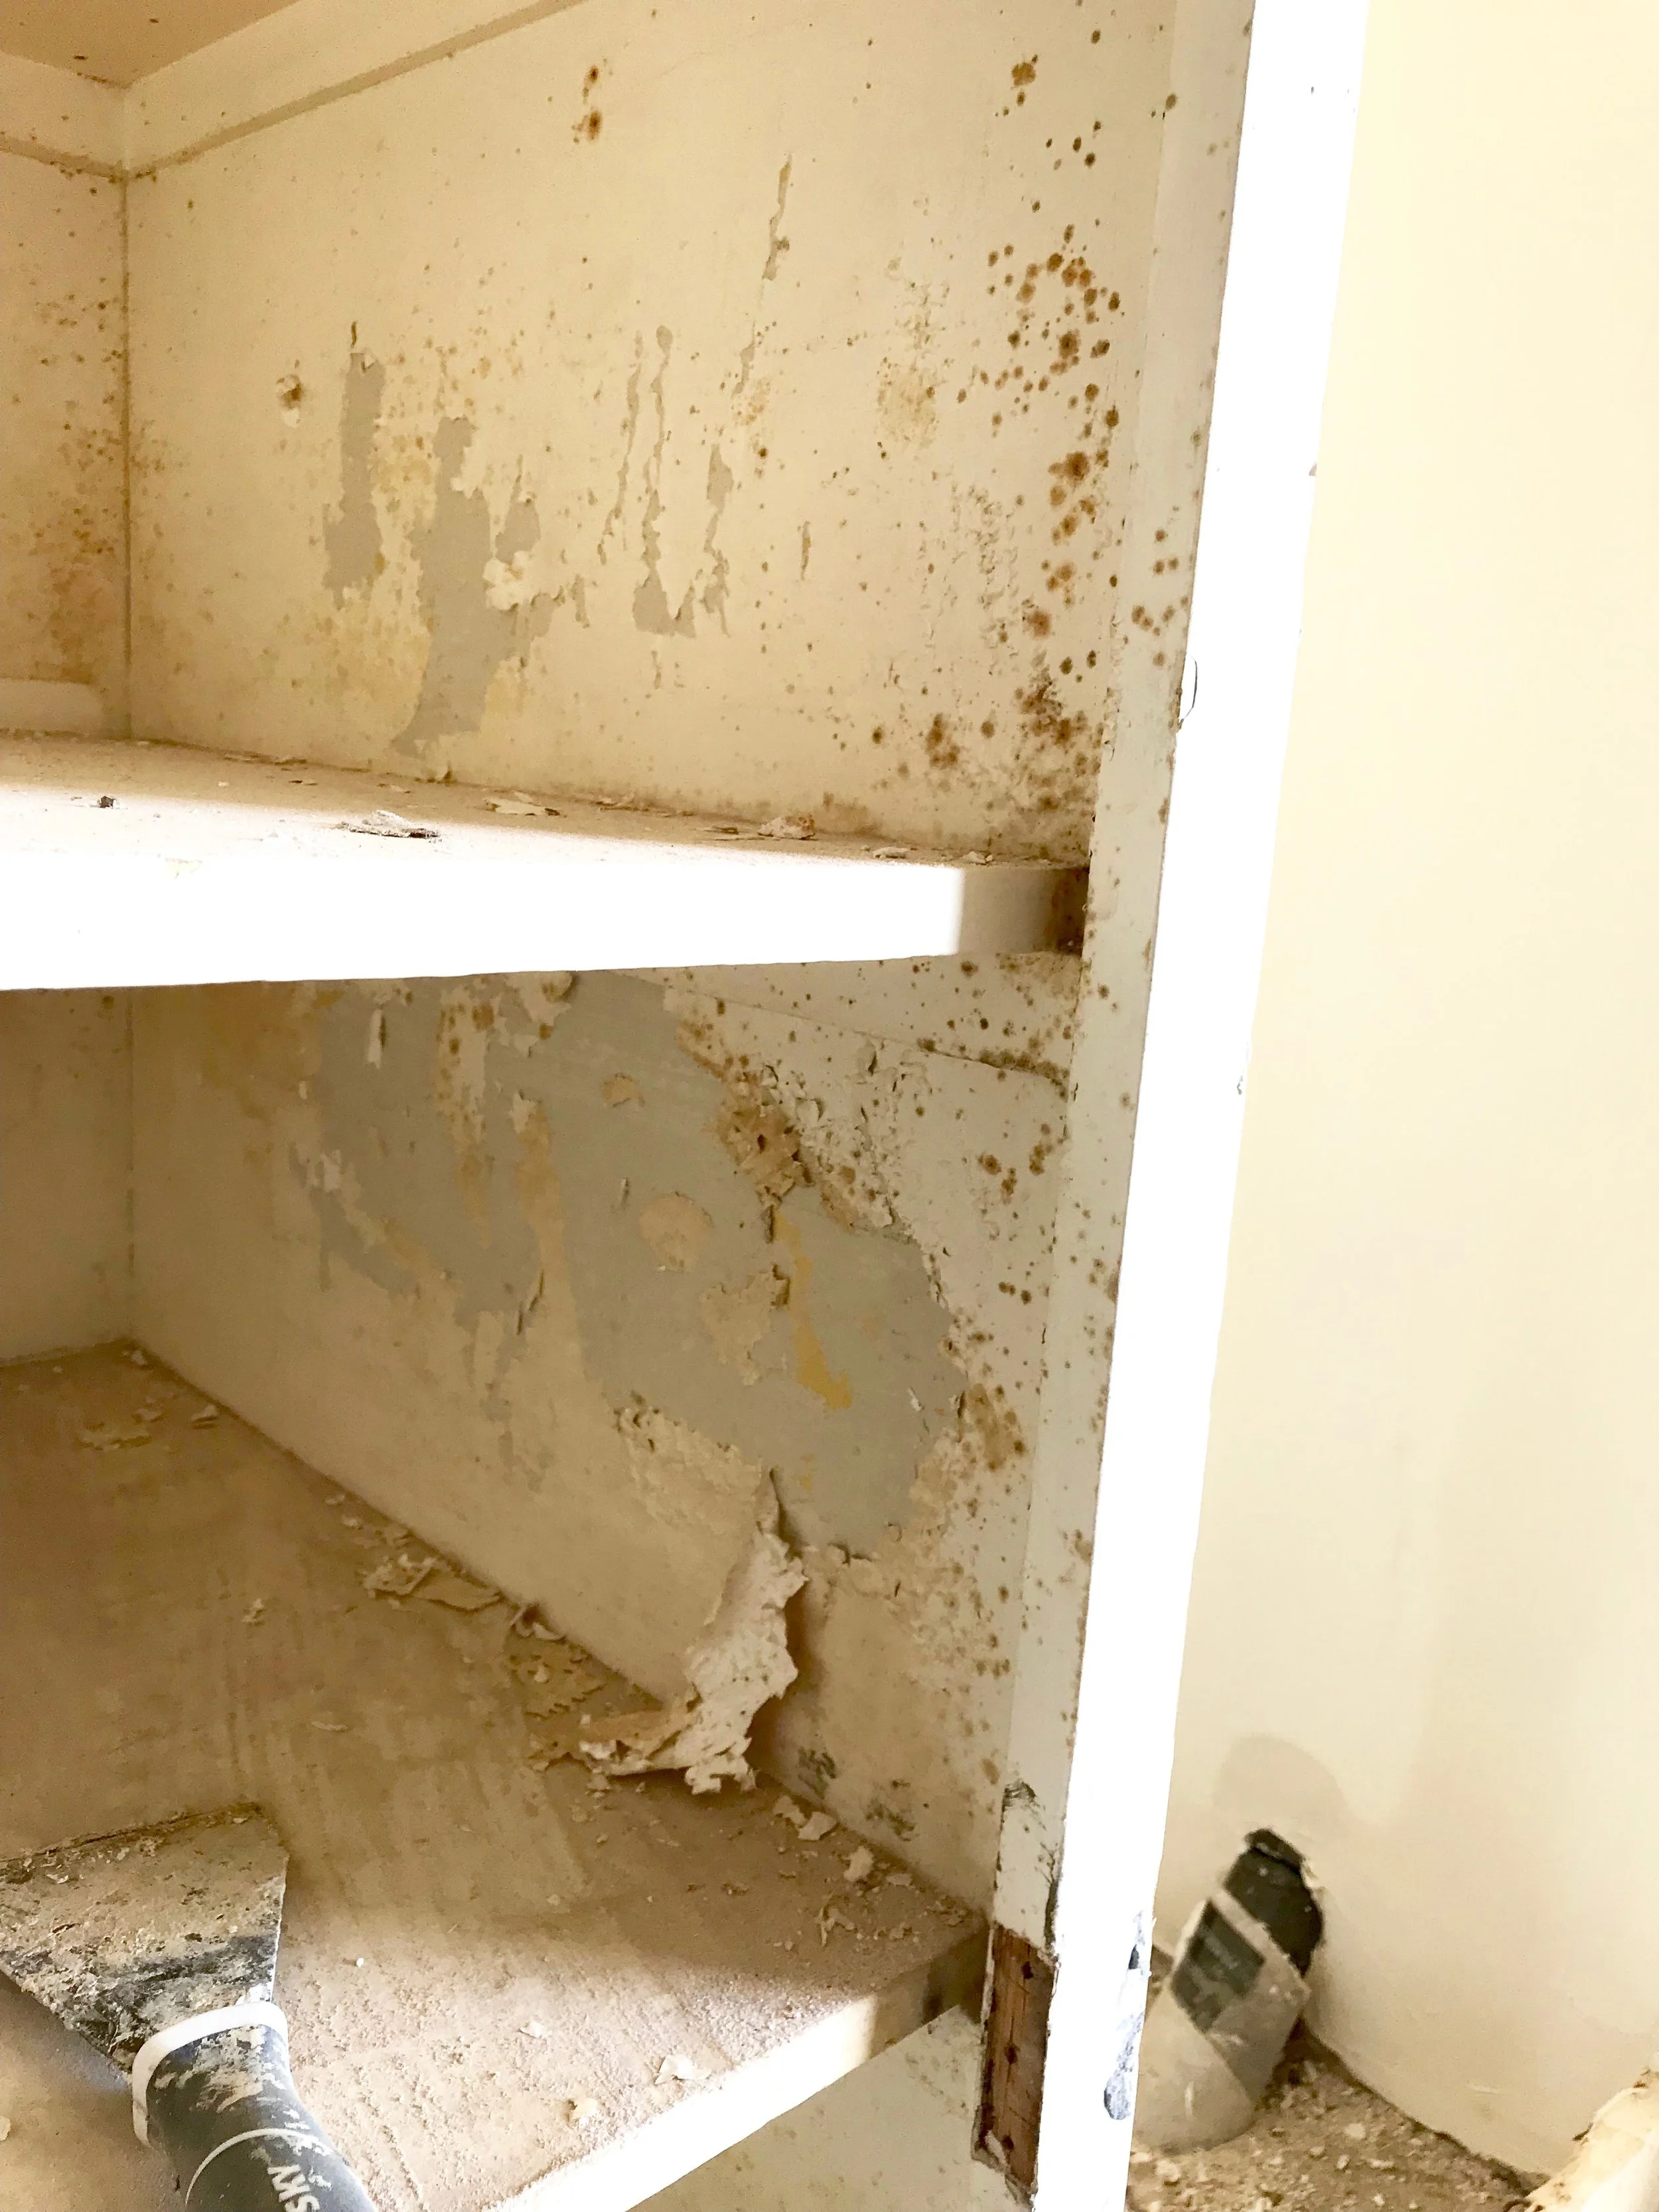
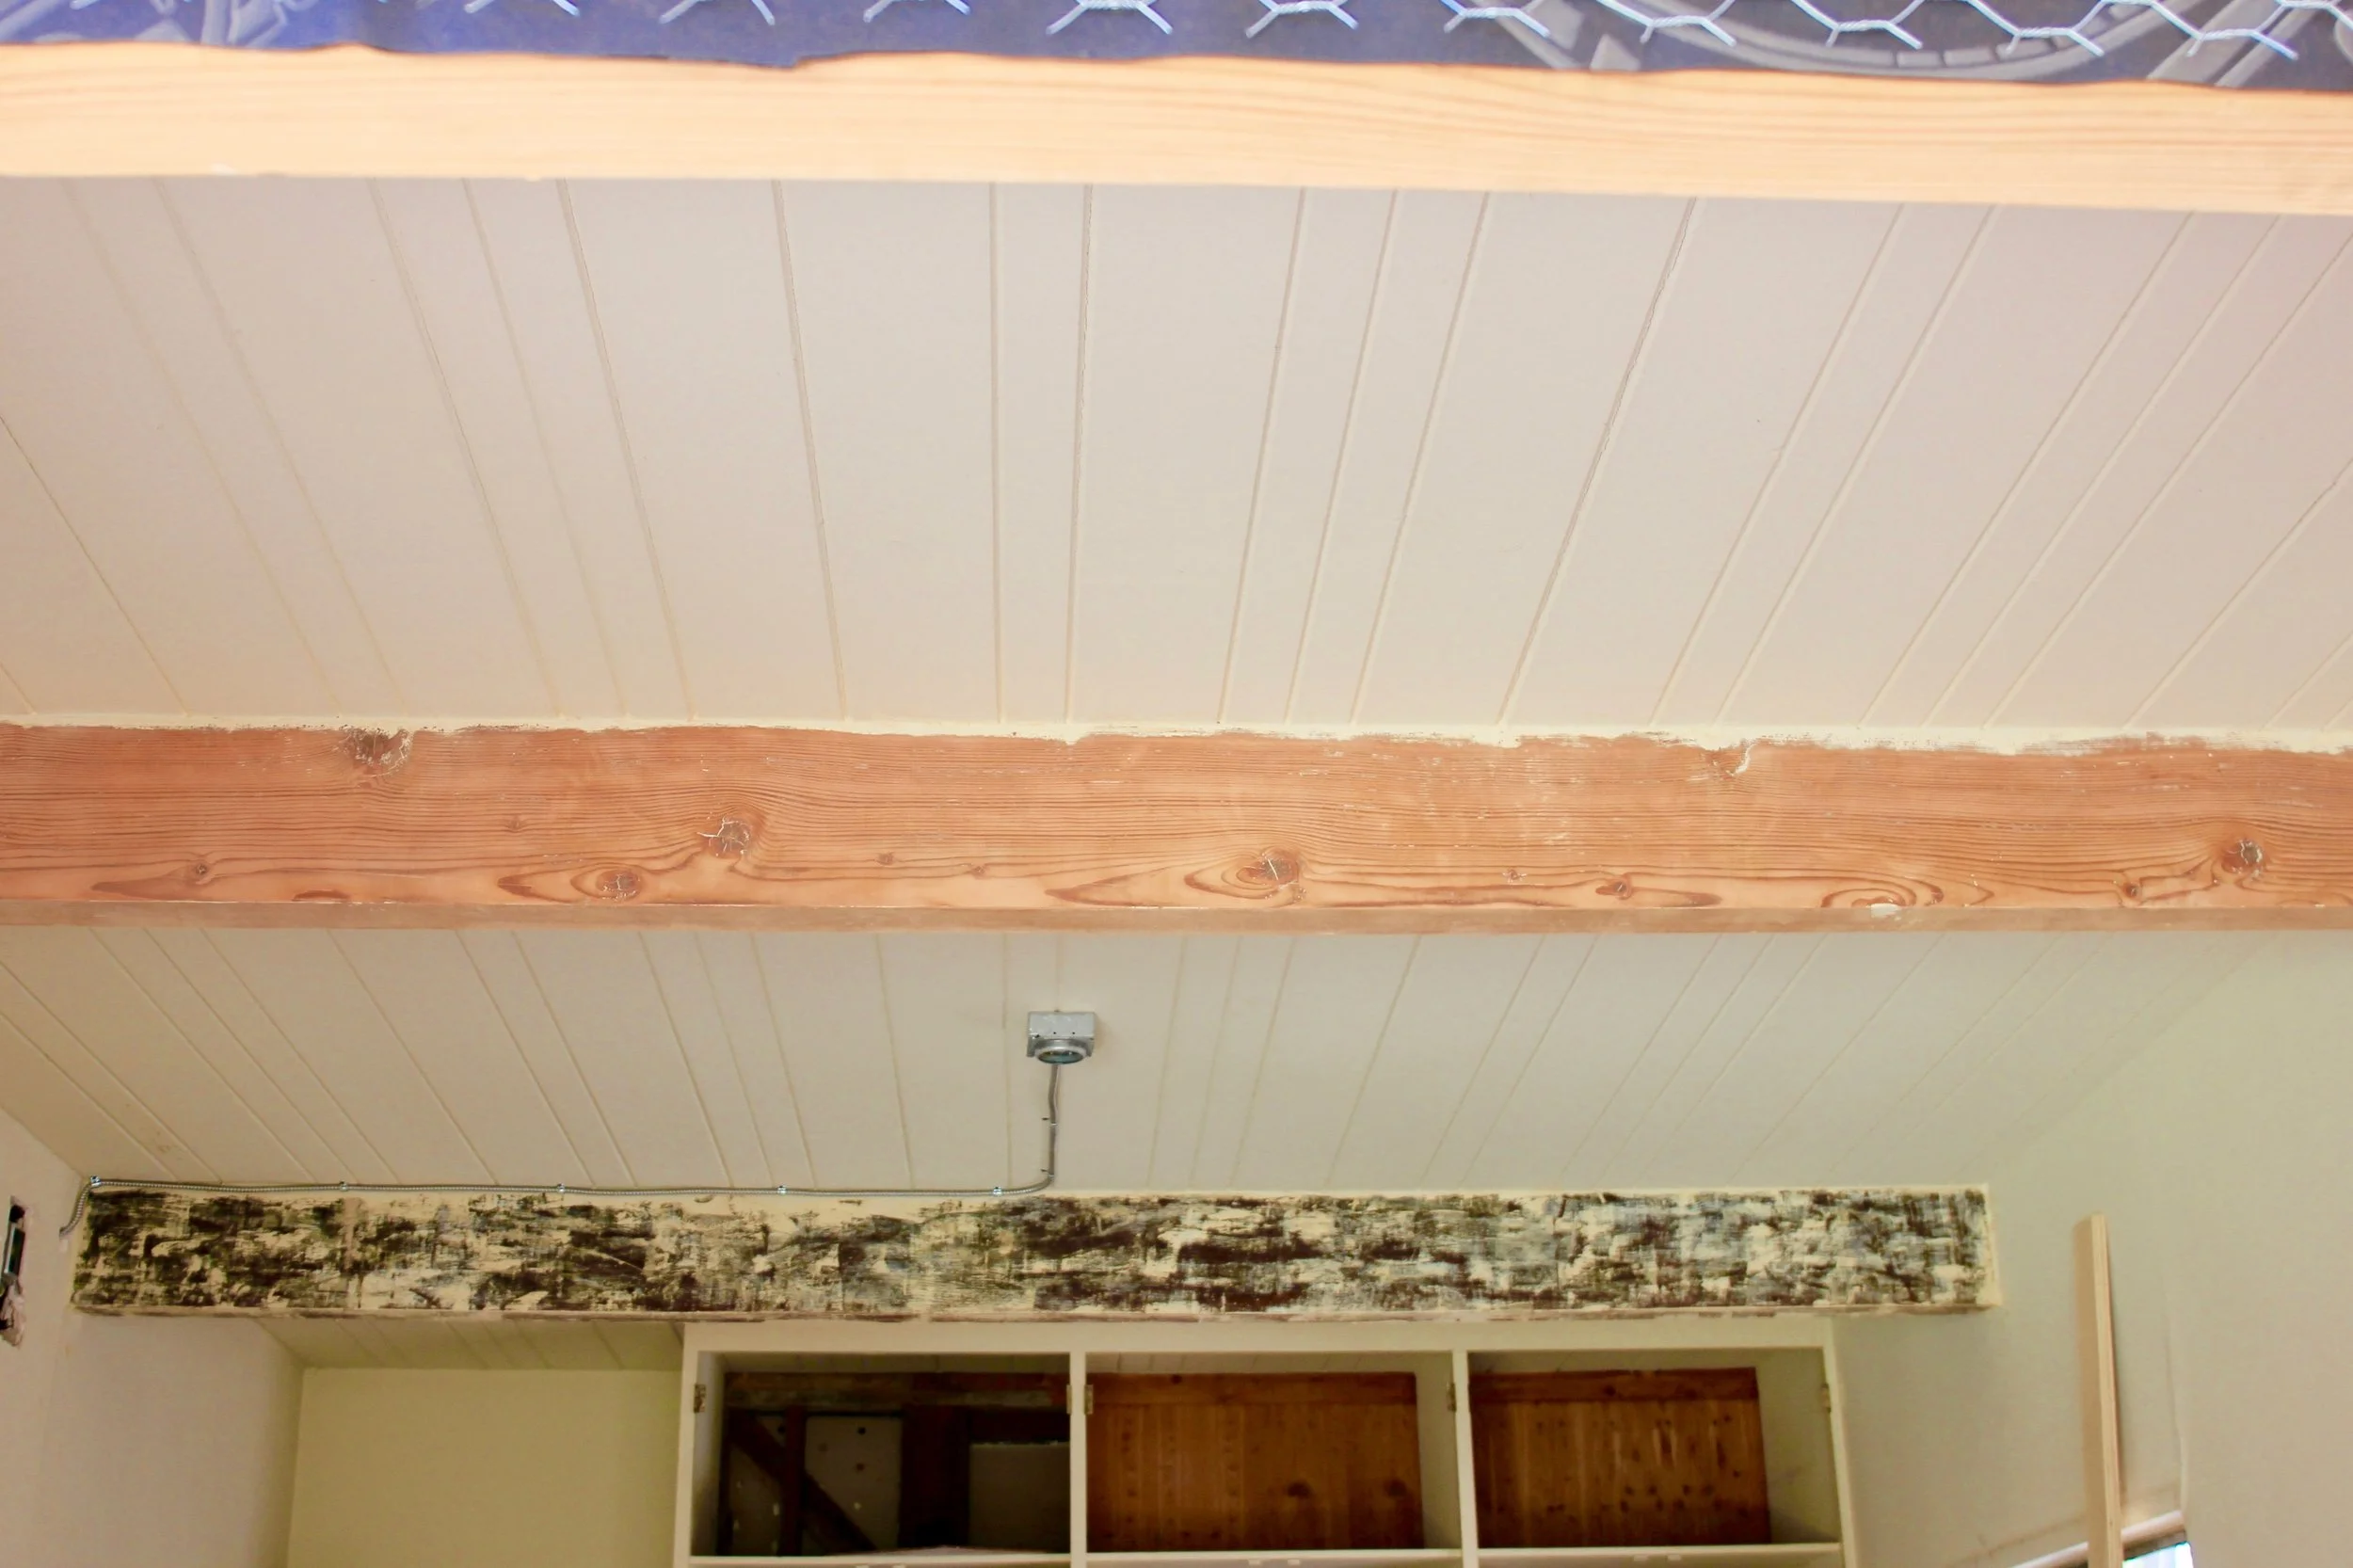
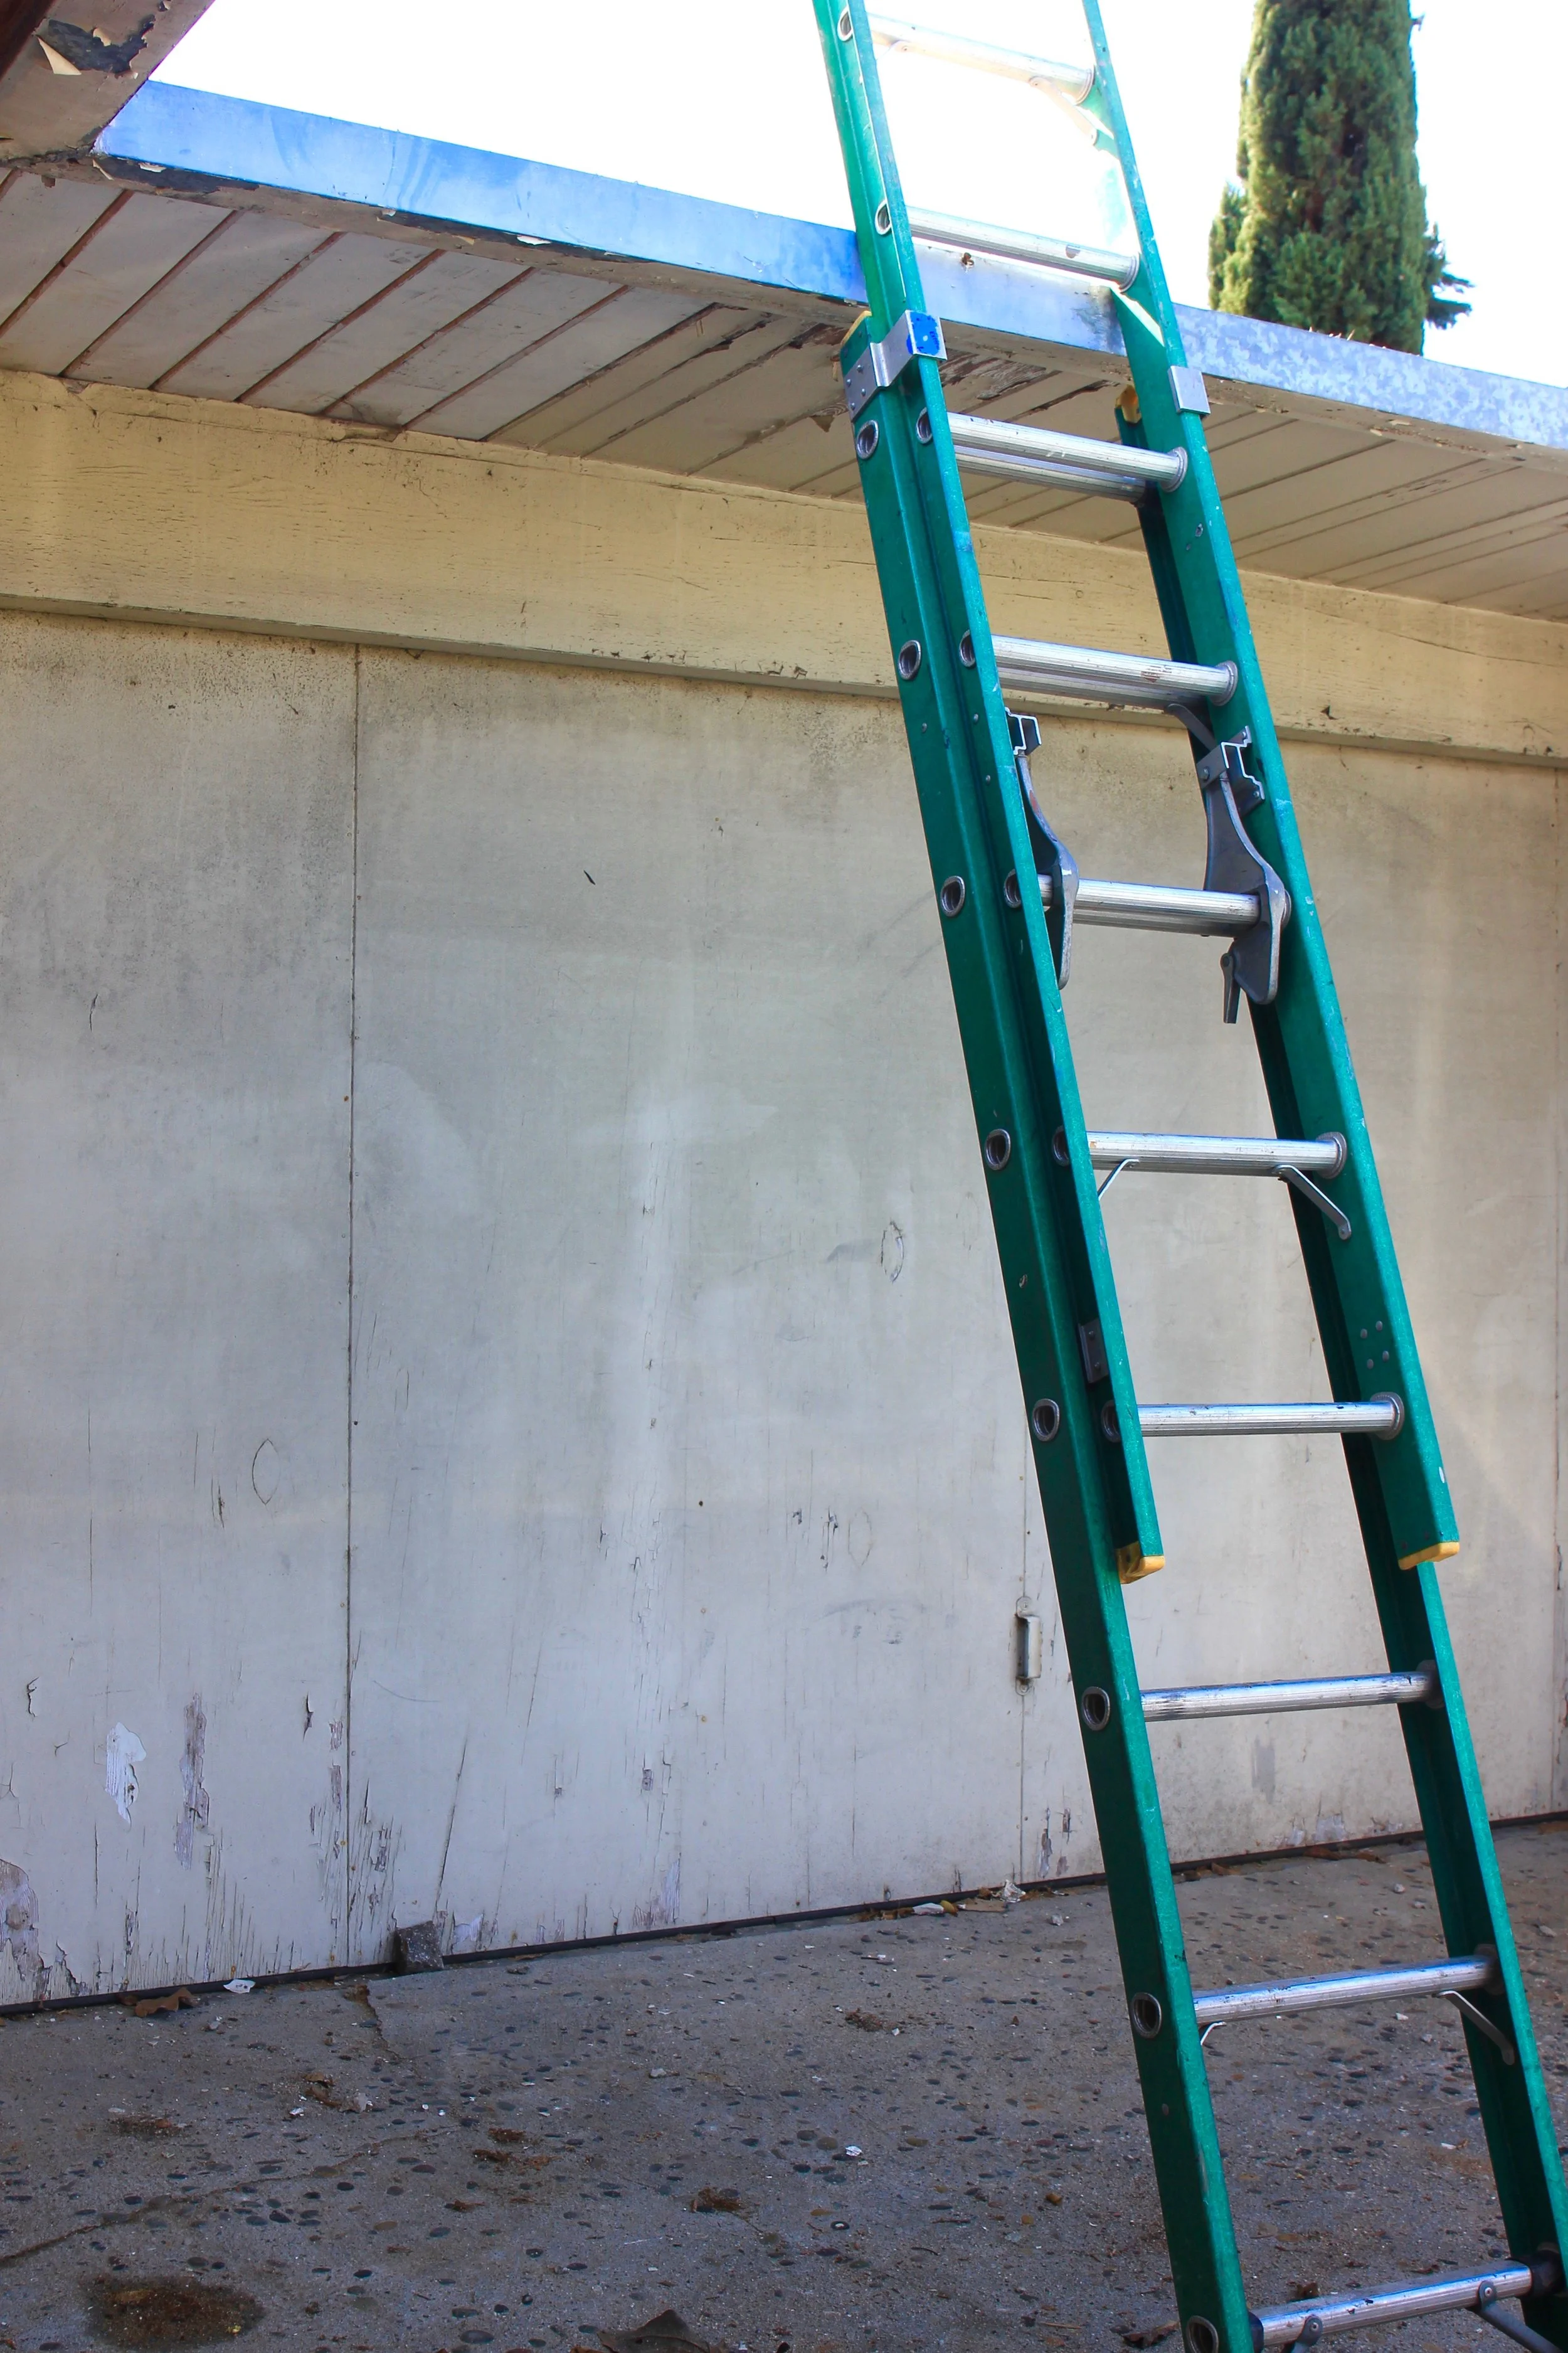
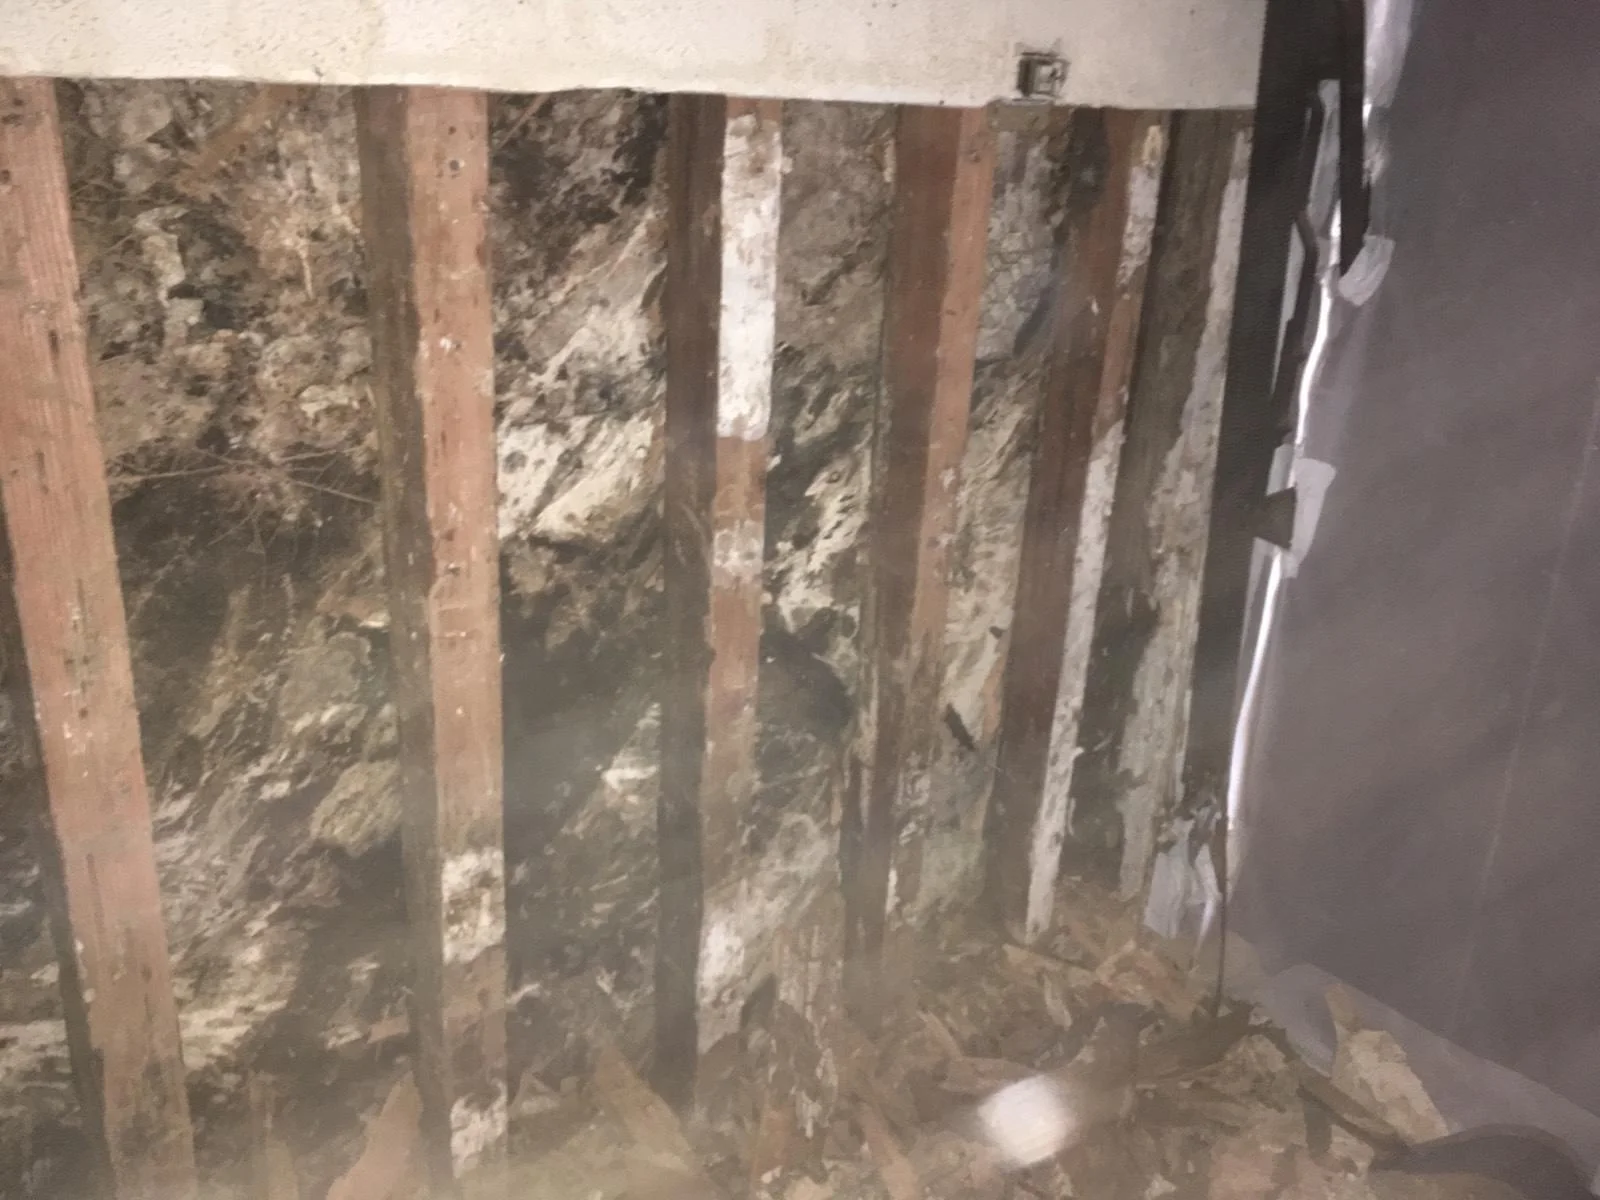
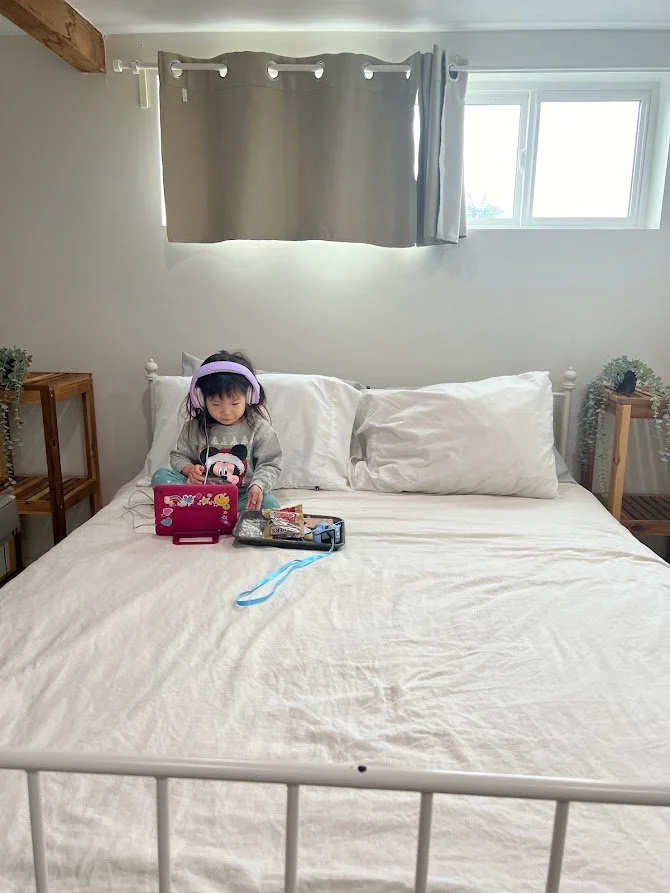
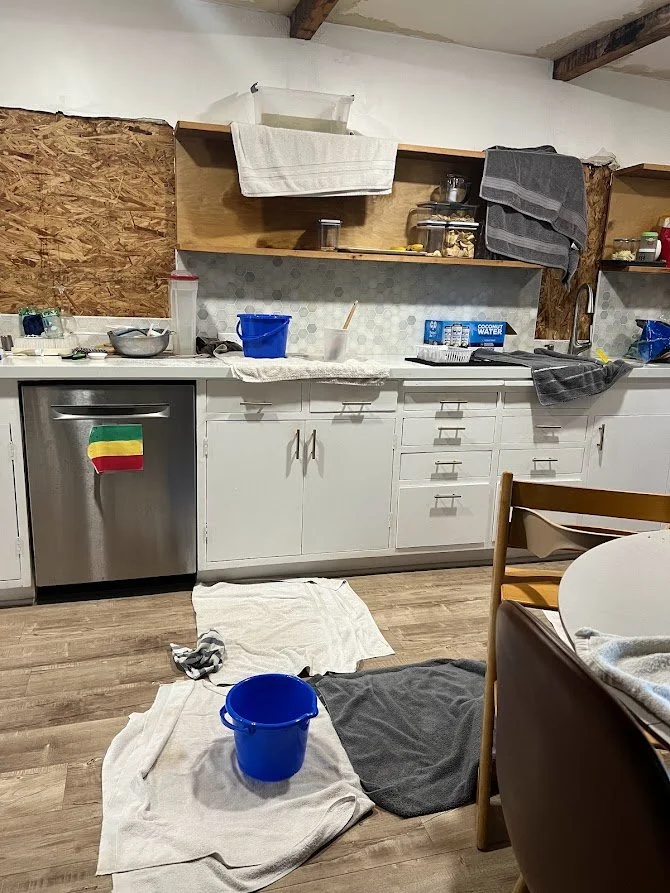
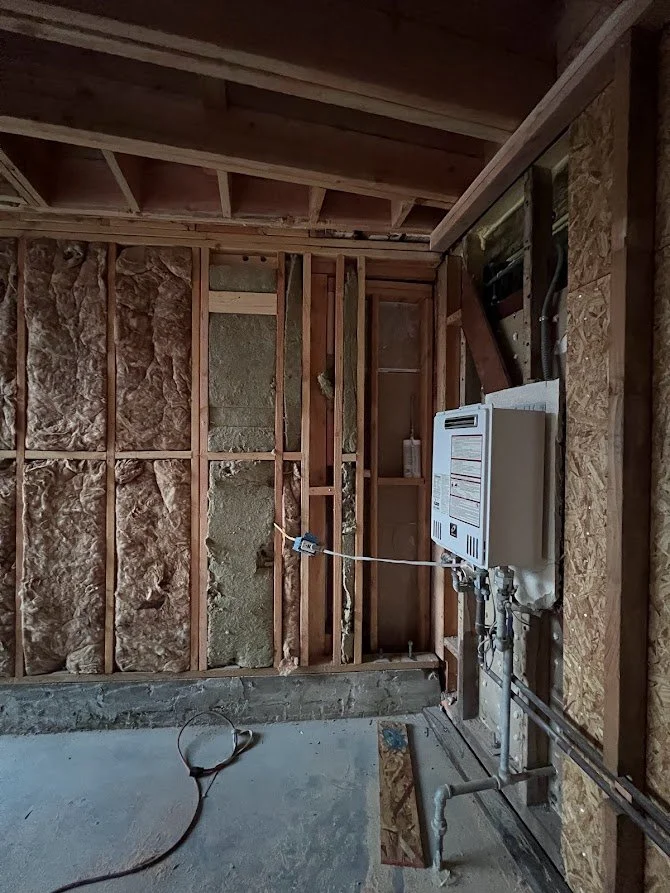
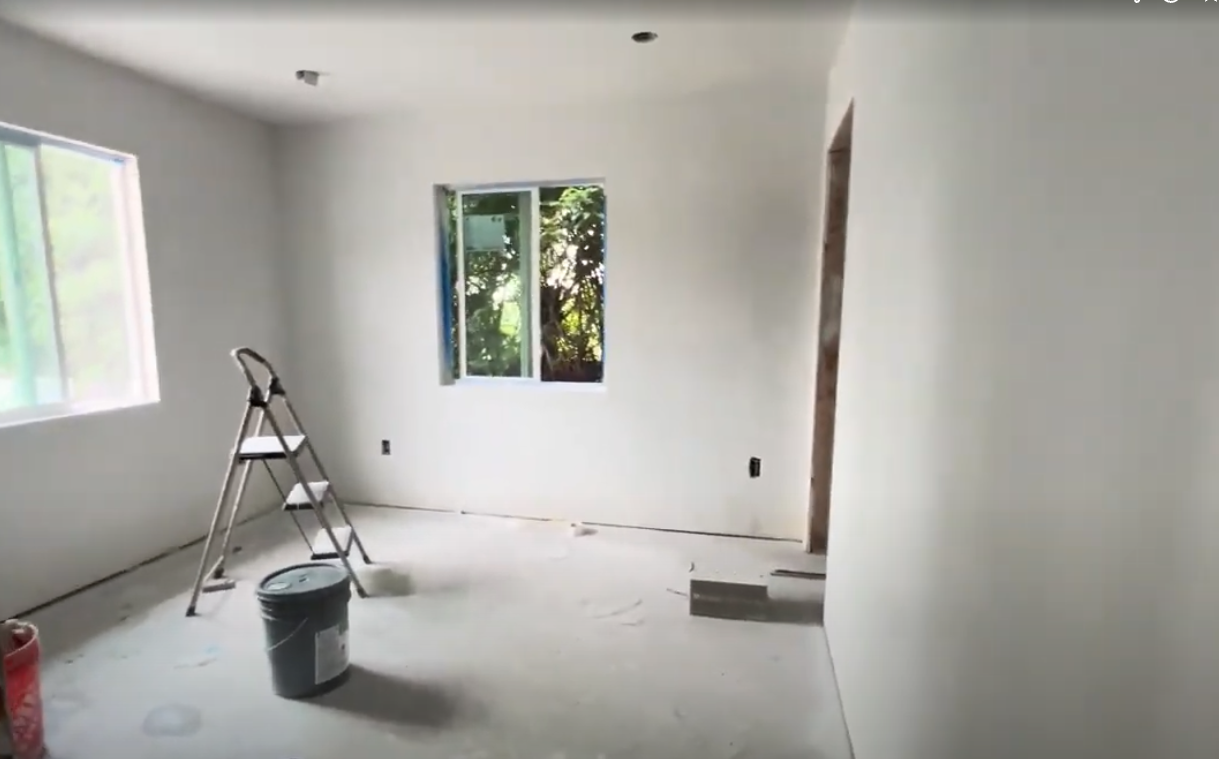
The hardest stretch came during the holidays. With gaping holes in the house, constant rain, and too many leaks to count, it was far from cozy. Still, we kept reminding ourselves of the long-term vision and pushed forward (with lots of buckets and towels).

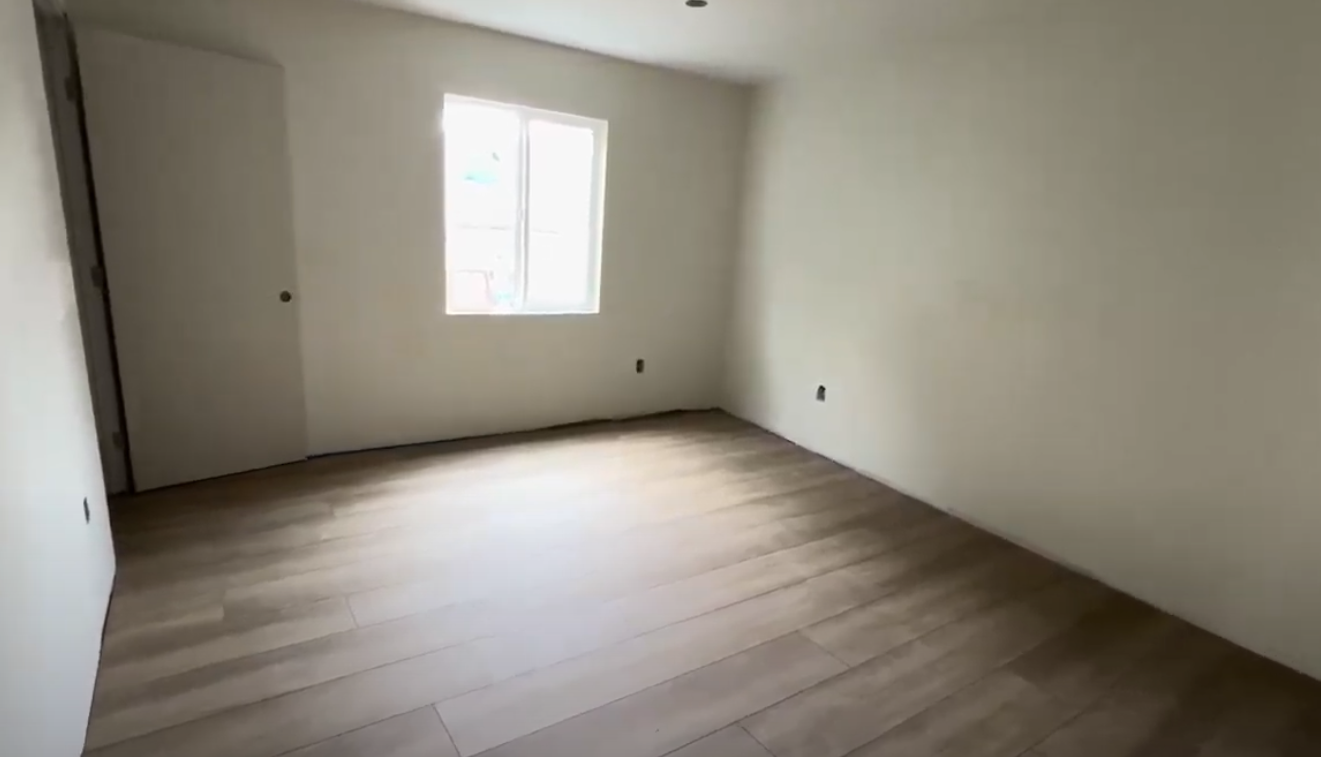
Watching It Come Together

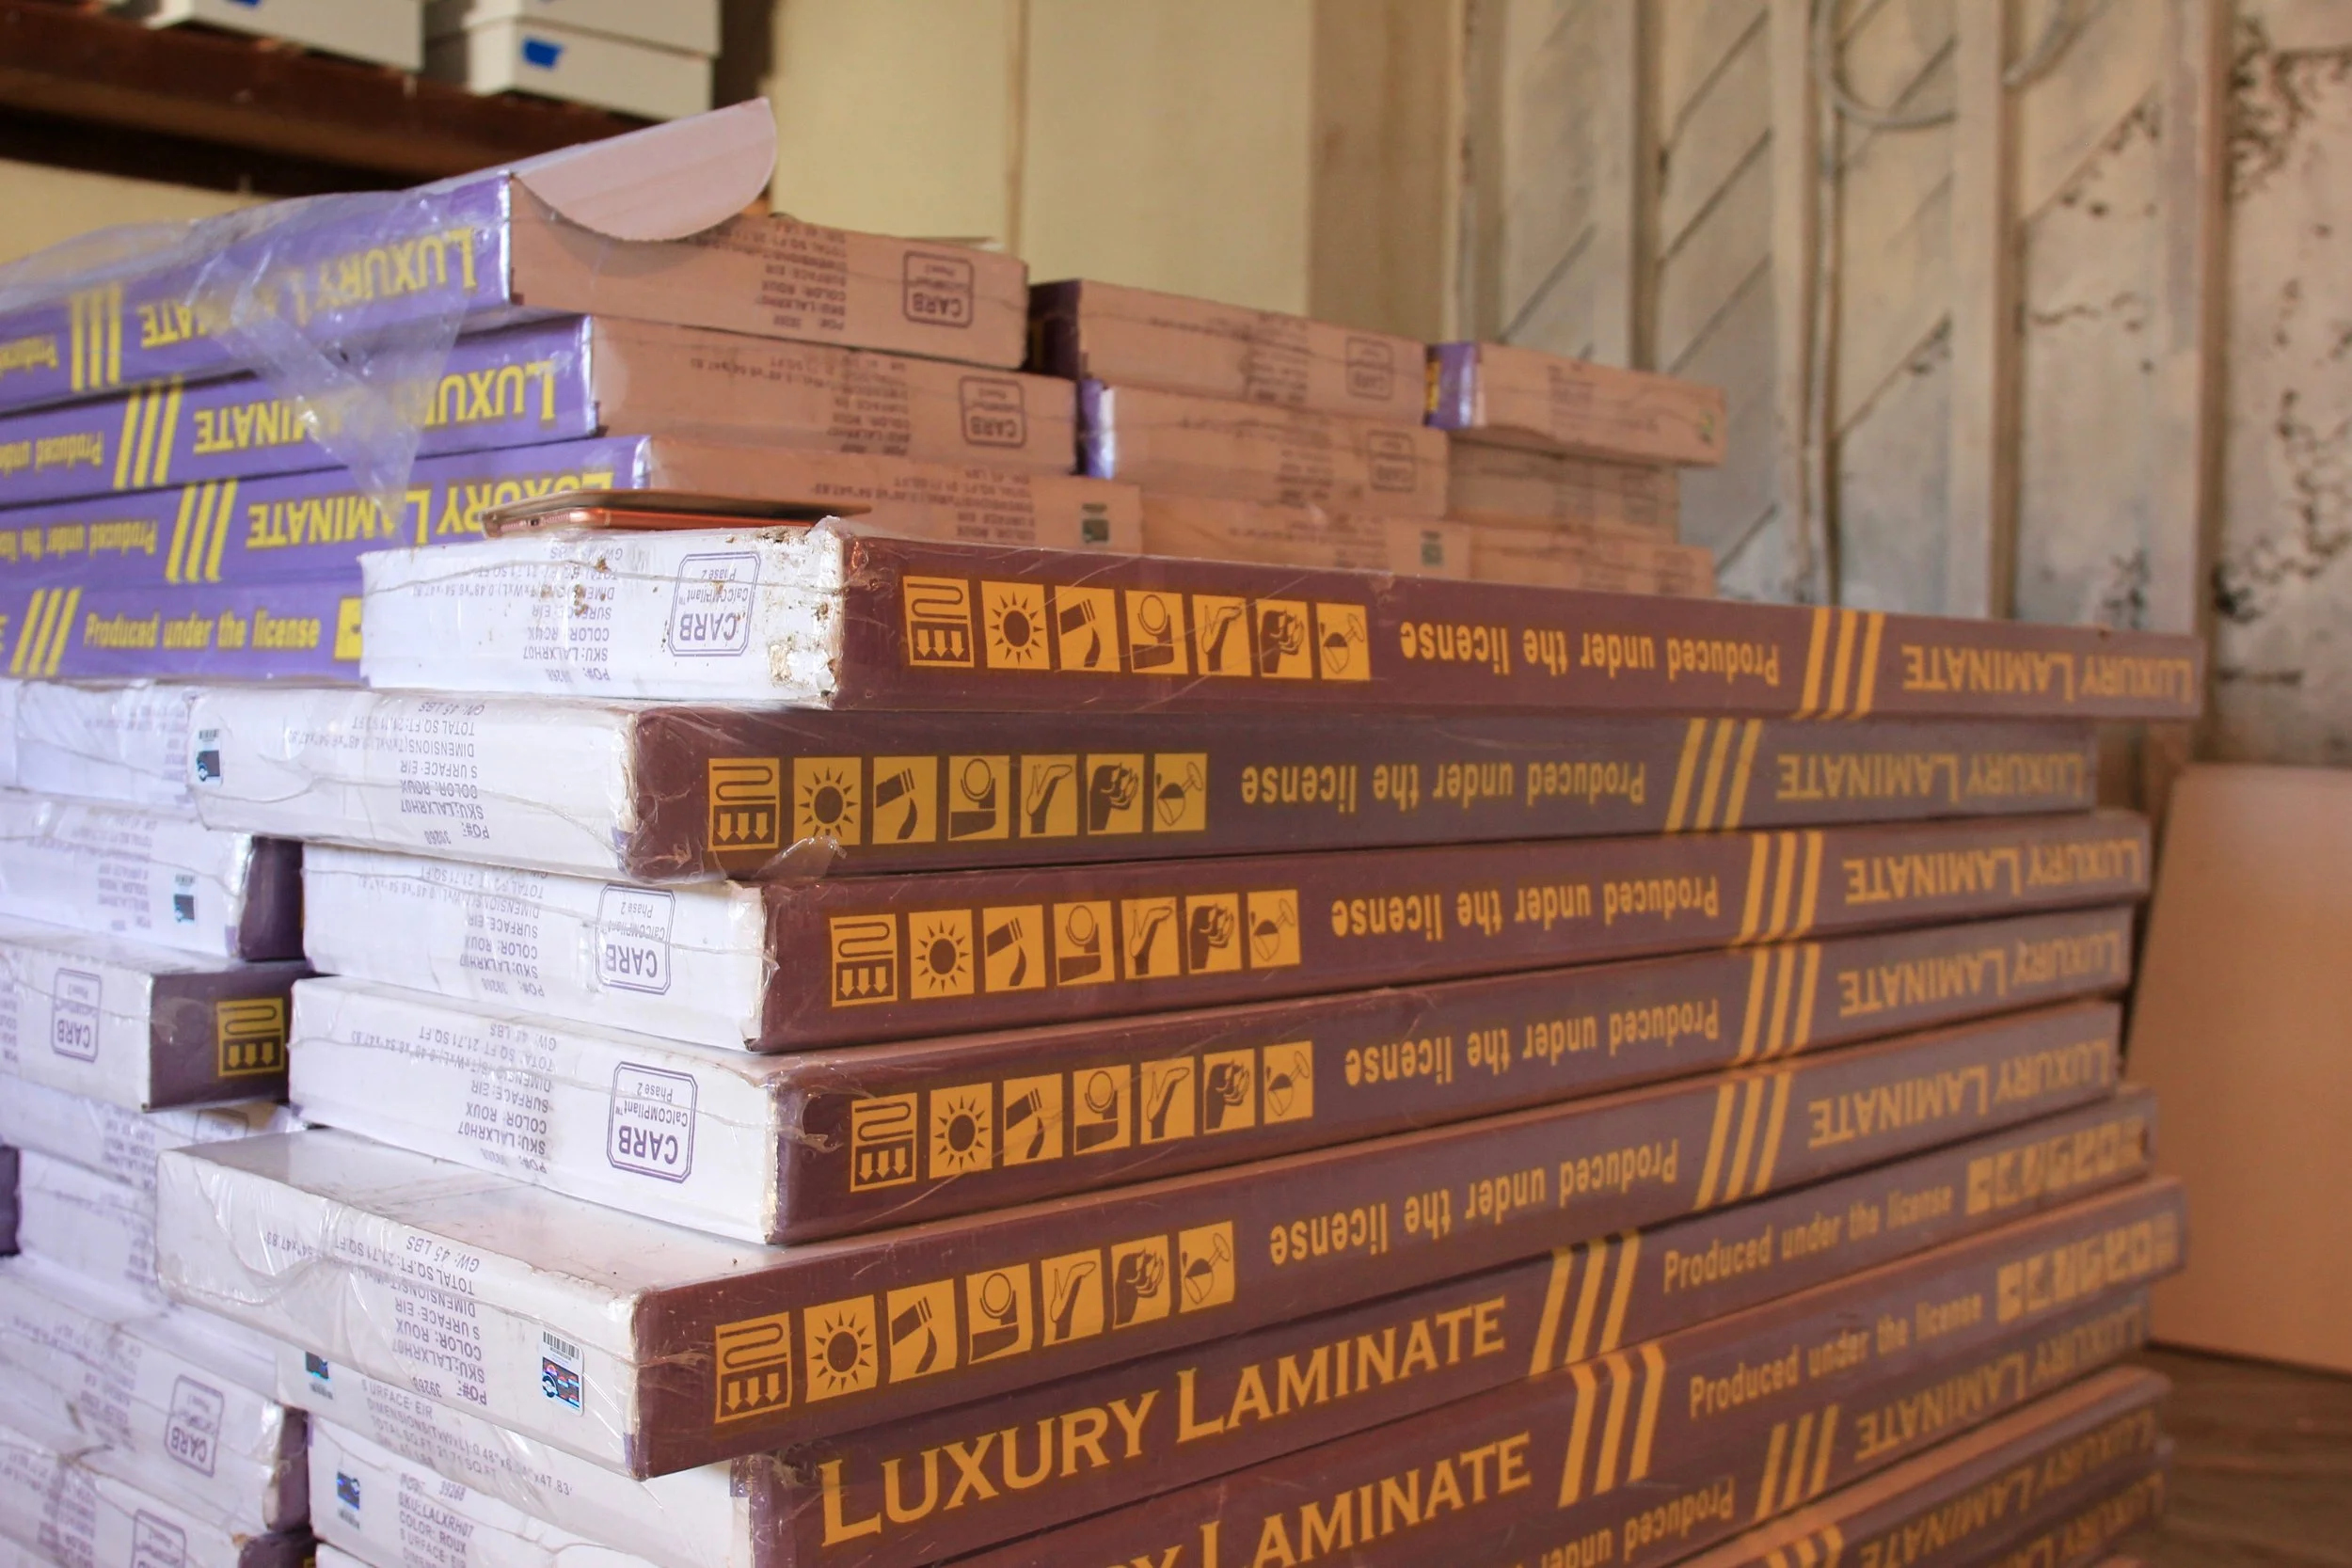
By March, the transformation started to fall into place. The drywall was repaired, and the new floors went in.

Finishing Touches

In early May, we added a sliding farmhouse door to separate the new space—a beautiful design detail that also provided extra soundproofing for the kids’ nap times.

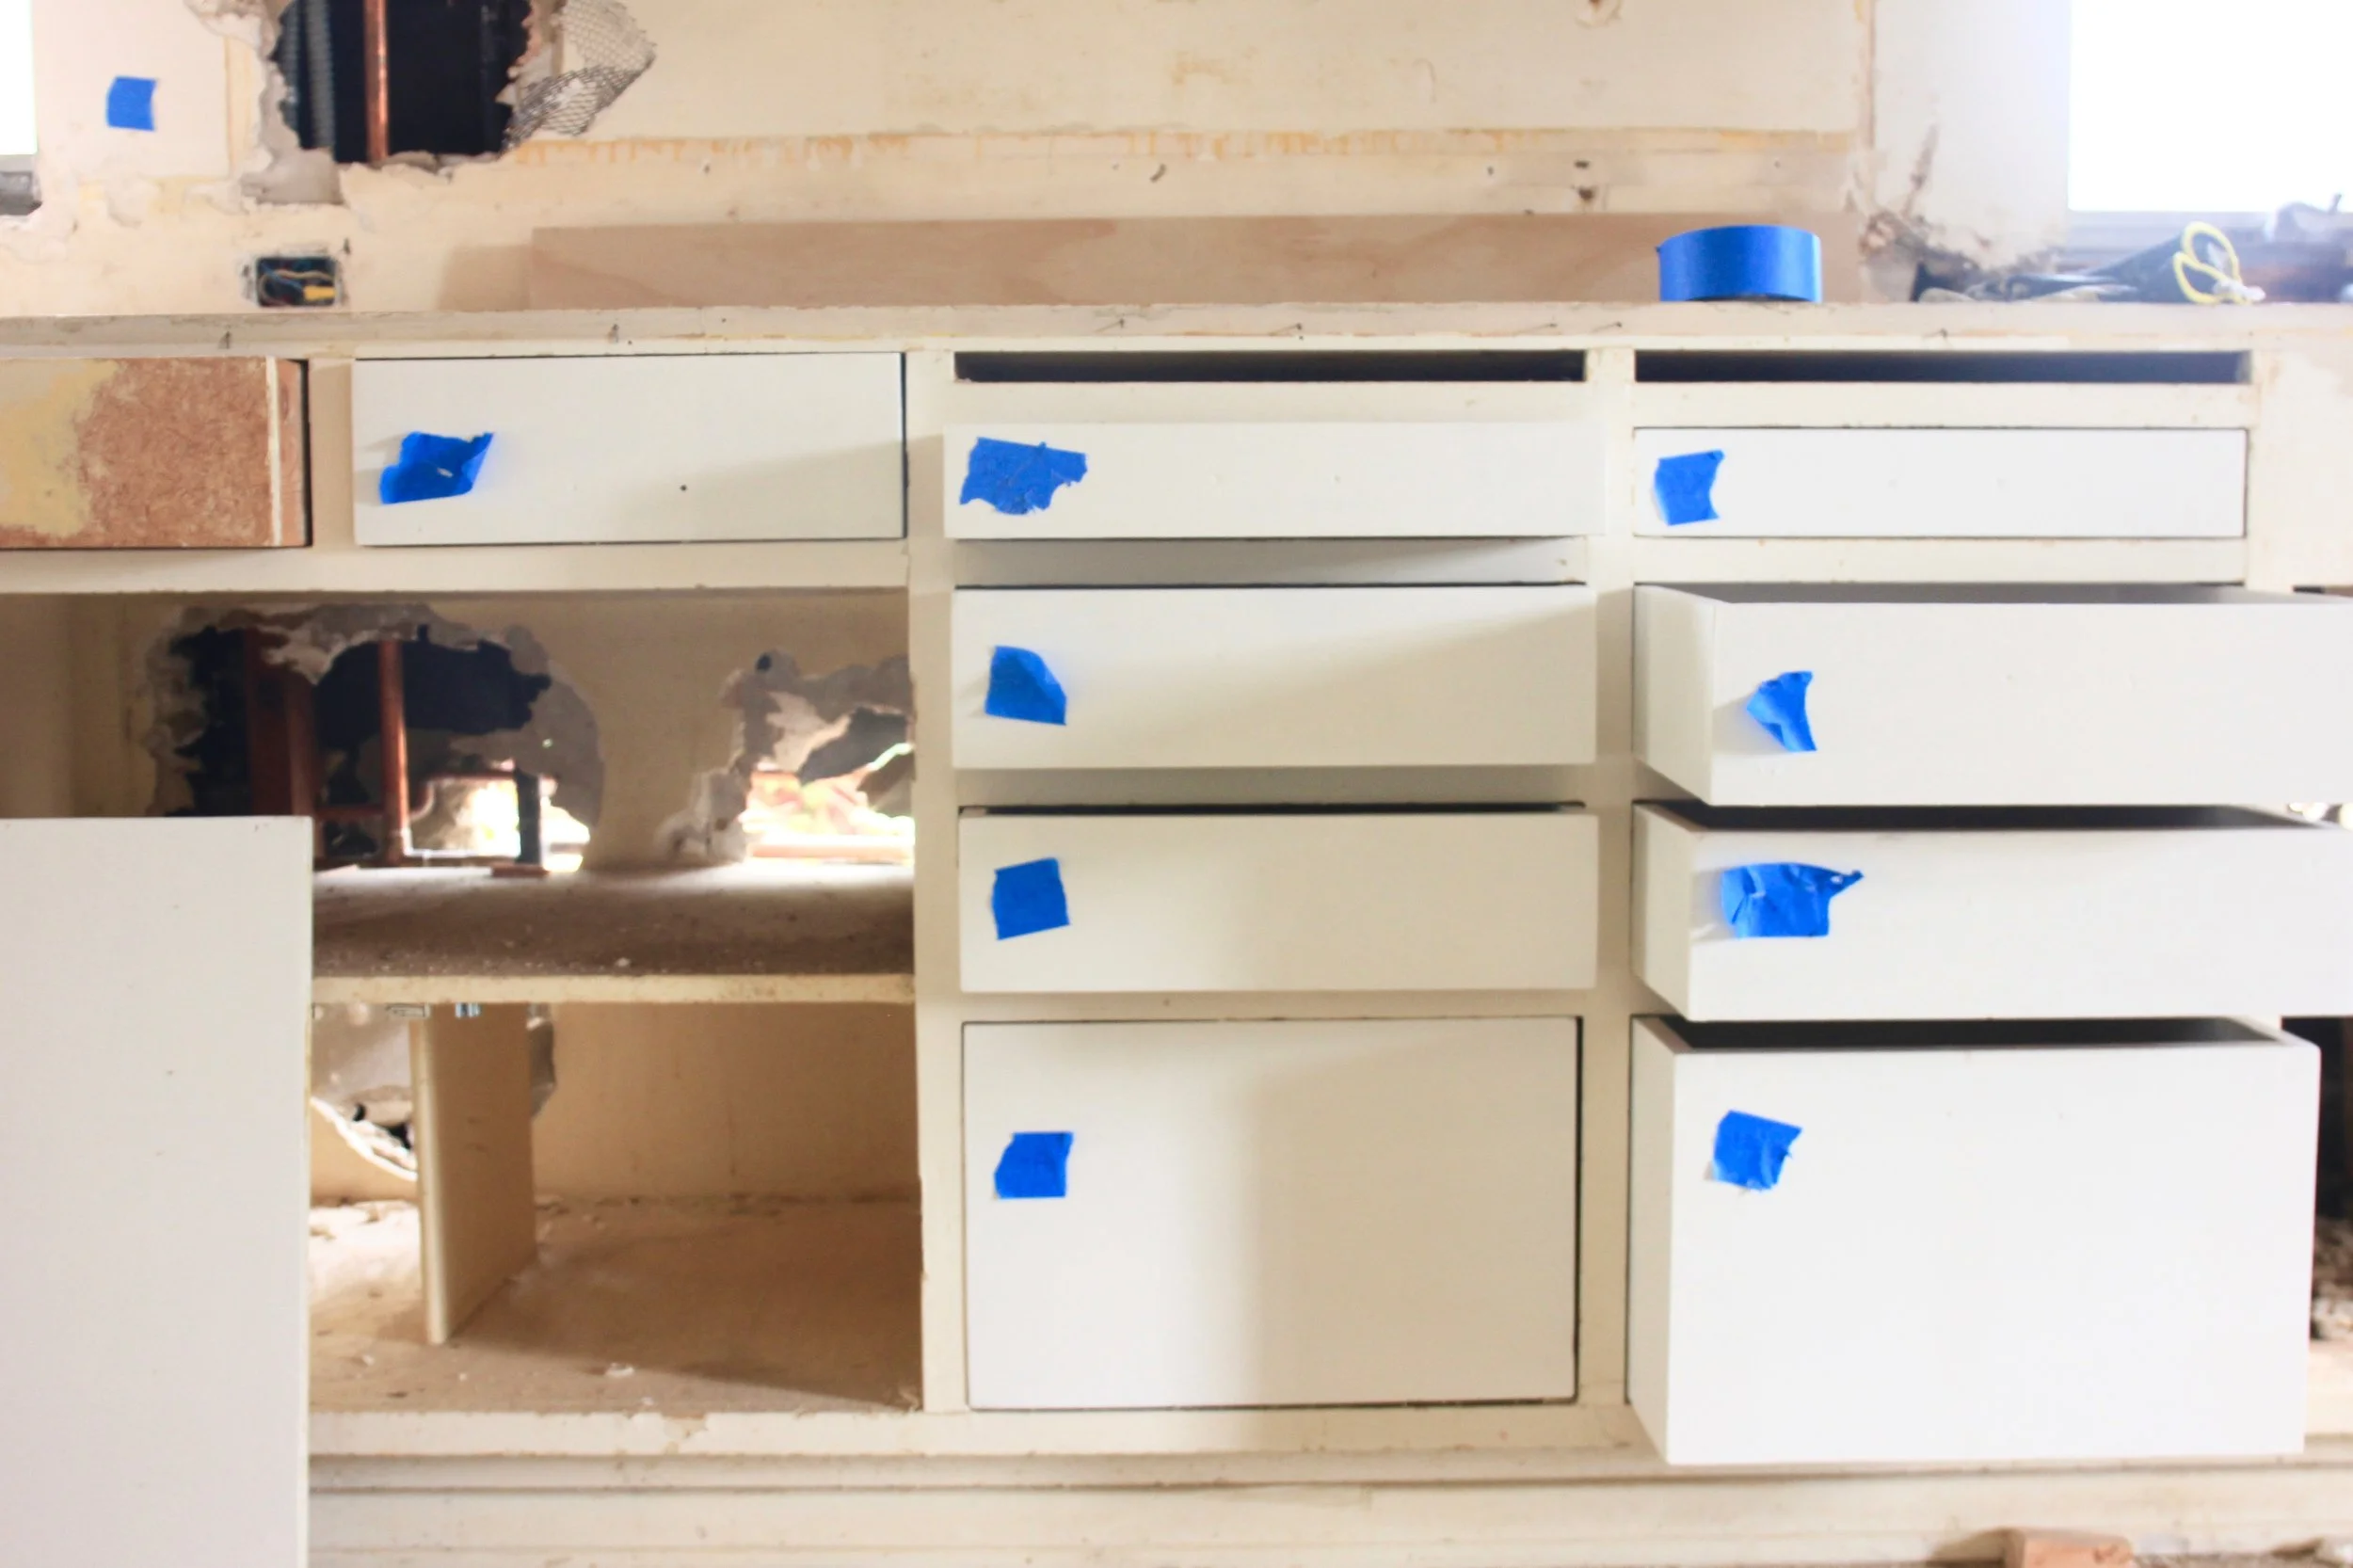
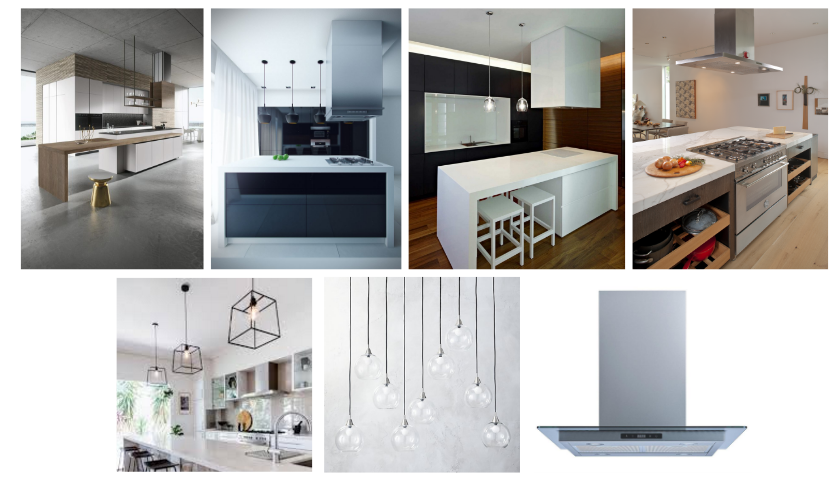
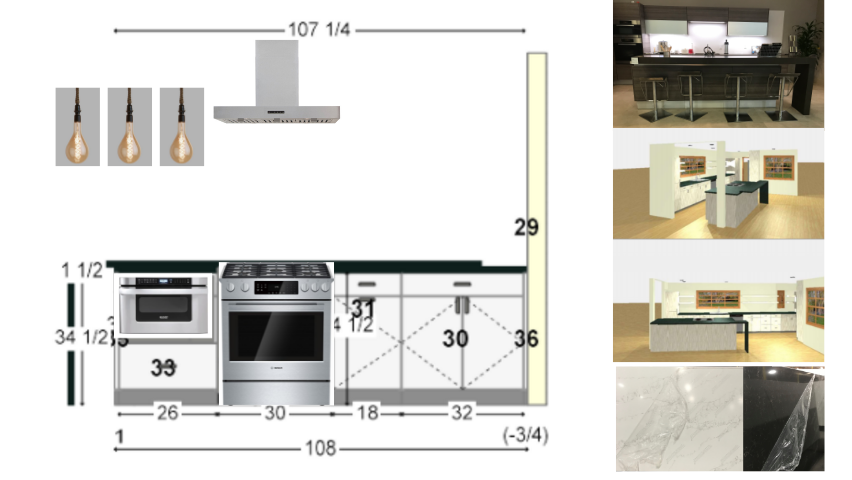
The following weekend, we assembled Maven’s new IKEA bunk bed, making her room feel complete. And by mid-May, we installed IKEA cabinets in the kitchen—a huge win. While it was sad to lose the natural light from the kitchen windows, the added storage more than made up for it.

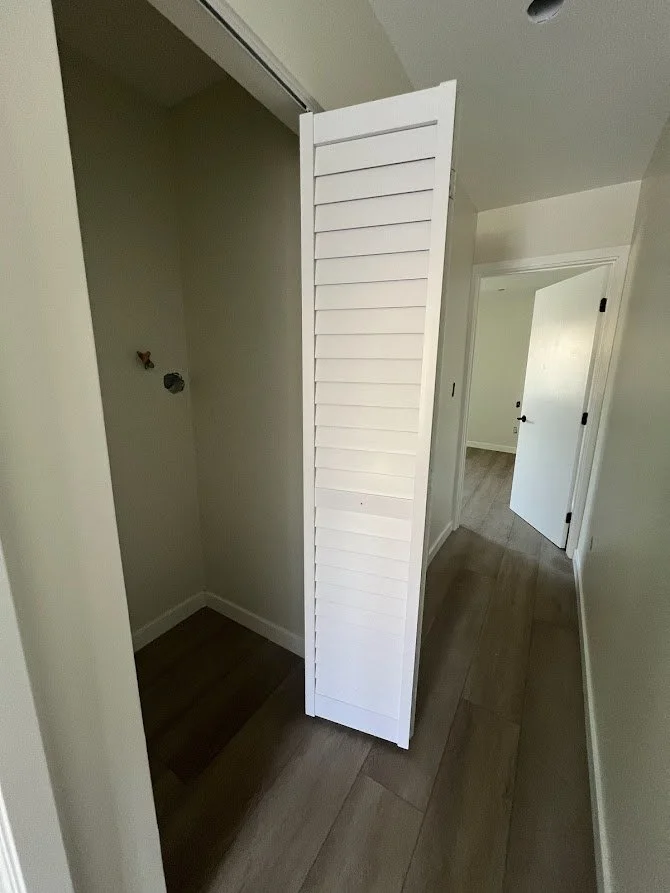
We also carved out a closet for the laundry unit. Originally, we installed doors to conceal it, but they clashed with the front-load washer and dryer, so we eventually removed them for practicality.
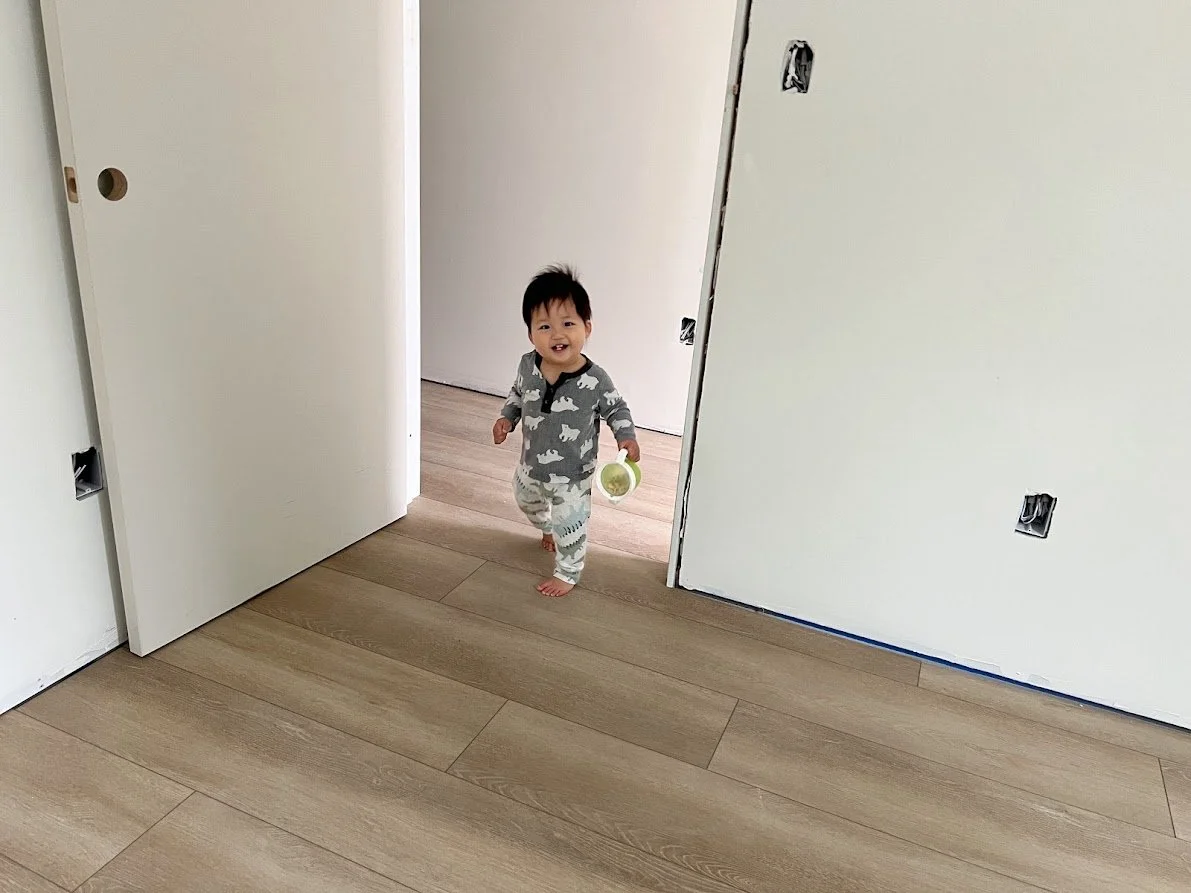
A Home That Fits Us

Looking back, the journey from November to May was full of challenges—rainstorms, leaks, and dust everywhere again—but also full of excitement as we watched our vision become reality. Now, our kids each have their own room, we’ve gained an extra functional bathroom, and the kitchen is more practical than ever.

It wasn’t just a remodel; it was a step toward making our house truly fit our family. ❤️

Installing Drought-Tolerant Landscaping

After finishing the garage conversion, repainting the front exterior, and re-doing the driveway last summer, we finally completed the last piece of the renovation puzzle – landscaping! It became one of my personal projects while on maternity leave. A fun mix of exploring designs, meeting with landscapers, and researching the LADWP WaterWise Turf Replacement Rebate.

We knew we wanted something low maintenance, considering how much work we put into the backyard (and still have so much to go). The yard is south-facing which means it gets a lot of sun, and it slopes downwards toward the sidewalk. I set to work researching and memorizing which plants I liked, planning different height and color combinations, and creating mocks in Photoshop to see how it would all tie together with the house color and driveway pavers. Having a completely blank slate did feel a little overwhelming, so here are a few directions I explored.

As we did more research on the LADWP Turf Replacement Rebate, we realized that we would have to follow a certain set of parameters in order to qualify. This included choosing non-invasive drought-tolerant plants, using mulch as ground coverage, and installing some sort of rainwater feature like a river rock bed. Like any home project, we quickly learned some very specific terminology like “berms” (basically mounds of dirt) and worked closely with Anthony & Son Landscaping in order to meet all the requirements.

We really enjoyed Anthony’s quick communication and attention to detail. He even brought over samples of the mulch and gravel before he got to work so we could make some decisions in-person (like choosing the color of the river rock).

It was a 3-day job with a lot of manual labor. On the first day, a crew of about 8 guys came to clear all the weeds and level the ground by hand.

The second day was dedicated to laying down weed fabric and carefully planning and placing the river rocks. I kind of assumed they would just dump the bag of rocks on top of the dirt, but Anthony made sure it was carefully arranged with an aesthetically pleasing assortment of small and large rocks.

And finally, the third day was spent laying down the mulch and installing the plants. They look small now, but they’ll fill out over time. I’ve also been propagating succulents in the backyard, so we’ll transplant them to the front yard when they’re big enough.

We’re so happy with the final result, and we’ve had lots of neighbors stop, stare, and share compliments. The curb appeal has made such a huge difference in making our house feel complete, and it feels like the whole neighborhood has enjoyed watched our little ugly duckling house since Day 1, blossoming into a beautiful swan that’s now the envy of the block (left: what the house looked like when we bought it, right: how it looks today).

Installing Central Air Conditioning

It goes without saying that our house is a fixer. It’s been a labor of love and we’re slowly wrapping up the interior house projects (jk, it never ends). And so it was finally time to invest in central air conditioning. And like always, it had its fair share of surprises and big decisions.

When we bought the house, it didn’t have a gas line or central AC. For the past two years, we’ve been relying on fans, a semi-broken portable AC unit, and opening the windows. But now with a newborn, temperature regulation is a must.

Alex did his due diligence and got quotes from about 5 different installers. Ultimately, he decided on Southland for its highly rated reviews. However, it wasn’t as simple as going in and installing air conditioning. Since our house has a flat roof, it made things more challenging because there is no attic to hide the ducts. Which meant that if we wanted central AC, we’d have to place the HVAC system on top of the roof in a spot that could bear its weight, and then cut directly through the roof to connect the ducts into each room. The process would be invasive and aesthetically less pleasing. In fact, every installer warned that you would see the “elephant trunk” ducts on top of our roof and significantly impact our curb appeal.

The alternative was to install ductless mini splits in each room. Less invasive and more flexible, these individual units could be placed throughout the house with no impact to our roof. However, temperature regulation would be more difficult and we’d still have to install about a dozen throughout the house for the same price..

Alex and I weighed the pros and cons, and though we ran the risk of it looking ugly, we really wanted to have the reliability (and added resale value) of central AC. We initially scheduled to have the installation done before the baby arrived, but it rained on the dates we had planned so we postponed the project for 2 months.

To prep for the installation, I moved the furniture around in each room and covered it with painters plastic. Since we had done multiple walkthroughs prior, I knew generally where they would be cutting each vent. I wanted to make it as easy as possible for them to reach the specific wall or ceiling, and I wanted to minimize the amount of dust that would inevitably get on our furniture and things. Luckily, there wasn’t as much sawdust as I thought there would be, and the guys also added another layer of plastic on top of mine.

The job took 2 full days to complete so we spent the day at Alex’s mom’s house with the dogs. The guys started in the living room and kitchen on the first day, so we were able to come home at night, pull back the plastic, and sleep in our own bed. After they did the bedrooms on the second day, they carefully snaked the ducts very low to the roof so that it’s barely visible from the street. The HVAC now sits towards the back of the house on top of a bearing wall above the living room that can hold its weight. We were so impressed with their attention to detail and really appreciated their extra efforts to keep our house looking pretty.

The guys worked until 9pm on the second day to wrap everything up, vacuum, set up our Nest thermostat, and test both the AC and heat. It was a process and we had to make some last-minute changes to the vent placements, but in the end, we’re so happy with the results despite everyone scaring us into thinking we’d ruin our roof. A tiny part of me is a little sad that there are cutouts in our wood ceiling, but it’s a small price to pay for the luxury of central AC.

Our New Driveway with Concrete Pavers

Remember that cypress tree in our front yard that wreaked havoc on our plumbing? Well, it did a number to our driveway, in addition to years of general wear & tear.

So when we came back from our trip to New Zealand, we got started right away on demolishing the driveway.

As we did our research, we decided on concrete pavers. They’re basically like tiles that can shift more easily as the ground changes over time, rather than a slab of concrete which is more prone to cracks. We took a trip to a couple landscaping specialty stores to see samples in person and poured over a Belgard catalog full of colors and configurations. We chose the “Rio” blend paver in an ashlar pattern.

We also added stairs leading up to the garage unit to give it a proper entranceway up the slope of our front yard. This area gets mistaken for the front door sometimes, but some plants and pathway lights should help guide people towards the actual front door.

Our curb appeal and entryway are slowly coming together. Next up… landscaping!

50-Step Guide: Our Path to Buying a House AND Remodeling It

It’s crazy to think that at this time last year, we were just barely getting started with our contractor and frantically planning the initial stages of renovations. As we reflect upon everything that 2018 has taught us, it’s the perfect time to post this step-by-step list that captures a rough timeline of the entire process. Now flashback to Oct. 2017…


When we started this process, we kept everything as private as possible. We didn’t tell our friends until April when everything was officially moving in the right direction. But through it all, we kept track of our progress to share some knowledge we’ve learned along the way.

  1. Visit open houses. We visited probably close to 20 open houses between September and October. Our #1 rule was to NOT get emotionally invested in any of the properties to avoid any extra stress or disappointment later.

  2. We made an offer in early October.

  3. We didn’t get the house. (mid-October)

  4. We made another offer. (end of October)

  5. Negotiations began.

  6. Escrow began. Our escrow period lasted 45 days. In that time, we worked extremely closely with our escrow agent. She was detail-oriented and needed paperwork ASAP. This meant we had to dig up old W-2s, 1099s, previous landlords’ contact info, and all the stuff you throw into storage bins for that “just-in-case-this-piece-of-paper-ever-matters” moment. After about 30 days, all signs pointed to us getting the house so we started creating vision boards for each room. This helped us get an idea for how much we wanted to renovate now, the overall theme of the house, and general budgeting. We also got a head start on giving the cabinets a facelift.

  7. Escrow ended. We met our escrow agent in-person, signed a buttload of paperwork, and submitted our downpayment. (Dec. 17)

  8. We got the keys. After the downpayment was processed, we met with our real estate agent to get the keys to the house. (Dec. 18)

  9. We got 3 trees removed. The massive sycamore tree was in the front yard and blocked the entire house from view. Also, its roots were most likely interfering with the pipes that drained to the street, so we knew it had to go. We also removed 2 dead trees in the backyard (a palm tree and a ficus tree that was covered in poison ivy). (Jan. 2)

  10. We got mold removed. There was a lot, and it was gross.

  11. We interviewed contractors. Many were condescending because they could tell we’re a young couple. Others were untrustworthy because they were unrealistic with the budget.

  12. We hired a contractor.

  13. Demolition began on Jan. 15.

  14. We replaced all the electrical in the house because it had not been updated since 1950.

  15. We also replaced the plumbing in the house because, you guessed it – the pipes were old AF.

  16. We got the gas line installed because whaddyaknow – no gas line either! The previous owners were super paranoid that it would make the house explode or something. So we submitted paperwork with the city and got the line and meter installed (but no actual gas set up yet).

  17. Bathrooms demolished. Not part of the original plan, but due to LOTS of dry rot and mold, we knew it was the best decision. It was great to have the freedom to completely customize the bathroom configurations, but also a huge headache. Where should the toilet go? Which direction should it face? Which bathroom should have a tub? Both? Neither? We sketched tons of layouts, called Alex’s mom for her thoughts, and met with our plumber to visualize it in-person with a measuring tape. (early Feb)

  18. We got window measurements done and gathered quotes to replace them all too. The windows were super old, flimsy or missing, and poorly insulated.

  19. More plumbing and electrical surprises and decisions. Where should the exterior lights go? How many outlets do you want? Which lights should have dimmers? Where do you want the internet installed? We spent every weekend making multiple trip to Lowes and Home Depot to look at light fixtures and buy whichever ones caught our eyes. Then we would go to the house, unbox them, and hold them up against the wall. If we liked it, we would label the box very clearly so our contractor would know where to install it. Otherwise, we would return it and keep trying to find the best lights that were bright, efficient, and within budget.

  20. Final window measurements. They double checked that all the window measurements were correct (a few were a little off).

  21. Framing. The final wall in the kitchen was knocked down which made us very happy!

  22. We bought the front door, glazed it ourselves on my birthday, and had it installed that week. (end of March)

  23. First round of Inspections. It was cancelled 3 times which meant that we spent an entire week waiting and making zero progress. That also meant that we would definitely not hit our projected move-in date of March 31. Patience level is at an all-time low.

  24. Drywall & stucco began (2 days). The materials needed to patch up all the holes were another unexpected cost.

  25. Inspection for drywall & stucco (1 day).

  26. Skimming for drywall & stucco (3 days).

  27. Hot mop in shower and bathtub (1 weekend). The house is starting to look like a house again. (early April)

  28. Another layer of cement poured into the master bathroom.

  29. Install tiles (2 days).

  30. Install laminate floors (3 days). We were very fortunate to get our hands on this backordered laminate flooring. After many phone calls, we were even able to get to the top of the waitlist.

  31. Install windows. This took an entire week because we needed to install a “metal waterproof pan.” Our contractor told us this would be required in order to pass inspections, so it was up to us to confirm with the window installers. Well, of course they had no idea what we were talking about, so we kept repeating ourselves until they finally got in touch with our contractor. Definitely one of those instances where we had no idea what we were talking about, but we just needed to say it and get it done right, no matter how dumb it sounded. (mid April)

  32. Install cabinets for the kitchen island and fridge panel. This was one of my favorite days, but also anxiety-inducing because 1) there were at least 10-15 dudes working on the house 2) we were praying that we had bought enough quartz (two jumbo slabs) and 3) that all the measurements would line up and fit our appliances which we had bought just a couple weeks earlier. It also at this point that we started calling, texting, and emailing our contractor every morning and night to make sure he stayed on schedule.

  33. We spoke with fabricator about the countertop design. Originally, we had wanted to add an extra slab on top for a contemporary bar area like this, but after realizing it would cost at least another $4k, we quickly abandoned that idea. We’re so glad that we did too because the pure white quartz is enough of a statement on its own.

  34. Scheduled + passed the first round of inspections (1 day).

  35. Install exterior doors and locks (3 days). Also frantically made a run to Home Depot to purchase the new doorknobs to go along with them. You just really never think about all the parts that go into a house. It was extra fun because Home Depot didn’t carry the matte black color we wanted. Neither did Amazon. So we had to order it through build.com which worked out great!

  36. Finished electrical for inspection (install ceiling fans, outlets, exterior and interior lights). It was a huge pain. (1 day)

  37. Patch any holes or blemishes in drywall (1 day)

  38. Install sinks and countertops (1 day). Things started moving pretty quickly at this point because we had already bought all the fixtures, labeled where they should go, and stored them in the garage for our contractor to install. (end of April)

  39. Install toilets and shower heads. (1 day)

  40. Finish plumbing for inspection. (1 day)

  41. Install kitchen appliances and turn on gas. (2 days)

  42. Install shower doors.

  43. Install cabinet handles on kitchen island.

  44. Install backsplash.

  45. Install island hood vent.

  46. Final inspection! We passed!!! Which meant that we could officially move in. (April 30)

  47. Install water heater. Yes, we moved into the house without hot water.

  48. Install chandelier and outstanding lights.

  49. Schedule appointment with the gas company to install the meter and hook it up with the appliances. This took an entire month. In the meantime, we took hot showers at Alex’s office gym or boiled water in the electric kettle and brought pots into the shower.

  50. Cook a meal on the gas stove and take a long, hot shower!!! (May 10)

Stripping and Painting the Cabinet Interiors

The goal for this weekend was to make everything as dirty as possible. We’re anticipating that the floors will go in sometime this week so we wanted to make sure that we finished sanding the beams and stripping the cabinet faces while we still had the chance to make a mess. The paint stripper is extremely corrosive and it would break our hearts if it messed up our new floors.

First, I applied paint stripper to the cabinet frames (the parts that face outward, in between the cabinet doors). That was the easy part.

Then, I applied paint stripper with a putty knife to the inside of the cabinet. This was a bit trickier because it's harder to reach and the angles were weird. I didn't do the entire interior. Just enough to remove the gross stains or yucky oils. These cabinets will house our pots, pans, dishes, and pantry items and even though they'll all have cabinet liners, I was grossed out by the thought of years of grime touching our food and ingesting who knows what.

We plan to do some more stripping and sanding this weekend. But if the floors are installed, we'll save it for after we move in and lay out tons of painters plastic.

Weekend Progress: Stripped Ceiling Beams (Finally)

Last weekend, Alex started stripping the paint from the wooden beams in both bedrooms. The task was much harder than the kitchen cabinets because the layers of paint were thicker and more difficult to reach. Alex’s co-worker Daniel helped us sand the beams in the master bedroom while Alex stripped the paint in the guest bedroom. After about 6 hours, the beams in the master bedroom were done! The next day, Alex finished up the beams in the guest bedroom.

One of the main reasons why we wanted to strip the paint now was because the flooring hasn’t been installed yet. This means we can make a giant mess without worrying about damaging anything. The paint stripper is extremely abrasive (we’ve gotten a few splatters on our skin and it burns) so when Alex scrapes the paint off, it lands on the floor in giant,  chemical-filled piles — completely harmless to the ground that is soon-to-be covered in our beautiful laminate.

More updates:

  • We have walls! Drywall went up last week, and we just need them to “skim” it with a smooth surface for us to paint when we move in. The other option would be a textured surface, but we want it smooth.
  • The kitchen soffit is now filled with insulation, also ready to be drywalled this week.
  • The roofing guys were there on Saturday to install foam insulation.
  • All of the flooring has been picked up and is waiting in the garage to be installed. It was a little bit of a stressful ordeal to get it ordered and expedited so when we opened it up, I couldn’t help but hug it. We also have baseboards chosen.
  • Our front door is ready for pickup! Our contractor will get it and install it. He’s also picking up the bathroom floor tile for us.
HomeDaphne Chanhome, DIY
Stripping the Ceiling Beams + Cabinet Update

This past weekend, in addition to choosing countertops and toilets, we also started stripping the paint from the bedroom ceilings. And by we, I mean Alex because I was too short to reach them.

IMG_0398.jpg

We love the look of the hardwood, but unfortunately, the entire ceiling in both bedrooms were painted white. So we're following the same technique we're using for the cabinets to strip the paint from the beams. After Alex and his friend Daniel finish stripping and sanding them this weekend, we'll stain them so that all the beams look consistent.

IMG_0402.jpg

While Alex was doing all this, I was figuring out which cabinets we actually needed. Back in November, we started stripping all the cabinets. But since we hadn't hired a contractor at that time, we didn't know exactly which cabinets we would be demolishing. Now that we've demolished quite a few of cabinets, we don't actually need a lot of the shelves and doors that we previously stripped, primed, and painted. So I fit them all back into their original spots, labeled them with painters tape according to columns (A through K from left to right... the tape is messed up because our dog Shabu chewed it), and set aside the ones that don't fit anywhere anymore. We're still keeping them in the garage though just in case!

IMG_0415.jpg
HomeDaphne Chanhome, DIY
Why You Should Make Mood Boards

Flipping a house can be overwhelming and expensive. There are a ton of moving pieces, but mood boards will help you stay organized and keep your eyes on the prize. Here’s a quick look at my process!

Instead of Photoshop or Houzz, I wanted to use something that I could constantly adjust and bring with me on-the-go. I decided to use Google Slides which worked out perfectly. I had the app on my phone so I could look at it wherever (furniture shopping, running around Home Depot, waiting in line, etc.). I could also export it as a PDF and show our vision to our families. But most importantly, I could keep it open at my desk throughout the day and add to it as I researched.

We're changing the front door and adding a wall sconce to the exterior entryway. It doesn't get much sunlight, so we'll be sprucing it up with fake plants and river rocks. Eventually, we want to paint the house dark gray.

We're changing the front door and adding a wall sconce to the exterior entryway. It doesn't get much sunlight, so we'll be sprucing it up with fake plants and river rocks. Eventually, we want to paint the house dark gray.

We knew that we wanted a neutral color palette (white walls, wood floor and ceilings, gray and black furniture). From there, I went room by room and scoured Pinterest to find photographs that matched our layout and mid-century modern aesthetic. The photo(s) on the left of the mood boards show what the house looked like when we bought it.

We're turning the former dining area into an interior entryway for guests to place their coats and shoes. There's also a mail slot so we'll be placing a bench and small basket to catch the mail.

We're turning the former dining area into an interior entryway for guests to place their coats and shoes. There's also a mail slot so we'll be placing a bench and small basket to catch the mail.

I’m not getting too hung up on furniture at this point. My main focus is the permanent fixtures: the flooring, tiles, hardware, windows, doors. As we make more progress with the house construction and purchasing appliances, I’ve been updating the mood boards almost every month. It’s a great way to see how everything will fit together at the very end.

These were some of my early inspiration photos for the kitchen island. In the beginning, we weren't sure if we could knock down the fireplace and adjacent wall so I pulled a lot of options just in case we couldn't achieve a fully open layout.

These were some of my early inspiration photos for the kitchen island. In the beginning, we weren't sure if we could knock down the fireplace and adjacent wall so I pulled a lot of options just in case we couldn't achieve a fully open layout.

This is an updated version with a rough comp of our blueprint, appliances, pendant lights, and countertops all together.

This is an updated version with a rough comp of our blueprint, appliances, pendant lights, and countertops all together.

I'll share more mood boards once we move in and put the rooms together!

Byeee Mold

We started mold removal yesterday, and it's wrapping up today. It's mostly in the ceiling of the bathroom, lower cabinets in the hallway closet and kitchen, and one side of the garage wall. Ew.

We also moved the trash, recycling, and yard bins in and out for collection for the very first time!

Backyard Clean-up

To celebrate the new year, we bought a shovel and trimming shears from Home Depot and set to work cleaning up the backyard. We only had enough time to get our hands dirty for an hour, but it felt so good to start making progress. Everything is incredibly dead, dry, and brittle, so every little bit of uprooting helps.