What I'm Loving Right Now

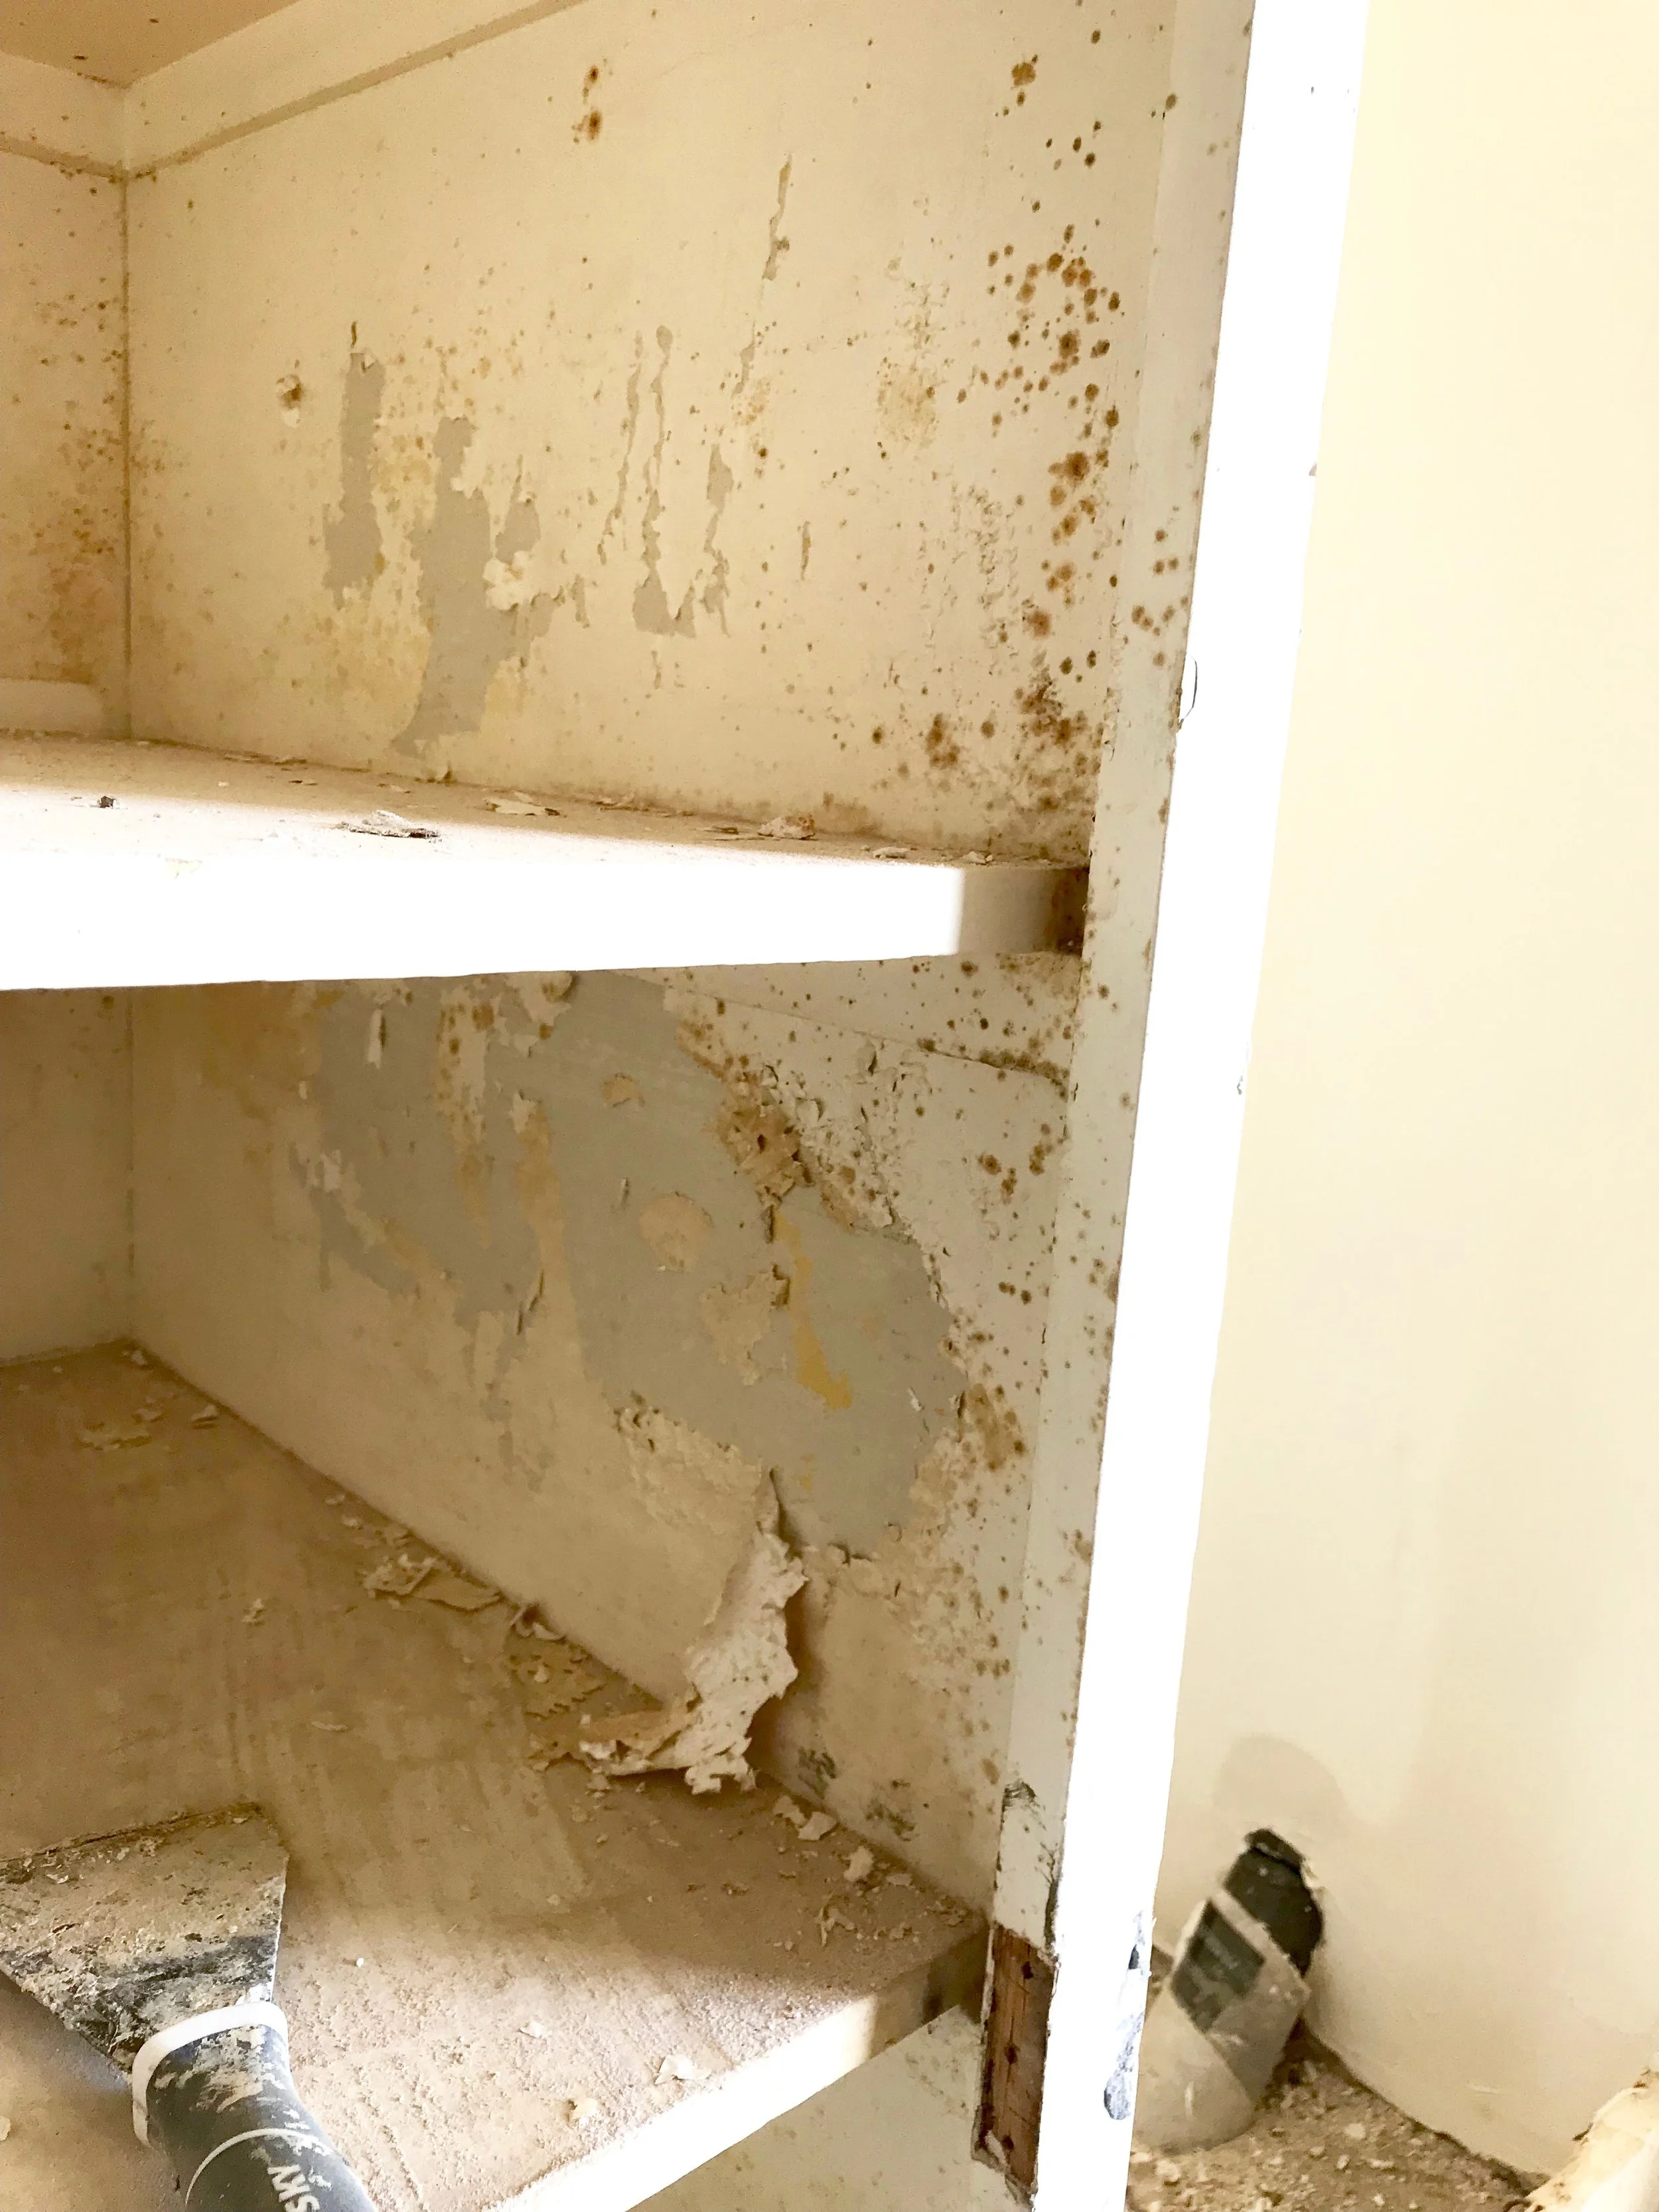
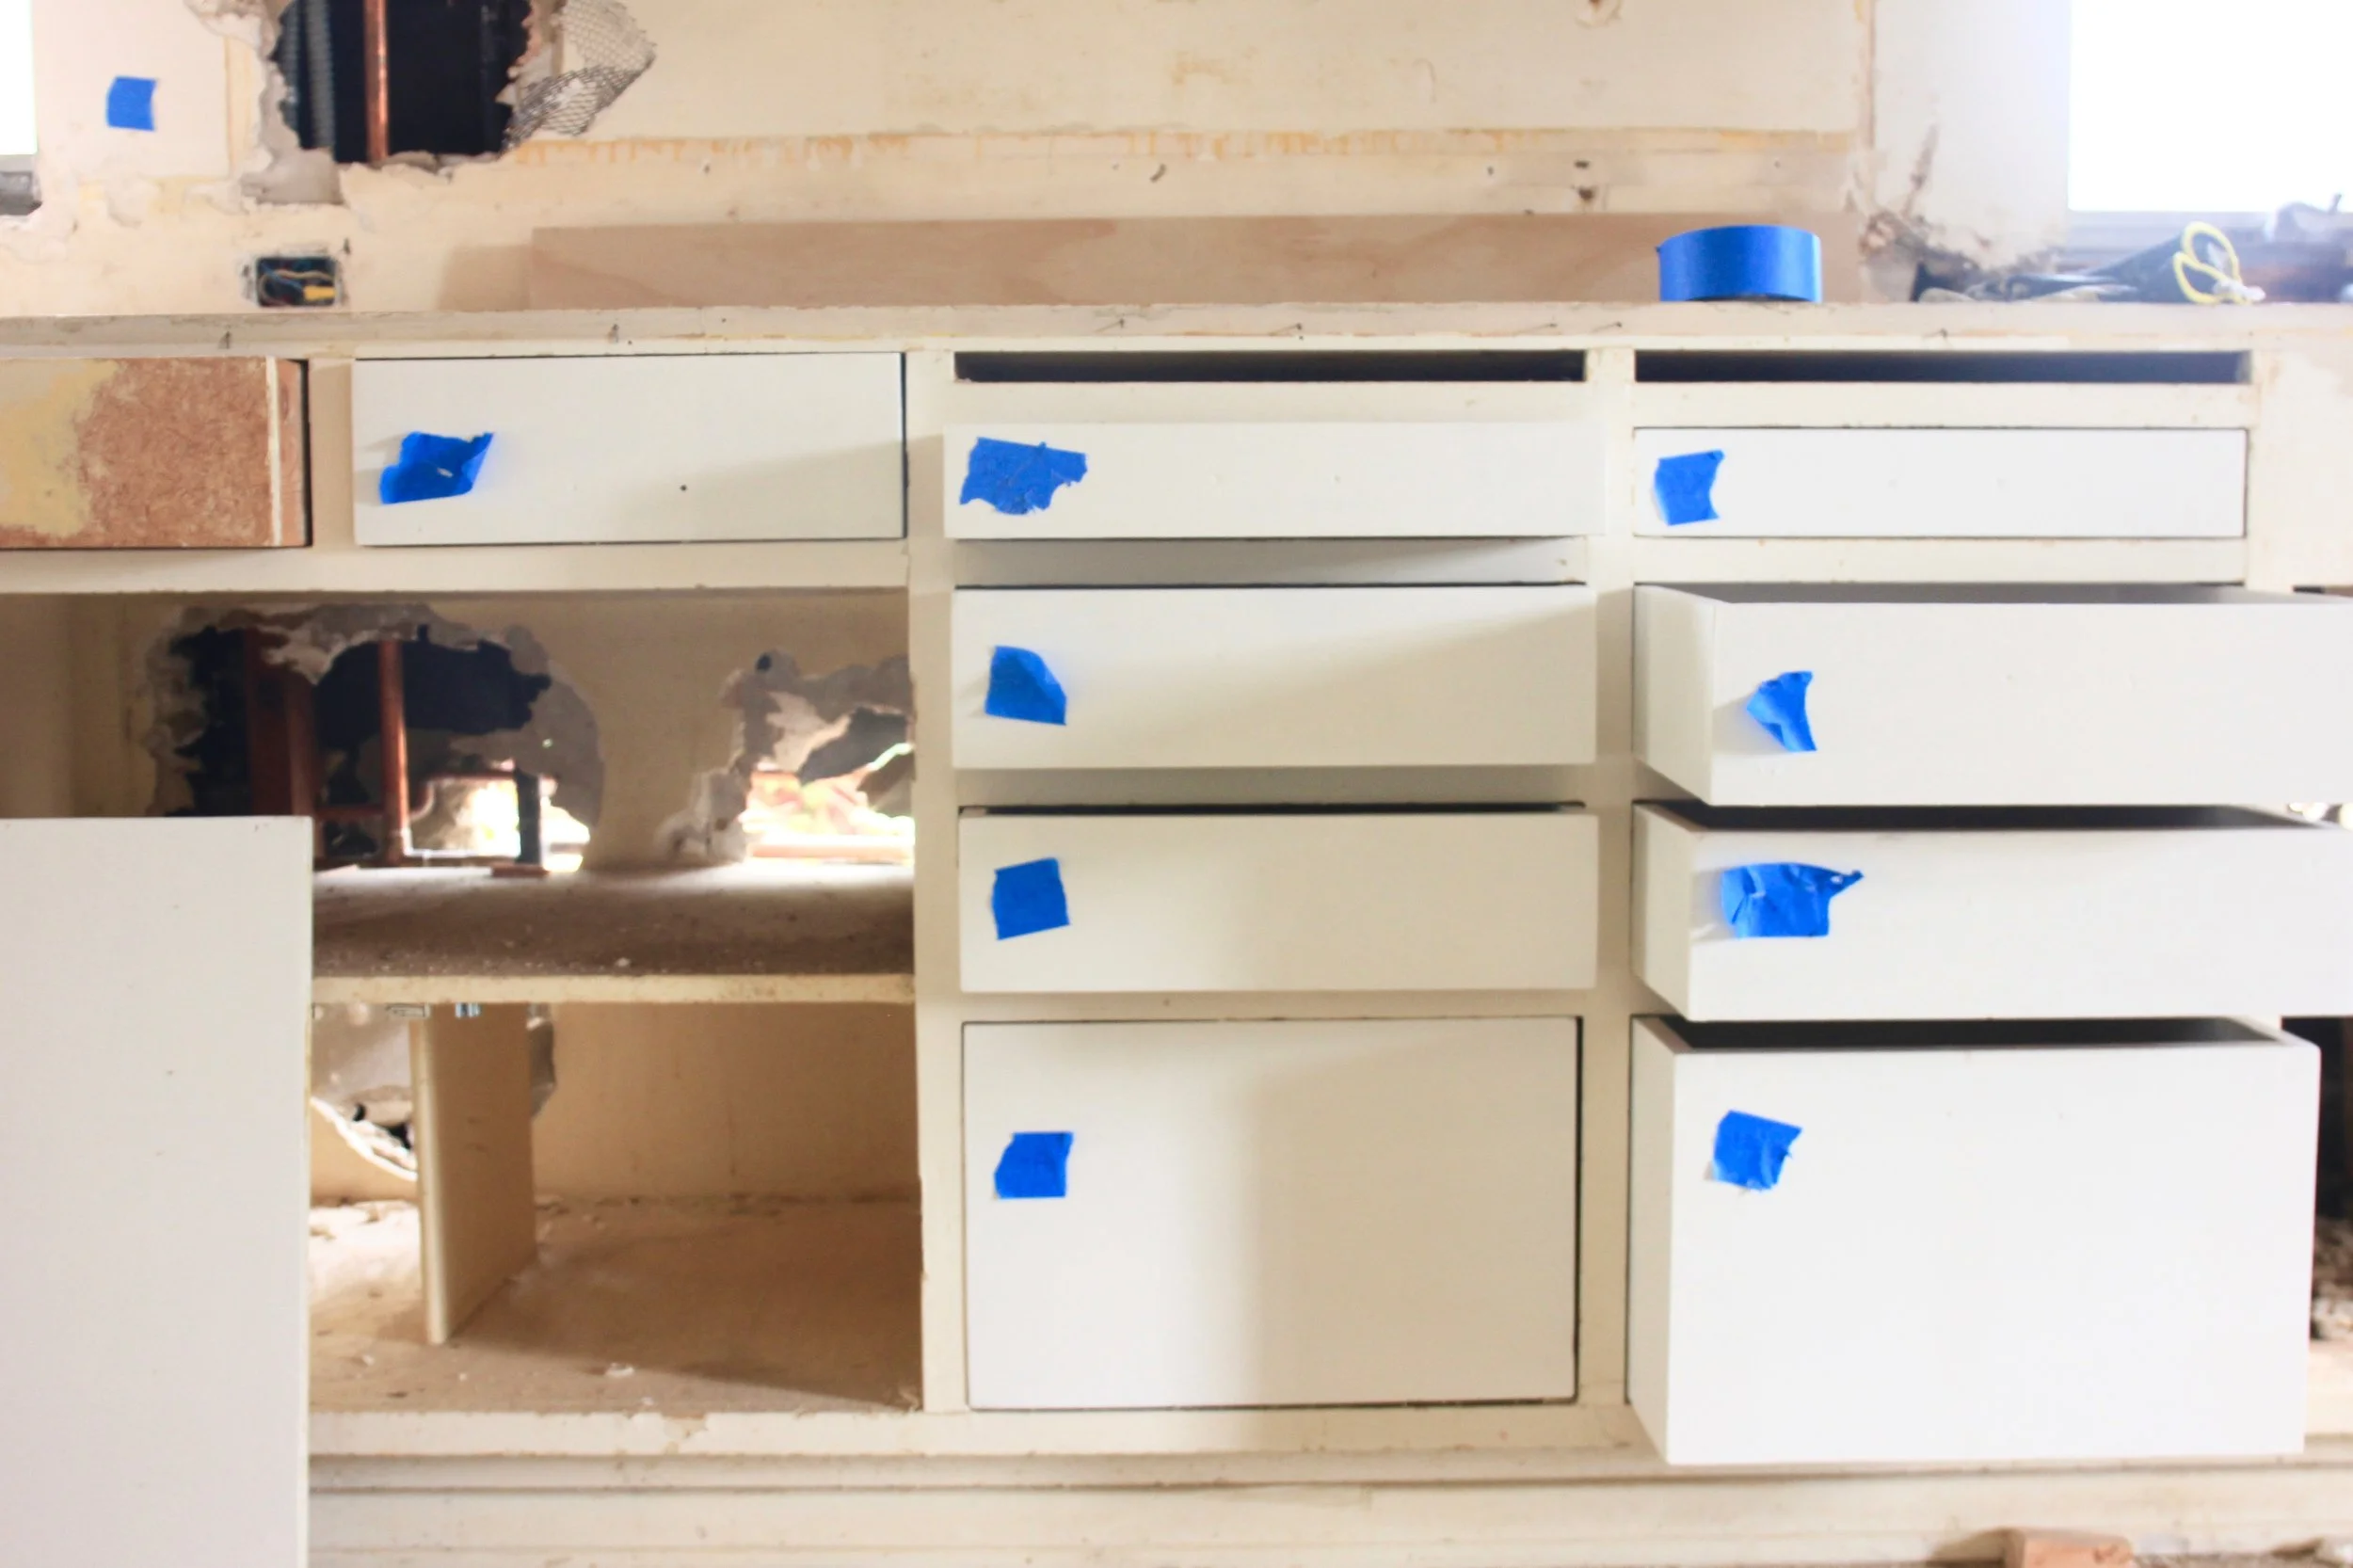
Starting tomorrow, we'll be living out of a suitcase at Alex's mom's house until our house is ready to move into. There's a lot of change happening, so I wanted to take a moment to capture everything I'm feeling, thinking, and currently obsessed with in this moment.

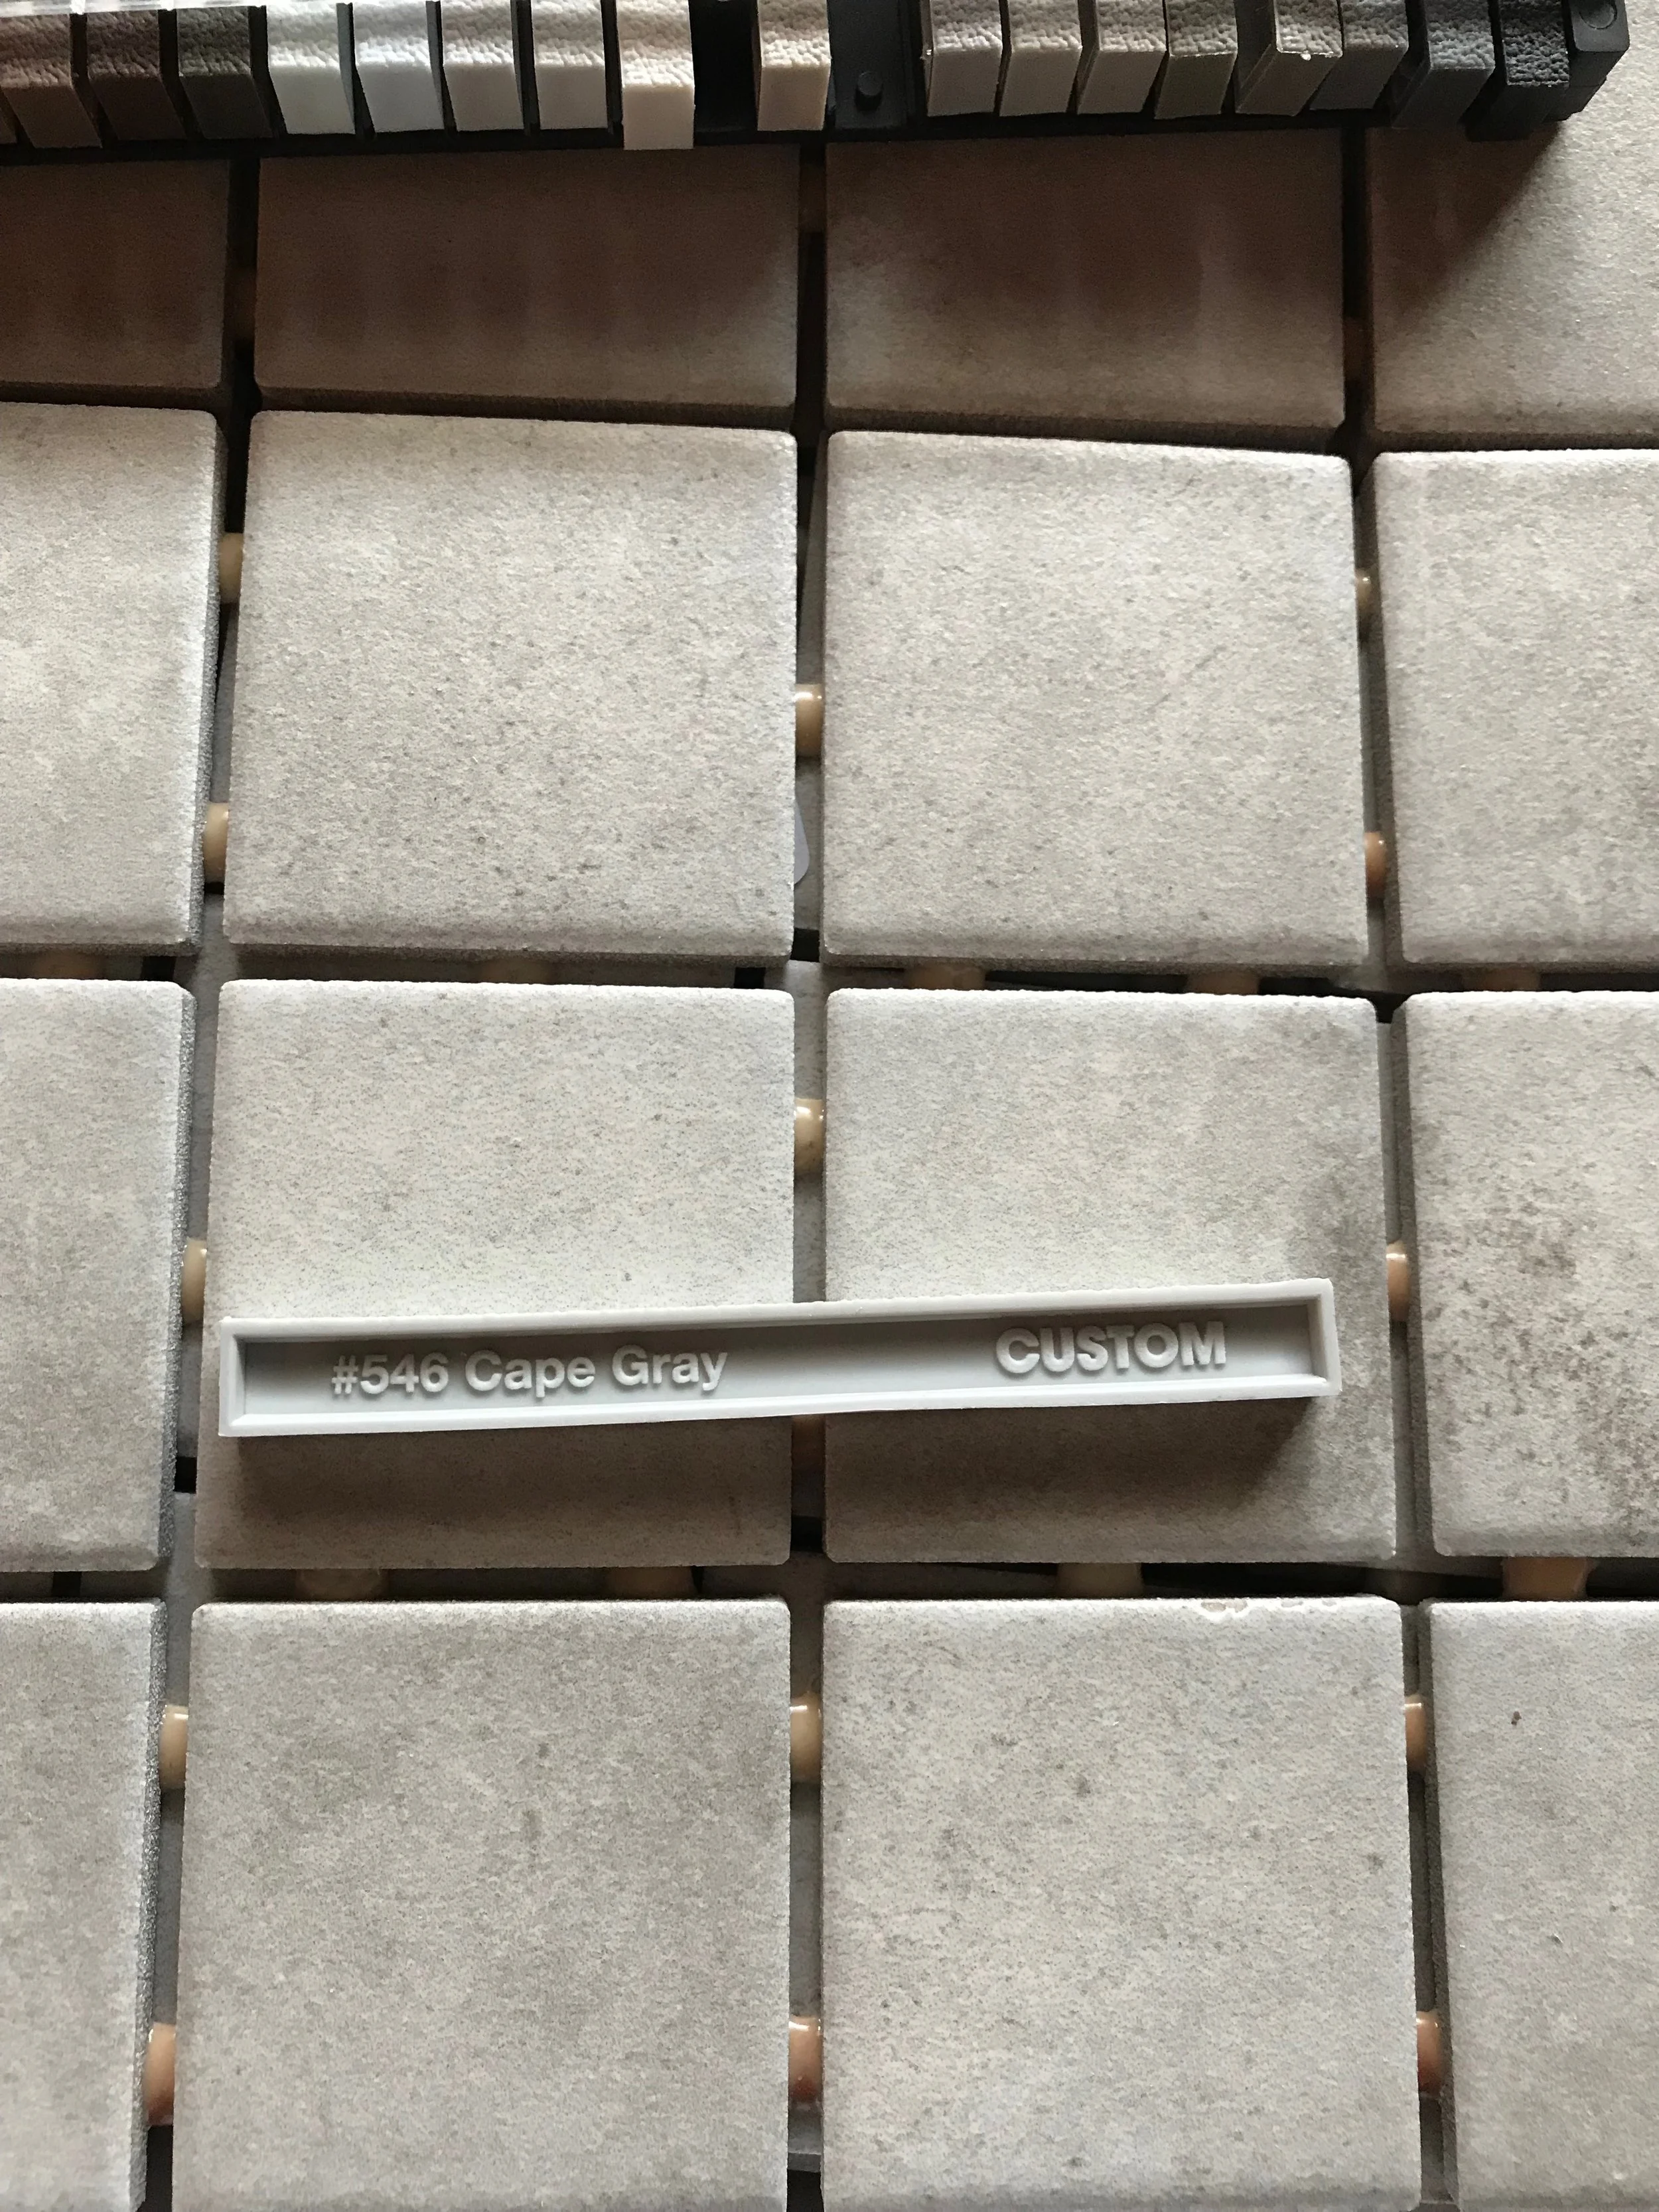
  1. Favorite color: Used to be blush pink. Then it became rose gold. Now it's somewhere in between ivory and gray.
  2. Favorite clothing store(s): Irene's Story, Morning Lavender
  3. Favorite show: "The Office." I'm finally watching all the way through! Definitely much-needed after a stressful day of work or house chores. I relate WAY too much with Pam. :)
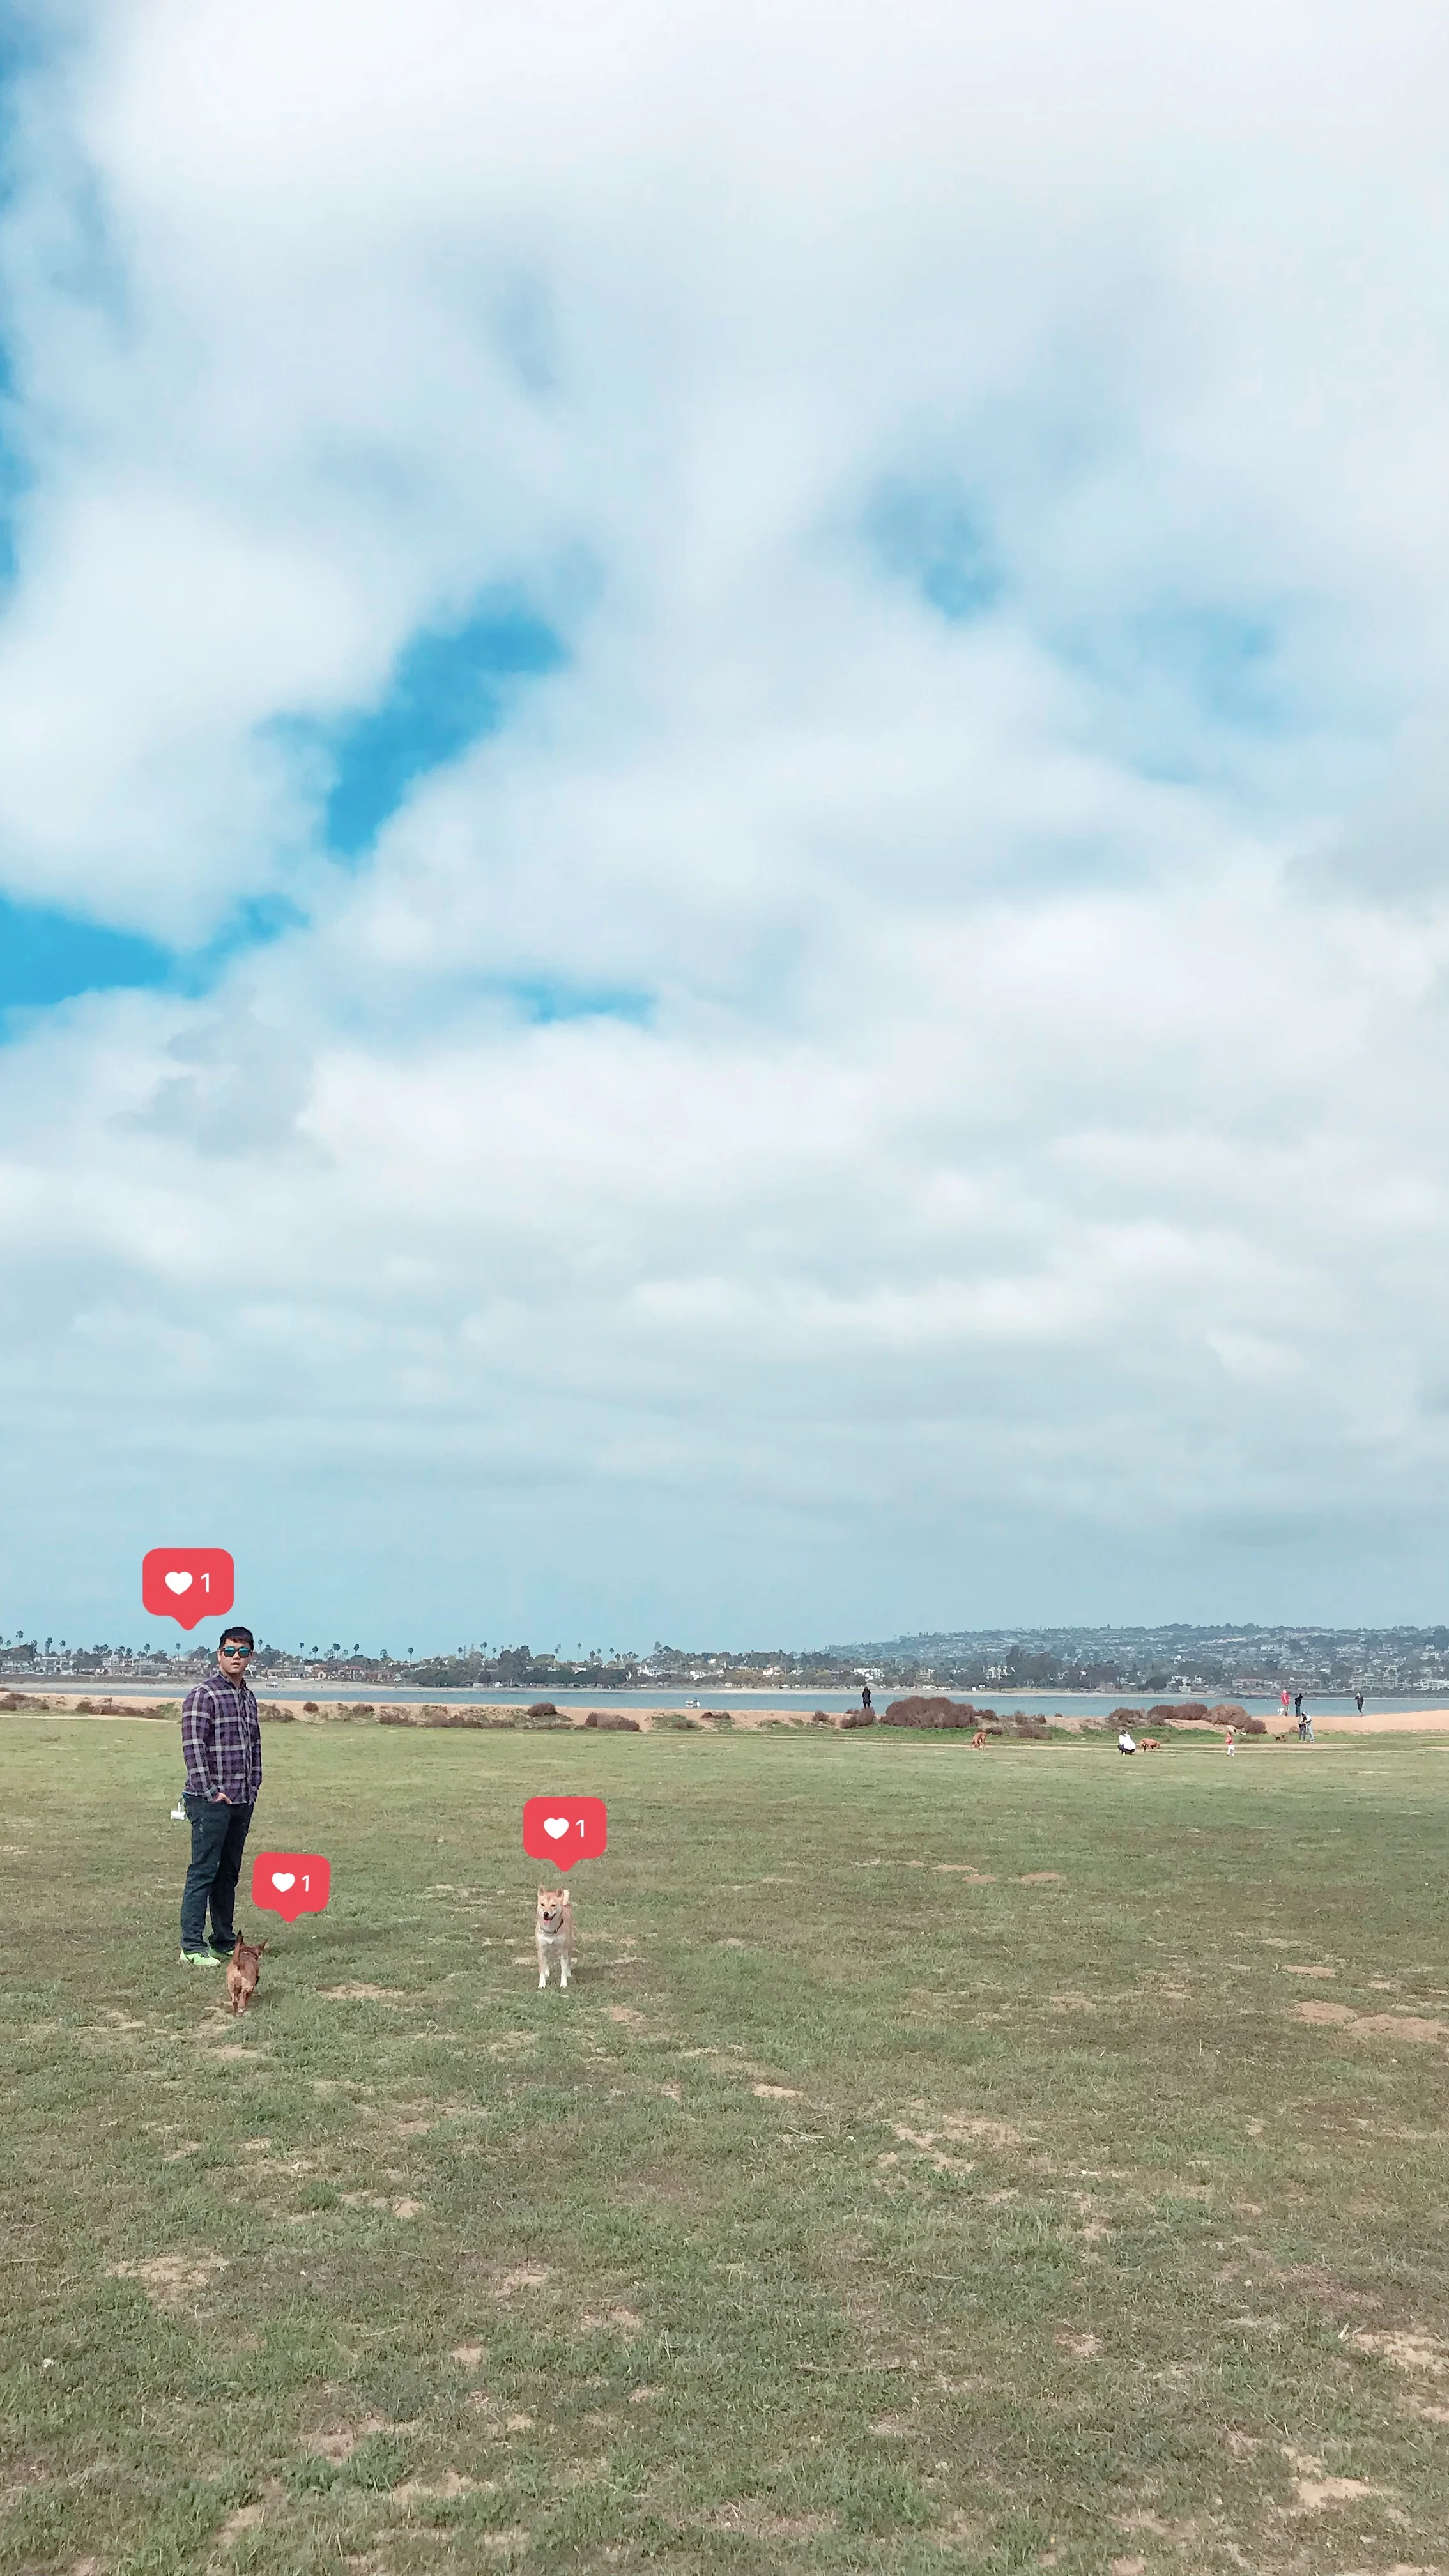
  4. Favorite outdoor spot: Fiesta Island. As part of our Valentine's Day tradition, Alex and I spent the weekend in San Diego with our two dogs: Chef (7 yr. old rescue Chiweenie) and Shabu (1.5 yr old Shiba Inu).
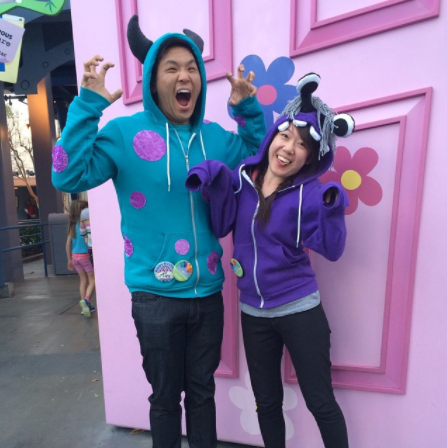
  5. Favorite Disneyland ride: Space Mountain. We've been annual passholders for the past 2 years, but we won't be renewing to save up for the house instead. 
  6. Favorite song: "Good Old Days" by Macklemore and Kesha
  7. Favorite snack: fried chicken wings, as usual
  8. Favorite furniture store: Room & Board
  9. Favorite Instagram girl crushes: Carizza RoseThe Little Bukowski, A Cozy Kitchen
  10. Favorite destination: Bali! Well... we haven't been there yet, but we're getting married there in September! We've locked down all our vendors with the help of our wedding coordinator, and we'll be visiting at the end of May to scope everything out in person.

P.S. Follow my personal Instagram or Pinterest for more!

Hot Mopping in the Bathrooms

It sounds like some kind of weird dance or new trend, but in fact, it's actually a process that's essential to any shower! Hot mopping is basically where you apply a thick layer of hot tar to the floor of a shower pan to create a waterproof seal that prevents leaks from damaging the subfloor. There are a few other ways to waterproof it (including sheet, roll-on and trowel-on products), but our contractor preferred hot mopping.

Now that we have drywall covering the bathroom walls, ceilings, and exterior, it's really starting to feel like an actual house. We even chose grout for the shower floors and shower tiles.

Next, we'll install tiles, the recessed light fixtures, and vanities. All the pieces are fitting back together!

Stripping and Painting the Cabinet Interiors

The goal for this weekend was to make everything as dirty as possible. We’re anticipating that the floors will go in sometime this week so we wanted to make sure that we finished sanding the beams and stripping the cabinet faces while we still had the chance to make a mess. The paint stripper is extremely corrosive and it would break our hearts if it messed up our new floors.

First, I applied paint stripper to the cabinet frames (the parts that face outward, in between the cabinet doors). That was the easy part.

Then, I applied paint stripper with a putty knife to the inside of the cabinet. This was a bit trickier because it's harder to reach and the angles were weird. I didn't do the entire interior. Just enough to remove the gross stains or yucky oils. These cabinets will house our pots, pans, dishes, and pantry items and even though they'll all have cabinet liners, I was grossed out by the thought of years of grime touching our food and ingesting who knows what.

We plan to do some more stripping and sanding this weekend. But if the floors are installed, we'll save it for after we move in and lay out tons of painters plastic.

French vs. Sliding Patio Doors

As a little girl, I remember falling in love with French doors (and outdoor courtyards) at a restaurant in Chicago called Versailles that has since closed. Romantic, elegant, and charming, French doors have always been a huge YES for me at hotels or Airbnbs. But when it came time to think about installing them in our master bedroom, I had to put my personal preferences aside and really think about what made sense for our lifestyle.

FRENCH PATIO DOORS

Pros:

  • Beautiful, duh

  • When both doors are open, it’s large enough to move things in and out or host large groups of people

Cons:

  • Hinged doors must be propped open, inviting lots of bugs and dirt inside (unless you hang mosquito netting, which takes away from the open-airness)

  • Swinging doors can also be loud and problematic if it’s windy

  • Inswing or outswing doors require unobstructed floor space which affects the configuration of furniture

  • Often found in homes with more traditional architectural styles

  • Could potentially be more expensive depending on the door design

Source Unknown

SLIDING PATIO DOORS

Pros:

  • Sliding door can easily be opened, closed, or propped open in any type of weather

  • Built-in screen door

  • Door frame is usually narrower than French doors, allowing in more sunlight and taking up less space — ultimately making the space feel larger

Cons:

  • Sliding track must be cleaned and maintained to ensure smoothness

Ultimately, we decided to go with sliding patio doors for their convenience factor and sleek, modern style. We know that we’ll be using the door mostly to let our dogs out in the backyard, and keeping it closed otherwise to help reduce the noise from the freeway. I’ll save the French doors for my future Tuscan villa. :)

How to Add a Clear Coat Finish to a Front Door

Last month, we bought our front door from Urban Doors. After placing our order, it would take an estimated 3-4 weeks to custom make. Last weekend, our contractor was able to pick it up so we spent this weekend (my birthday weekend!) applying a clear coat finish to it — a $400 cost that we were able to pull off for $47.

Yep, Urban Doors was going to charge $400 for the clear coat! Since our door doesn't receive any sunlight and won't require weatherproofing, we knew it would be easy and felt comfortable doing it ourselves. That said, we did some research but approached it with a "figure-it-out" mindset, for the most part.

While feeling a little overwhelmed by all our options at Home Depot, we did a quick search on Minwax's website to figure out which clear coat would fit our project best. We narrowed it down to their products designed for exterior doors which pointed us to the Water Based Helmsman® Spar Urethane (Clear Satin). We bought 1 gallon and got to work using a high quality synthetic brush.

I lightly sanded the surface with a sheet of super thin sandpaper, just to make sure the surface was smooth and even. I decided not to use the sanding block because it put too much friction on the surface. After sanding, I wiped down the surface with a damp cloth and poured the clear coat in a paint tray. I applied a thin coat, making sure to cover all the crevices and not agitate too many bubbles (thick coats take longer to dry and are more likely to be uneven and attract dust). It felt a lot like applying a nail polish topcoat!

I could instantly see a great improvement. With the clear coat, the wood became much richer and glossier. I'm glad we didn't stain the door beforehand because the clear coat brought out a much deeper color than I expected. Applying the clear coat took about 45 mins., and we waited 2 hours for it to dry. Then, we flipped the door over and I repeated the process. We left it overnight to dry, then came back the next day to sand it down and apply another coat to each side. I even had enough time to apply a final 3rd coat to one side. Ultimately, I'll do the same to the other side, most likely after it's installed this week.

The final product after 3 coats.

All in all, the project took about one weekend to complete (keep in mind that we still aren't living in the house, and we let the door dry overnight). We're so happy with the results! It's smooth, glossy, and really brings out the beautiful wood grain. Plus it saved us hundreds of dollars!

Design Inspiration: Hanging Plants

Last summer, I was really dedicated to my plants and herb garden on our apartment balcony. I'm excited to pick it back up again and fill our house with lushness.

Hanging planters help bring the eye upwards and give life to unexpected corners of the room. By hanging them off curtain rods, there's basically no assembly required.

I literally can't wait to make these with leftover wire in my craft stash! Just a few simple supplies help transform your space into something straight out of Anthropologie.

These gorgeous hanging brass bowls can be easily thrifted and are great for holding fuller plants. 

Terrain

Terrain

Super trendy hanging baskets or birdcages add an eclectic touch. They're also great for succulents or other smaller plants that need something to latch onto.

Petscaping Plans for the Dog Walkway

Once we move in, we’ll be turning one of the walkways on the side of the house into a dog run for Chef and Shabu. The house isn’t fully fenced off yet either so we’ll keep them on leashes for now.

Here’s what we’re working with.

But after we level out the walkway with soil/sand, we’ll place concrete slabs or deck tiles and fill in the gaps with gravel/river rocks. There’s also a concrete wall that I’d like to paint black. And we already made sure to install a motion sensor light to make it a nice designated spot for them to do their business. We haven’t brought them to the house yet because it’s still littered with glass and nails. We can’t wait to see their reaction once we move in!

Source

Design Inspiration: Pendant Lights

When we got the green light to knock down the fireplace and build a kitchen island, we knew we needed pendant lights to finish the look. I wanted to keep it mid-century modern, simplistic, and with a hint of gold. Here are a few of my favorites, but scroll to the bottom to see what we ended up choosing!

Industrial Lighting // Brass Pendant Light

Arent & Pyke + Anson Smart

We love the simplicity, drama, and detail of these oversized light bulbs! Plus, they fit our budget and have a timeless look.

Weekend Progress: Stripped Ceiling Beams (Finally)

Last weekend, Alex started stripping the paint from the wooden beams in both bedrooms. The task was much harder than the kitchen cabinets because the layers of paint were thicker and more difficult to reach. Alex’s co-worker Daniel helped us sand the beams in the master bedroom while Alex stripped the paint in the guest bedroom. After about 6 hours, the beams in the master bedroom were done! The next day, Alex finished up the beams in the guest bedroom.

One of the main reasons why we wanted to strip the paint now was because the flooring hasn’t been installed yet. This means we can make a giant mess without worrying about damaging anything. The paint stripper is extremely abrasive (we’ve gotten a few splatters on our skin and it burns) so when Alex scrapes the paint off, it lands on the floor in giant,  chemical-filled piles — completely harmless to the ground that is soon-to-be covered in our beautiful laminate.

More updates:

  • We have walls! Drywall went up last week, and we just need them to “skim” it with a smooth surface for us to paint when we move in. The other option would be a textured surface, but we want it smooth.
  • The kitchen soffit is now filled with insulation, also ready to be drywalled this week.
  • The roofing guys were there on Saturday to install foam insulation.
  • All of the flooring has been picked up and is waiting in the garage to be installed. It was a little bit of a stressful ordeal to get it ordered and expedited so when we opened it up, I couldn’t help but hug it. We also have baseboards chosen.
  • Our front door is ready for pickup! Our contractor will get it and install it. He’s also picking up the bathroom floor tile for us.
HomeDaphne Chanhome, DIY
Design Inspiration: Black Kitchen Islands

When we started thinking about color themes for the kitchen, a part of me wanted to go bold and expected. I was drawn to moody, sophisticated black cabinetry, and the thought of covering up all the ugly stains and imperfections on our old doors and drawers really inspired me.

But in the end, I decided against it. Knowing that we’ll get a ton of sunlight from the big living room windows, I didn’t want all the black to swallow up the room. I was also concerned about how often they would need touch-ups and if they would easily attract dust or fingerprints.

I’ll just admire these kitchens on Pinterest for now instead!

Jeff Madalena and Jason Gnewikow // Source

Jeff Madalena and Jason Gnewikow // Source

Maison de Pax // Source

Maison de Pax // Source

The Arts and Crafts Kitchen // Source

The Arts and Crafts Kitchen // Source

Arrital // Source

Arrital // Source

Biasol // Source

Biasol // Source

Crocodile Rocks - Black Moonstone // Source

Crocodile Rocks - Black Moonstone // Source

Stripping the Ceiling Beams + Cabinet Update

This past weekend, in addition to choosing countertops and toilets, we also started stripping the paint from the bedroom ceilings. And by we, I mean Alex because I was too short to reach them.

IMG_0398.jpg

We love the look of the hardwood, but unfortunately, the entire ceiling in both bedrooms were painted white. So we're following the same technique we're using for the cabinets to strip the paint from the beams. After Alex and his friend Daniel finish stripping and sanding them this weekend, we'll stain them so that all the beams look consistent.

IMG_0402.jpg

While Alex was doing all this, I was figuring out which cabinets we actually needed. Back in November, we started stripping all the cabinets. But since we hadn't hired a contractor at that time, we didn't know exactly which cabinets we would be demolishing. Now that we've demolished quite a few of cabinets, we don't actually need a lot of the shelves and doors that we previously stripped, primed, and painted. So I fit them all back into their original spots, labeled them with painters tape according to columns (A through K from left to right... the tape is messed up because our dog Shabu chewed it), and set aside the ones that don't fit anywhere anymore. We're still keeping them in the garage though just in case!

IMG_0415.jpg
HomeDaphne Chanhome, DIY
Why You Should Make Mood Boards

Flipping a house can be overwhelming and expensive. There are a ton of moving pieces, but mood boards will help you stay organized and keep your eyes on the prize. Here’s a quick look at my process!

Instead of Photoshop or Houzz, I wanted to use something that I could constantly adjust and bring with me on-the-go. I decided to use Google Slides which worked out perfectly. I had the app on my phone so I could look at it wherever (furniture shopping, running around Home Depot, waiting in line, etc.). I could also export it as a PDF and show our vision to our families. But most importantly, I could keep it open at my desk throughout the day and add to it as I researched.

We're changing the front door and adding a wall sconce to the exterior entryway. It doesn't get much sunlight, so we'll be sprucing it up with fake plants and river rocks. Eventually, we want to paint the house dark gray.

We're changing the front door and adding a wall sconce to the exterior entryway. It doesn't get much sunlight, so we'll be sprucing it up with fake plants and river rocks. Eventually, we want to paint the house dark gray.

We knew that we wanted a neutral color palette (white walls, wood floor and ceilings, gray and black furniture). From there, I went room by room and scoured Pinterest to find photographs that matched our layout and mid-century modern aesthetic. The photo(s) on the left of the mood boards show what the house looked like when we bought it.

We're turning the former dining area into an interior entryway for guests to place their coats and shoes. There's also a mail slot so we'll be placing a bench and small basket to catch the mail.

We're turning the former dining area into an interior entryway for guests to place their coats and shoes. There's also a mail slot so we'll be placing a bench and small basket to catch the mail.

I’m not getting too hung up on furniture at this point. My main focus is the permanent fixtures: the flooring, tiles, hardware, windows, doors. As we make more progress with the house construction and purchasing appliances, I’ve been updating the mood boards almost every month. It’s a great way to see how everything will fit together at the very end.

These were some of my early inspiration photos for the kitchen island. In the beginning, we weren't sure if we could knock down the fireplace and adjacent wall so I pulled a lot of options just in case we couldn't achieve a fully open layout.

These were some of my early inspiration photos for the kitchen island. In the beginning, we weren't sure if we could knock down the fireplace and adjacent wall so I pulled a lot of options just in case we couldn't achieve a fully open layout.

This is an updated version with a rough comp of our blueprint, appliances, pendant lights, and countertops all together.

This is an updated version with a rough comp of our blueprint, appliances, pendant lights, and countertops all together.

I'll share more mood boards once we move in and put the rooms together!