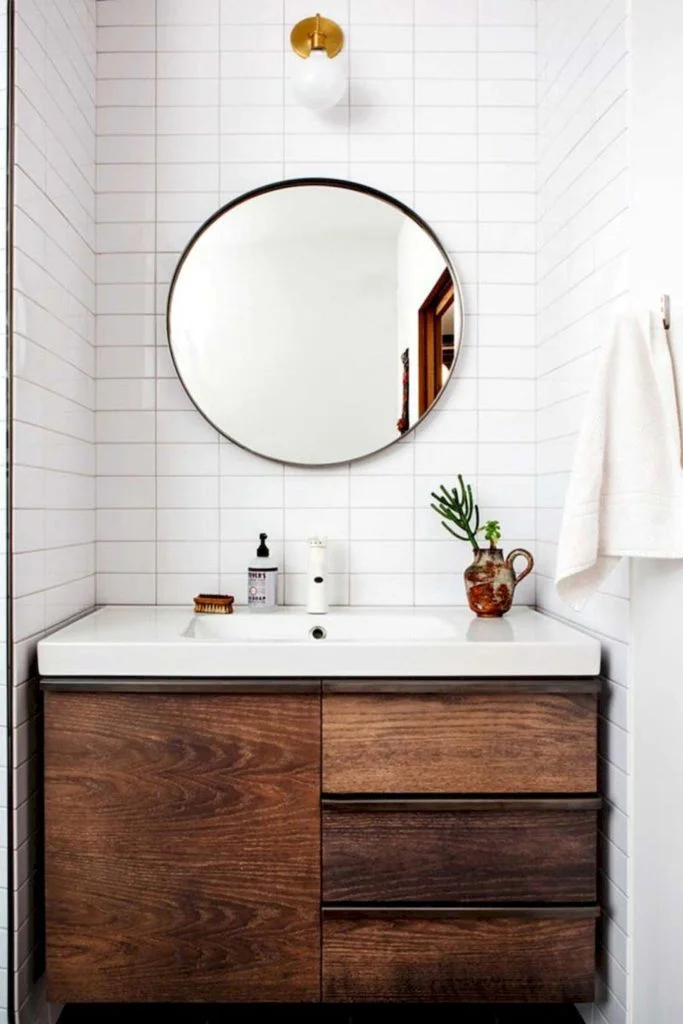
When we moved into the house two years ago, Alex always had a vision of converting the garage into a rentable studio unit for passive income. Admittedly, I was a bit hesitant to allow strangers into our brand-new unit and basically live under the same roof as us. But after almost 10 months of renting it out, I’m a huge proponent of Airbnb and would highly recommend it. Plus, a shared laundry room keeps the unit connected yet private from the main house.
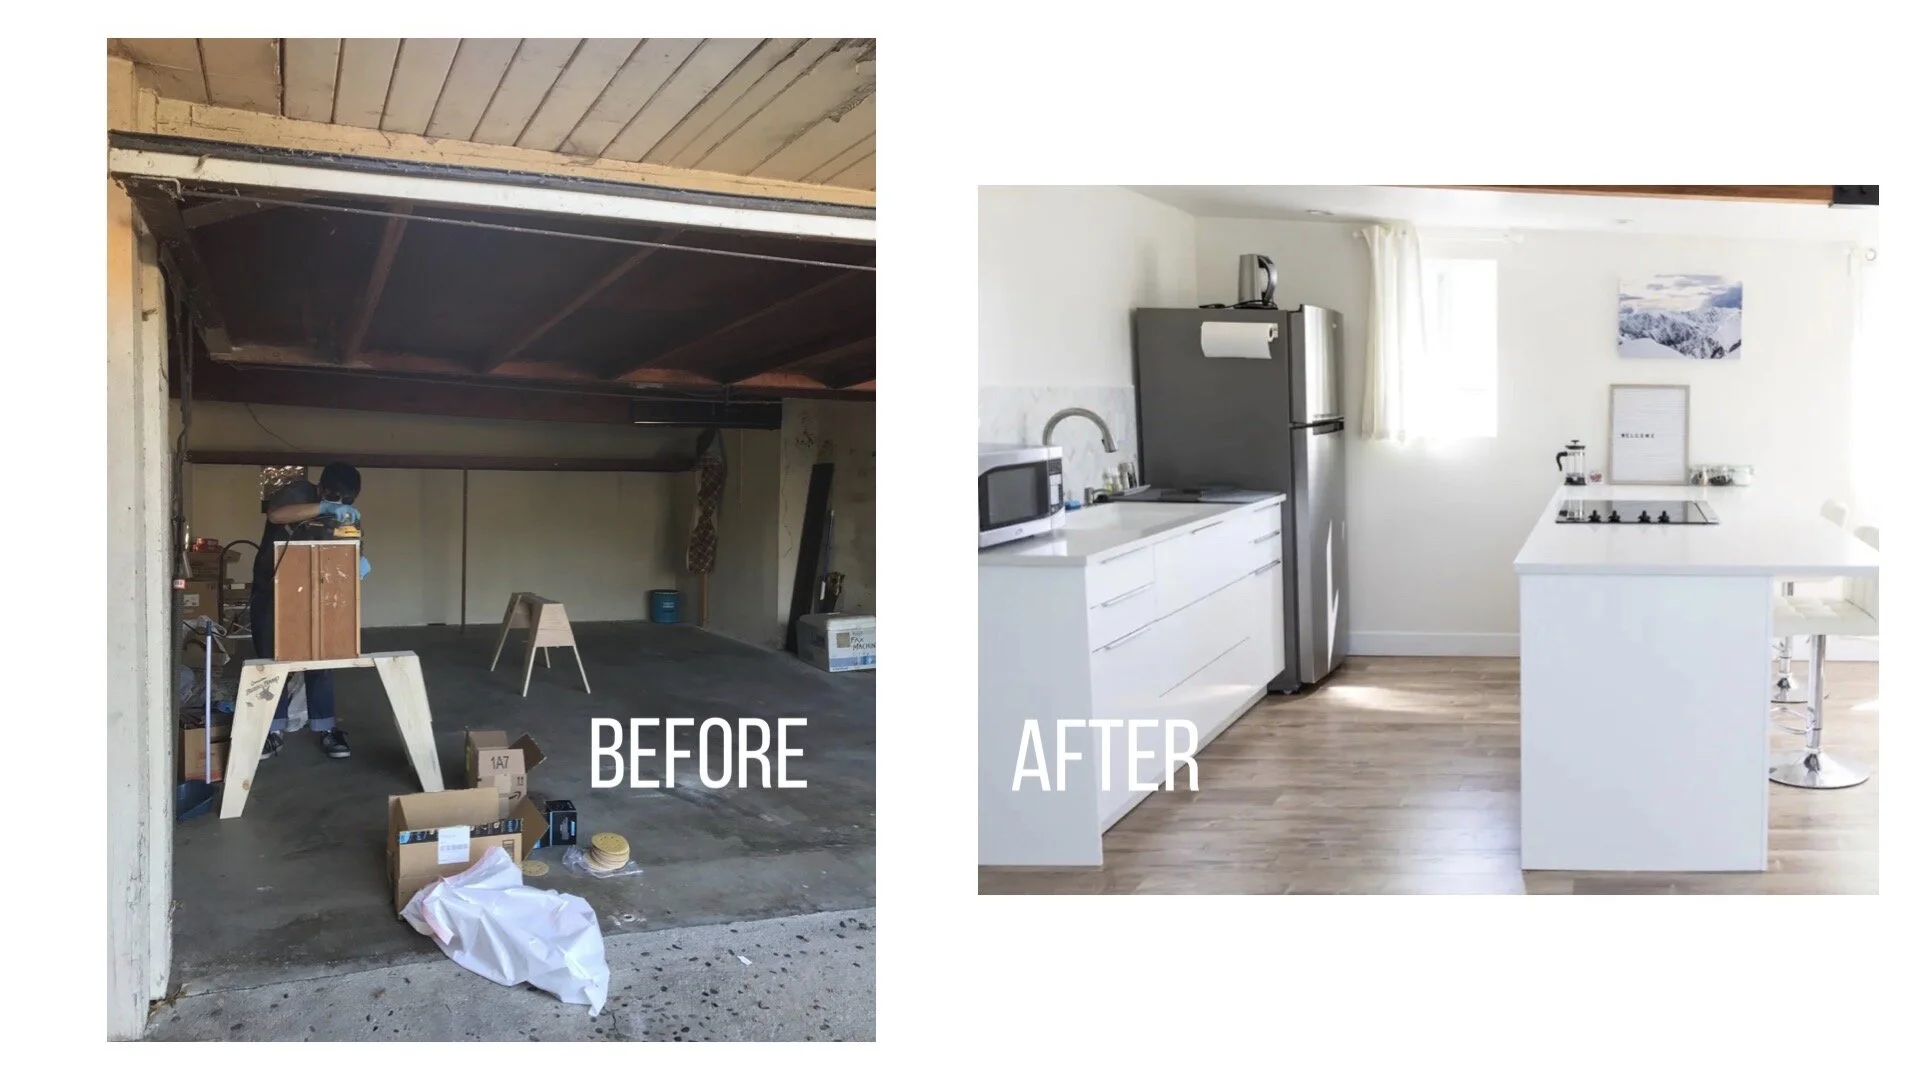
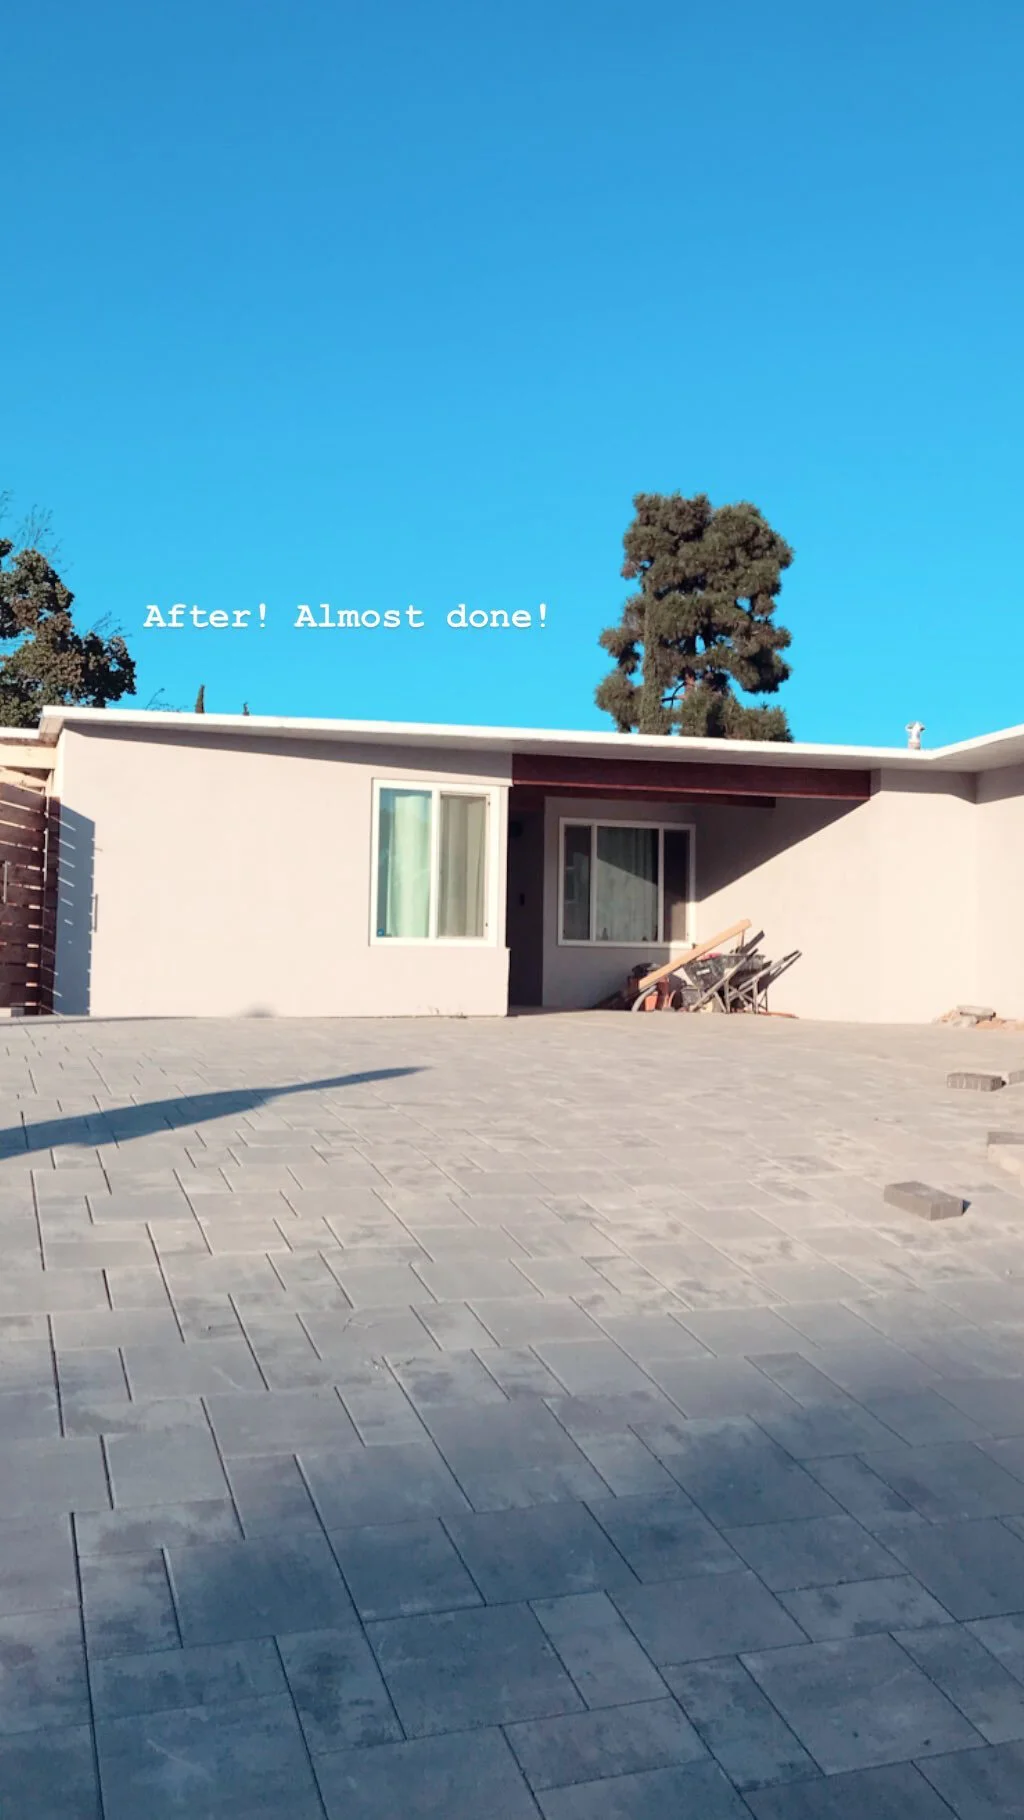
Here’s how we transformed our scary-looking garage into a bright, welcoming studio (also known as an ADU or attached dwelling unit) in 50 steps.
1. Hire a contractor and draw up ADU blueprints (beginning of April)
2. Submit blueprints to the city for approval and permits
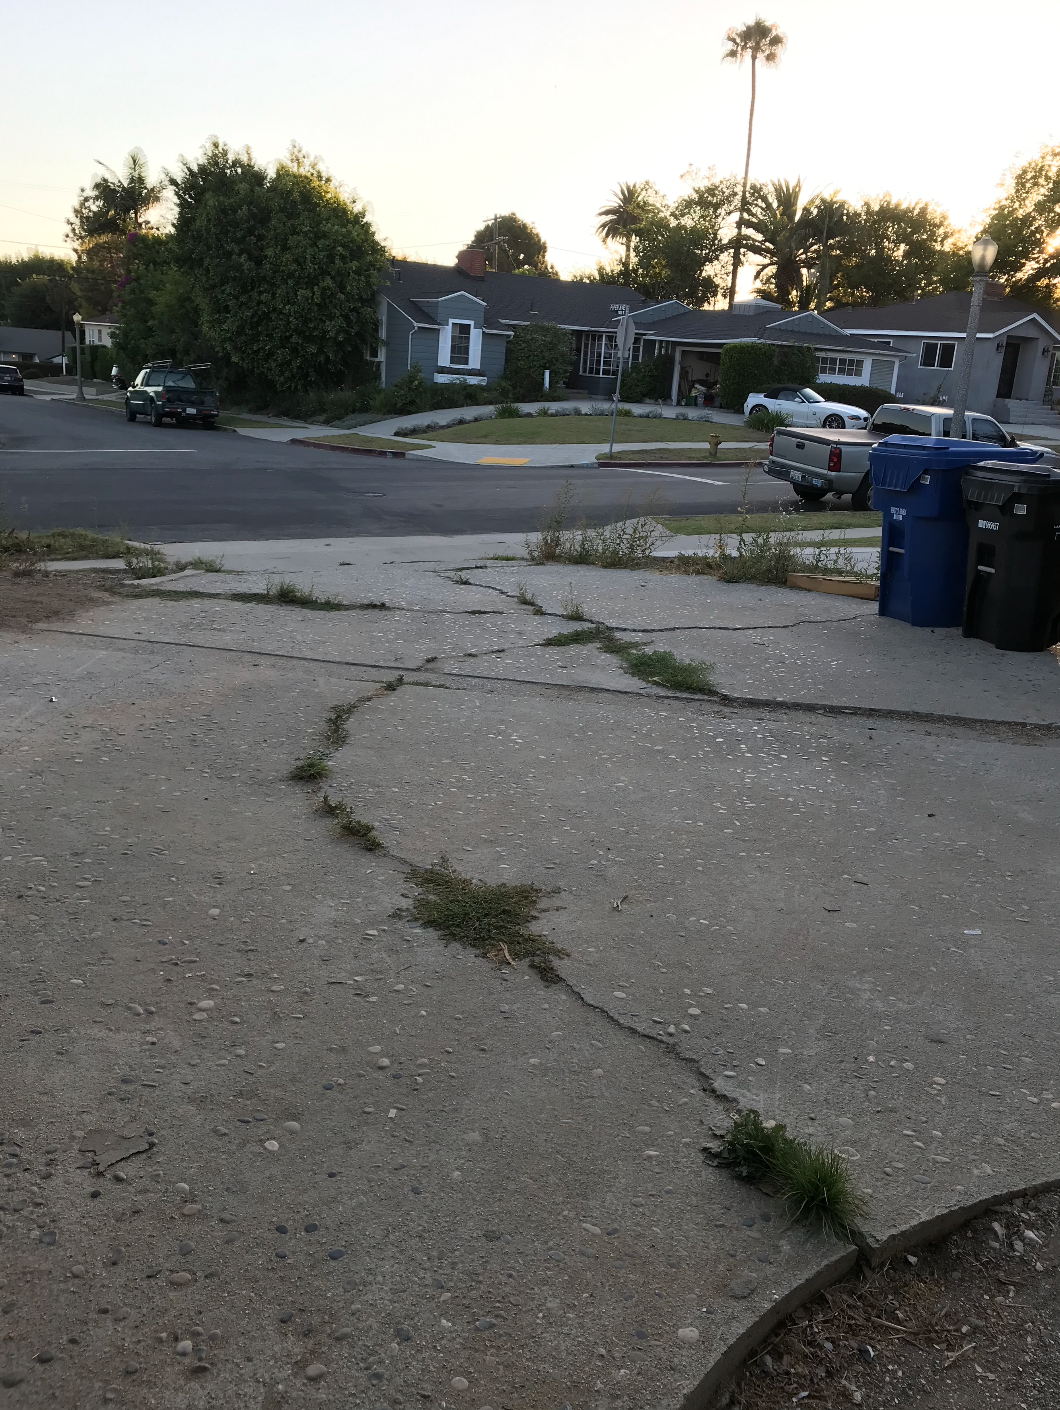
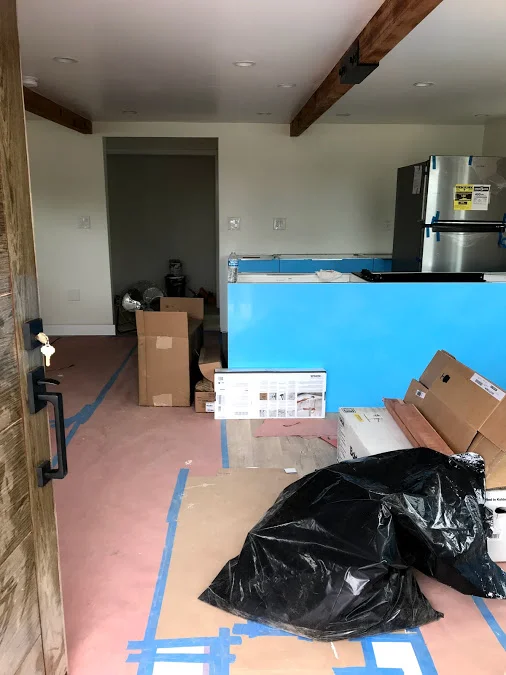
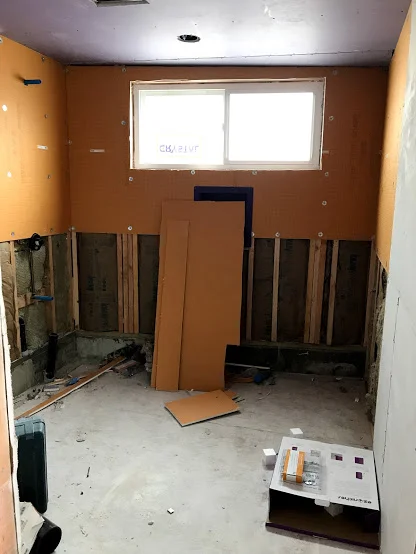
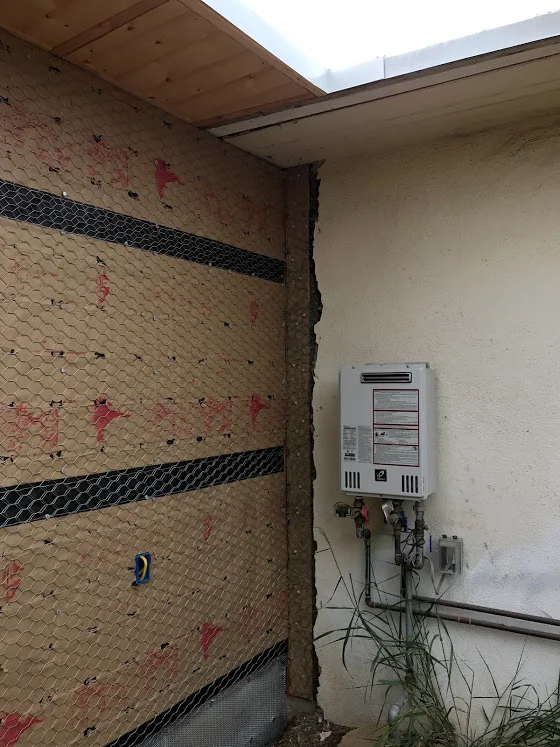
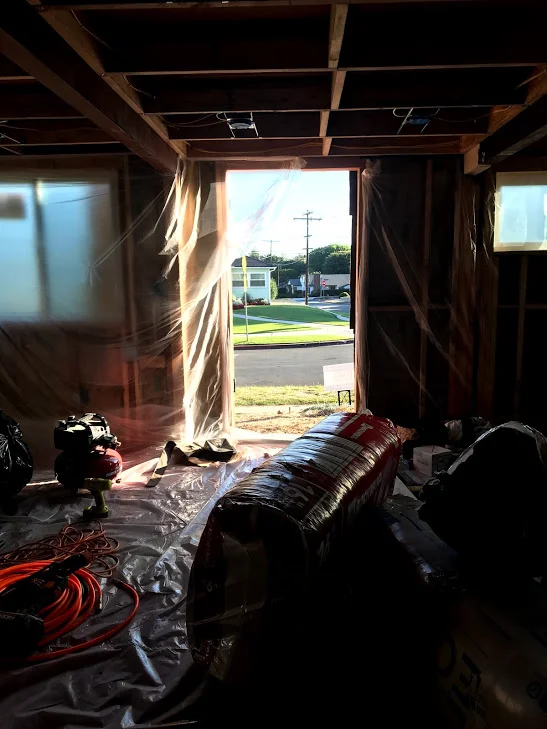
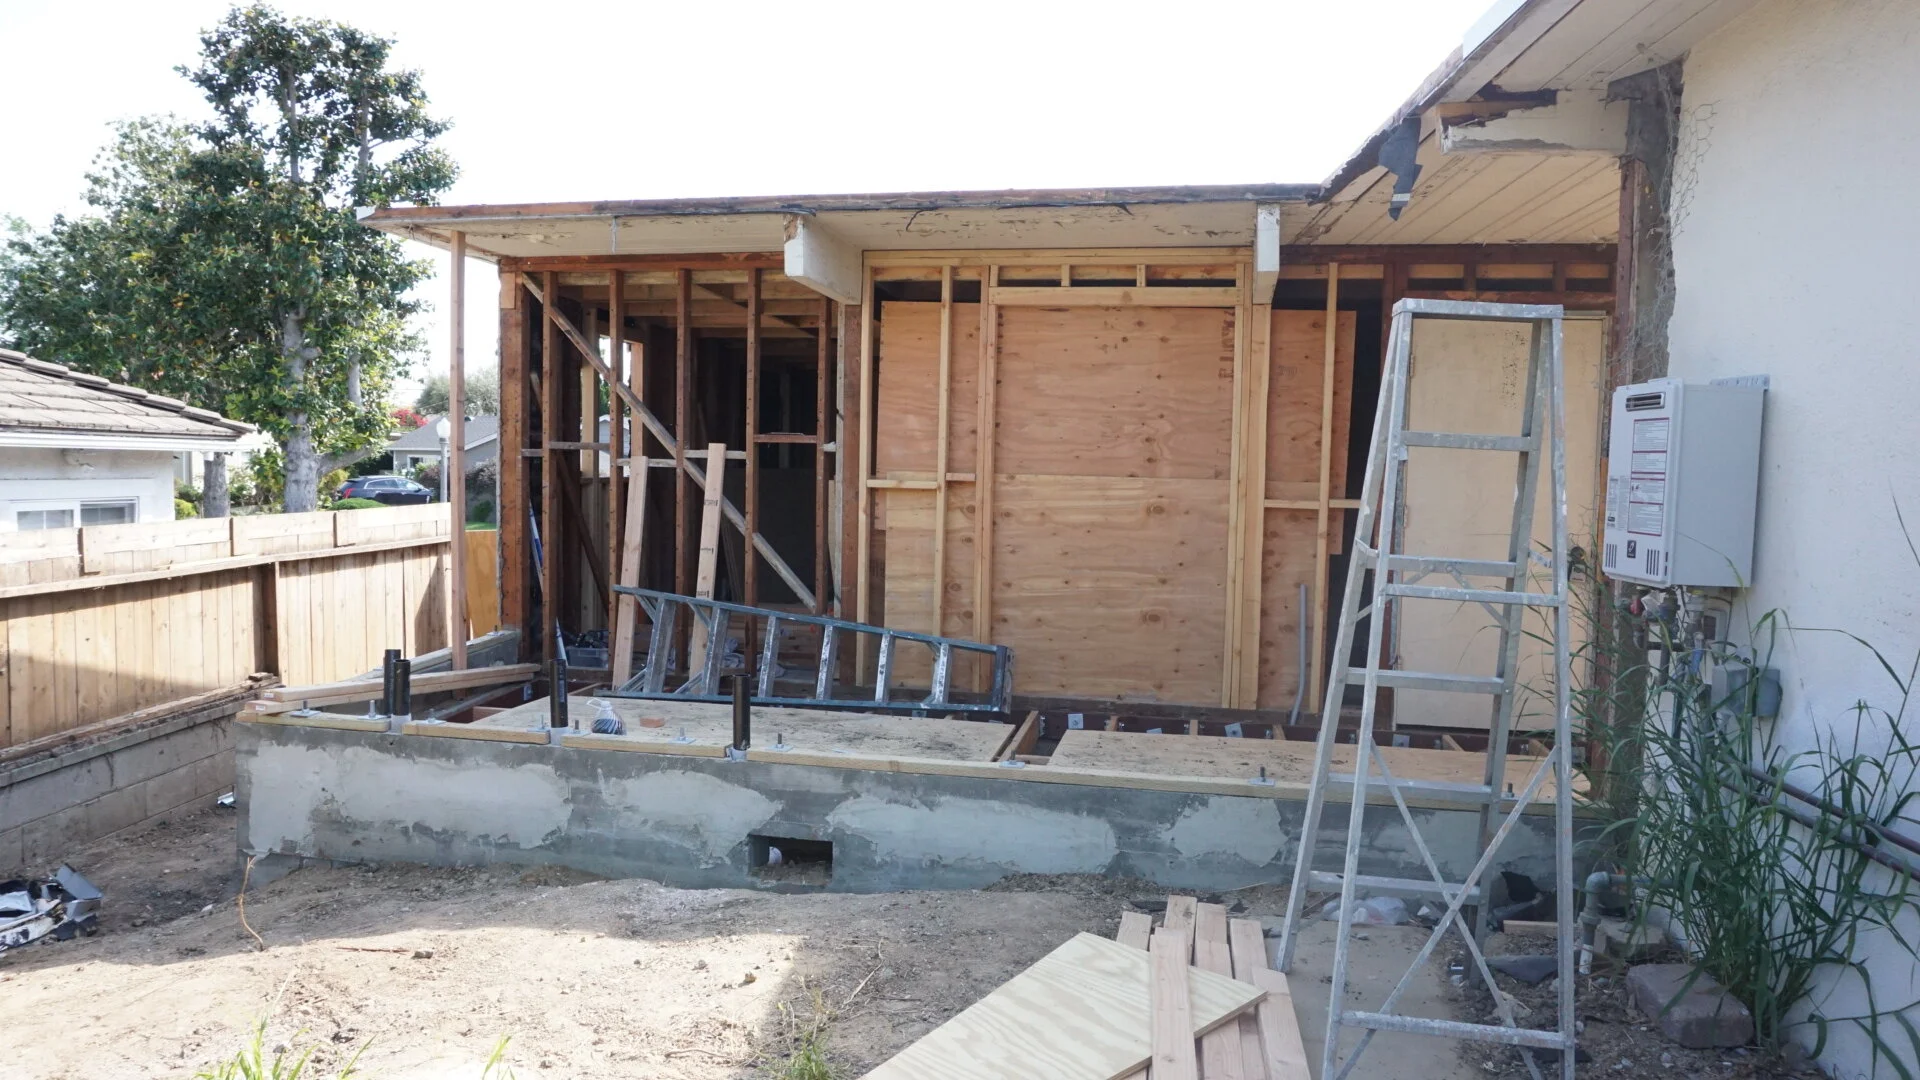
3. Demolition (2 weeks) - clear out overgrown brush in the yard, remove the walls from the ADU to expose framing, dig 2 ft trench to create a crawl space for plumbing and electrical

4. Cancel out old, cracked pipes and run a new sewage line
5. Remove garage door
6. Frame out the windows
7. Frame the crawl space/floor
8. Remove the stone wall (start choosing plumbing hardware and front door) (end of April)


9. Pour concrete
10. Adjust electrical (early May) - for a couple days, they turned off the power for a few hours
11. Frame the floors (Early May)
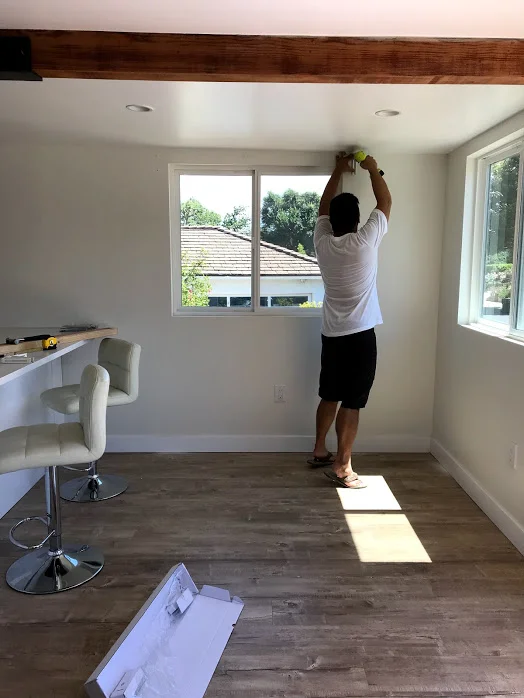
12. Frame the walls and roof (mid May)
13. Buy front door + interior doors
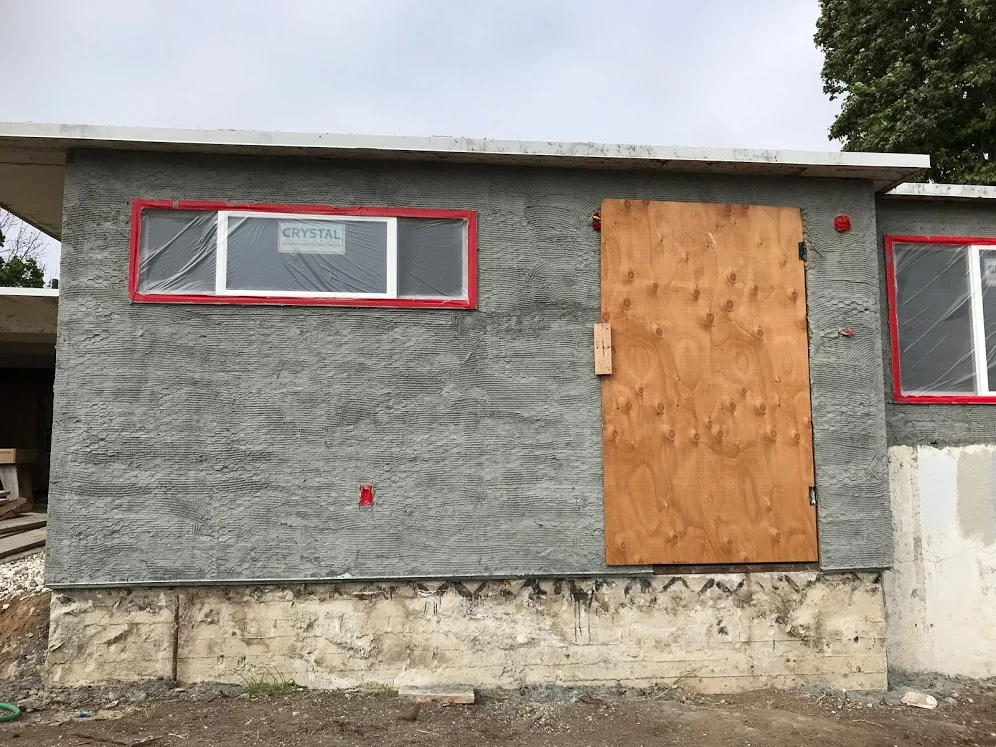
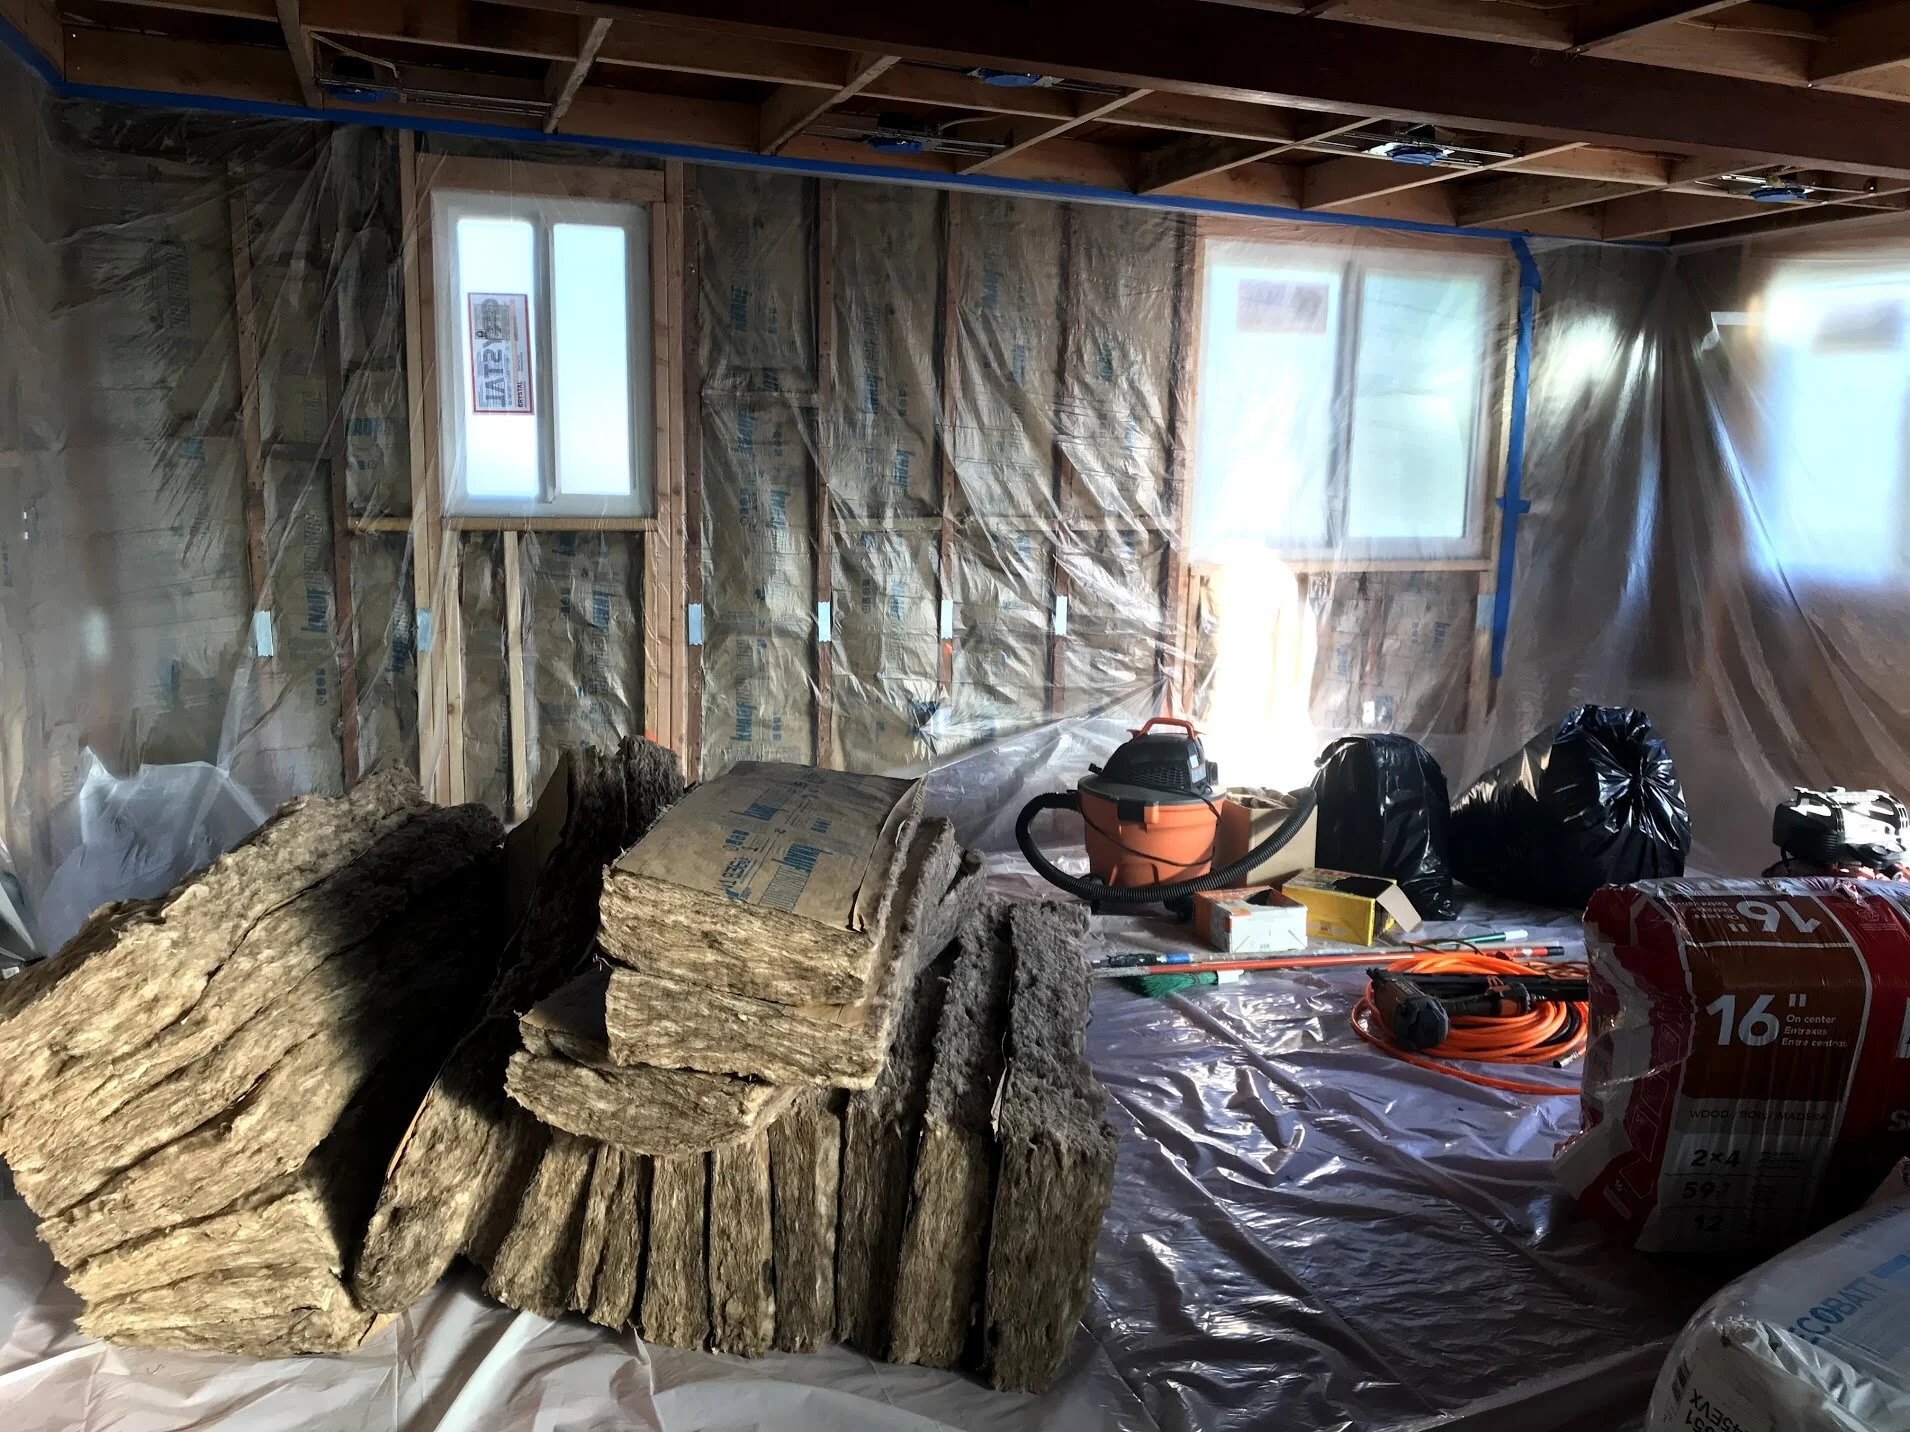
14. Exterior framing + bathroom framing

15. Set up electrical (end of May, early June)
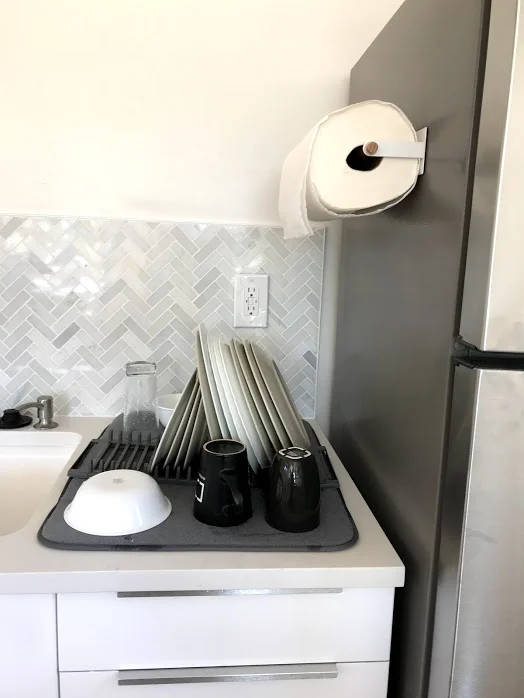
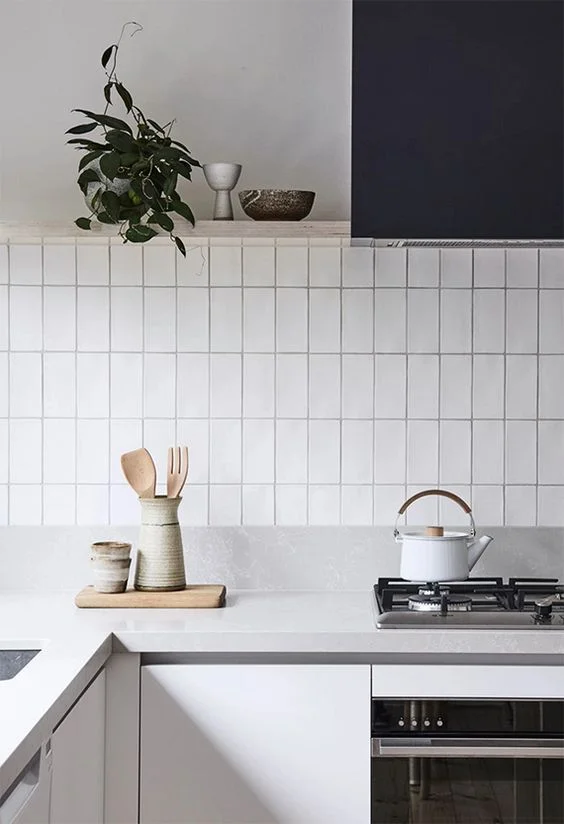
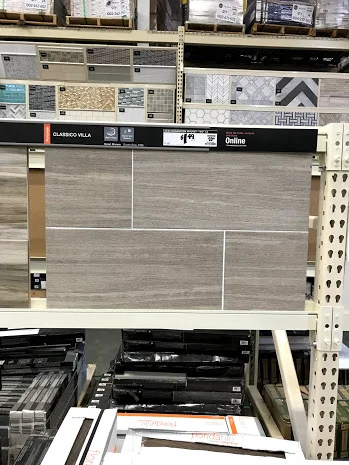
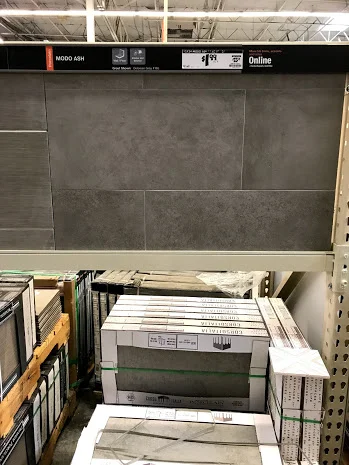
16. Decide on bathroom tile and laundry room tile (mid June)
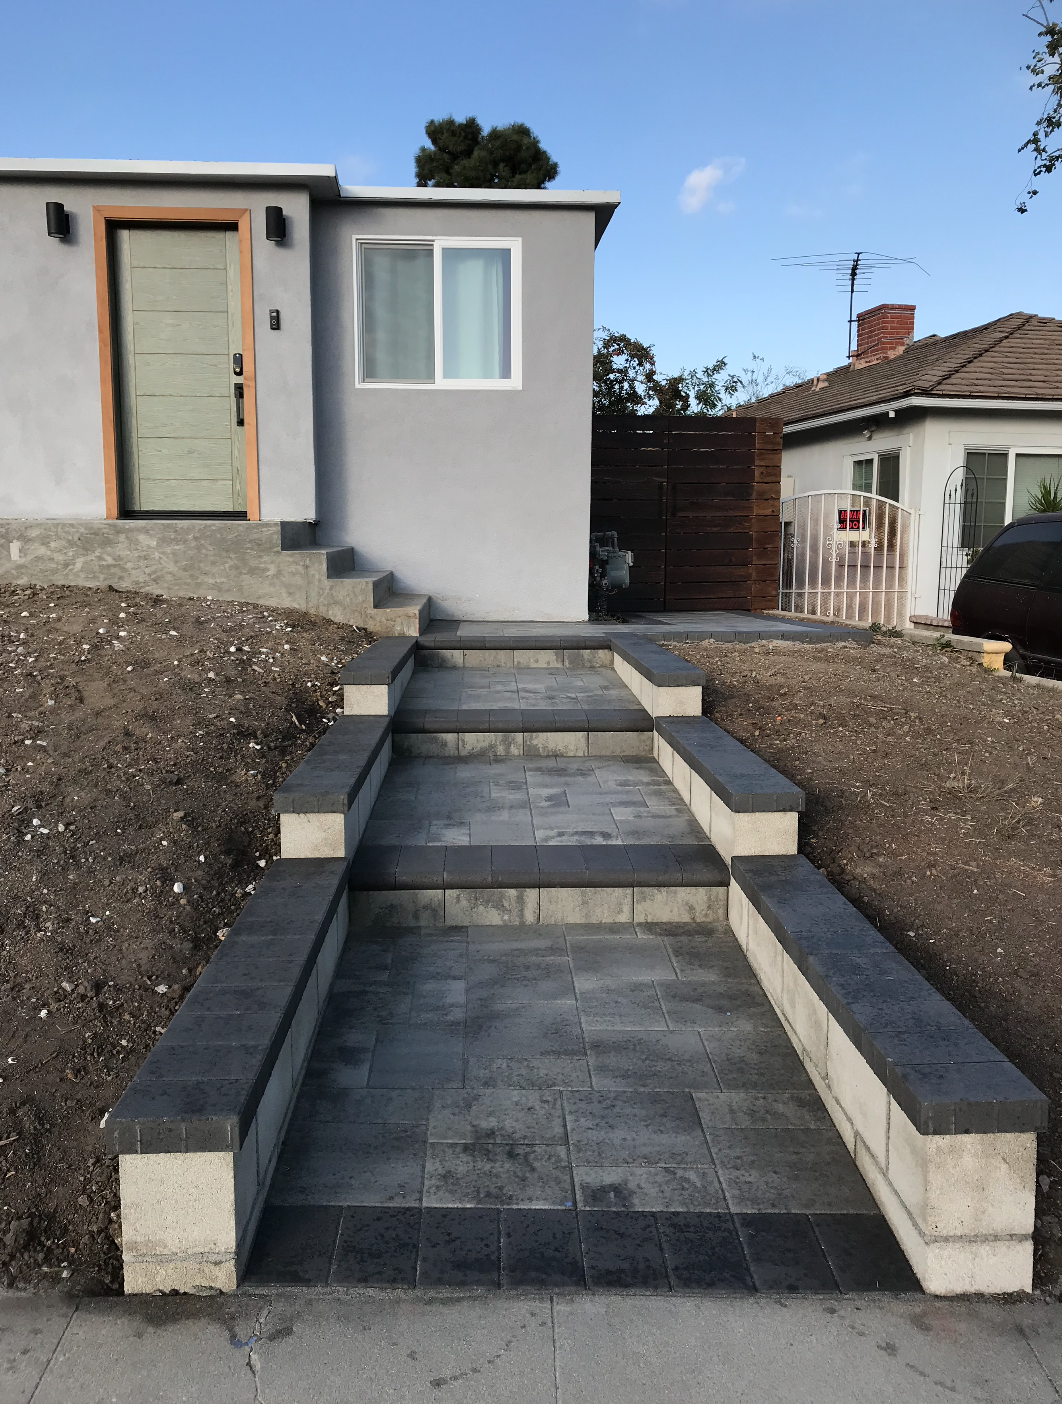
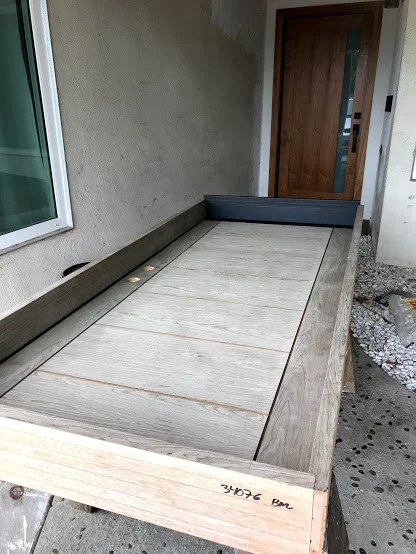
17. Purchase tile, bathtub, toilet, fireproof laundry door, kitchen (mid June)
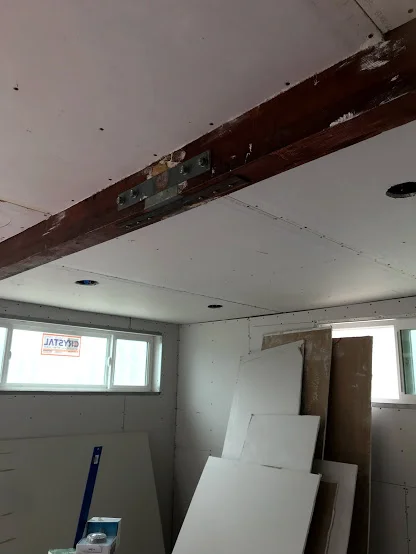
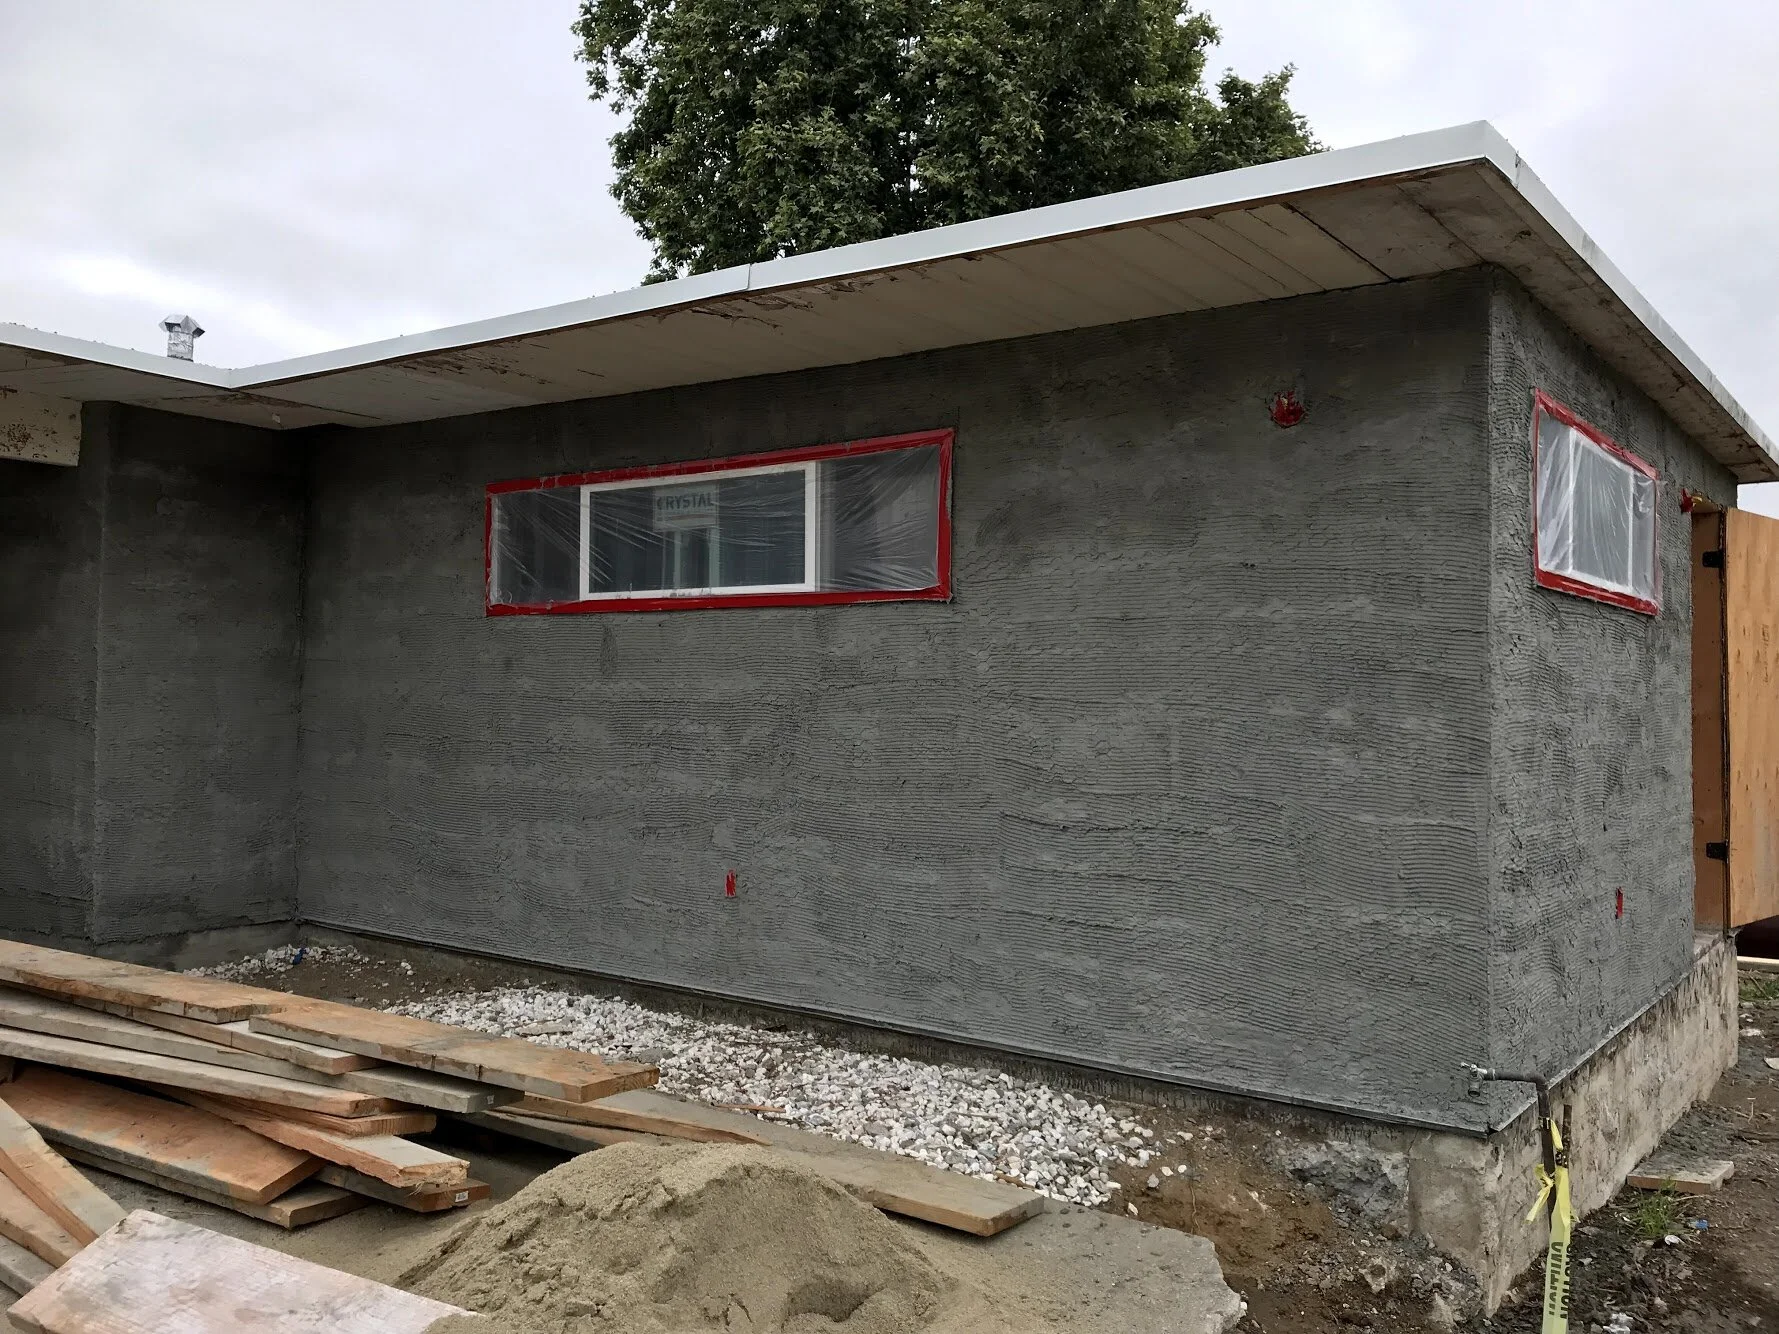
18. Concrete stoop is installed (2-3 days)
19. Drywall is installed (1 week)


20. Choose interior and exterior paint colors (mid June)
21. Purchase baseboards and door trim
22. Purchase sink
23. Purchase exterior lights
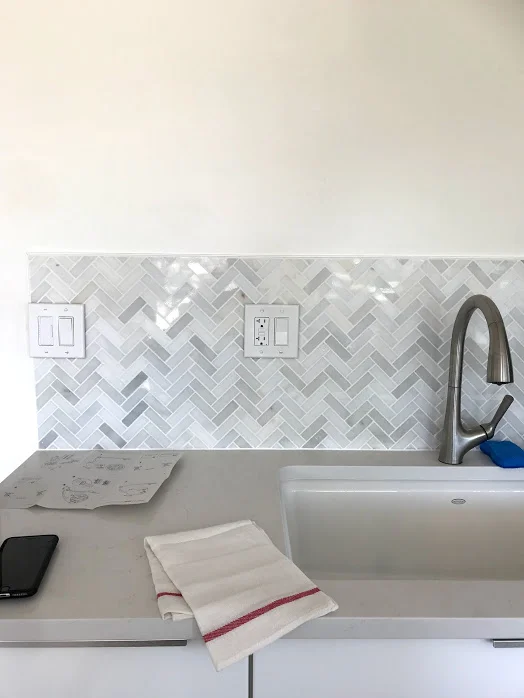
24. Purchase door handles
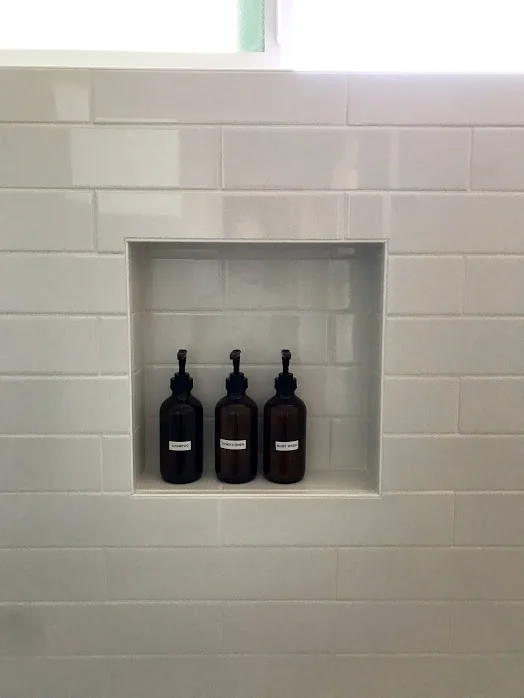
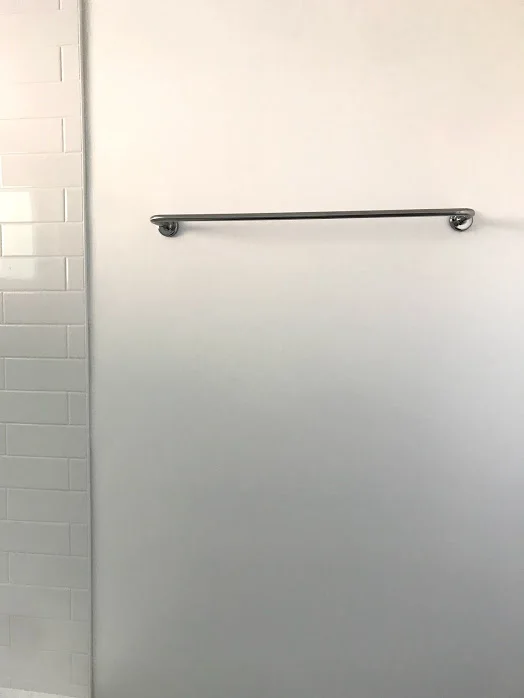
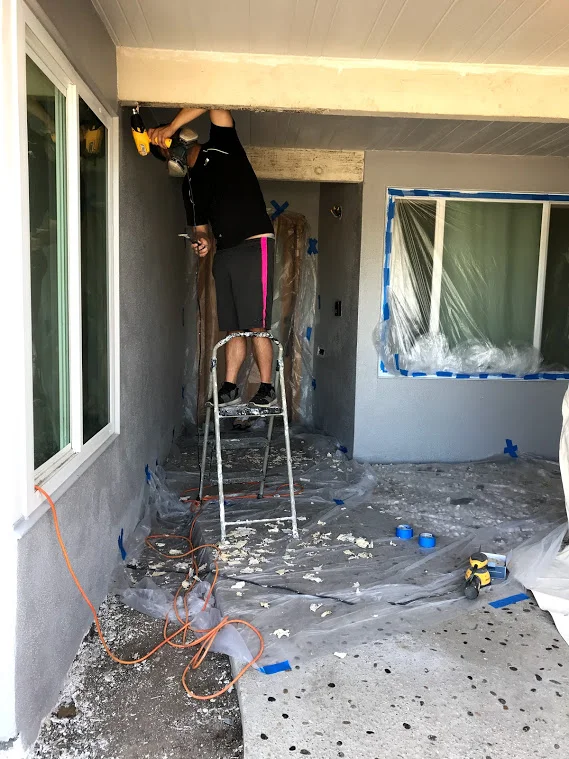
25. Purchase bathroom subway tile and choose layout, grout color, and sanded or unsanded grout
26. Sand exterior beams above door
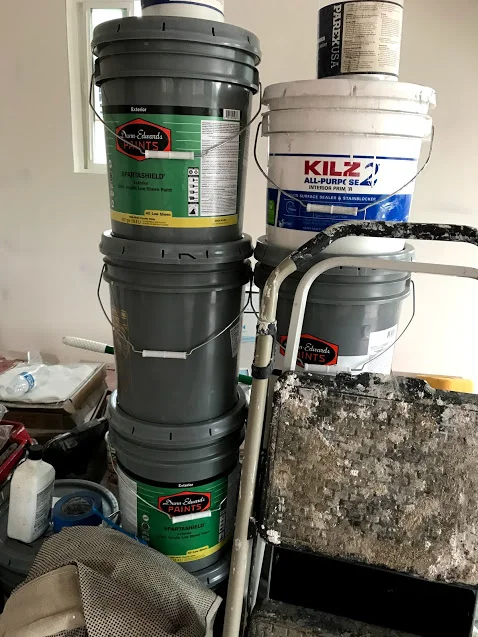
27. Crew turned off water for 1 hour to install pipes (end of June)
28. Crew primed the interior and exterior, then applied 3 layers of paint
29. Subway tiles installed


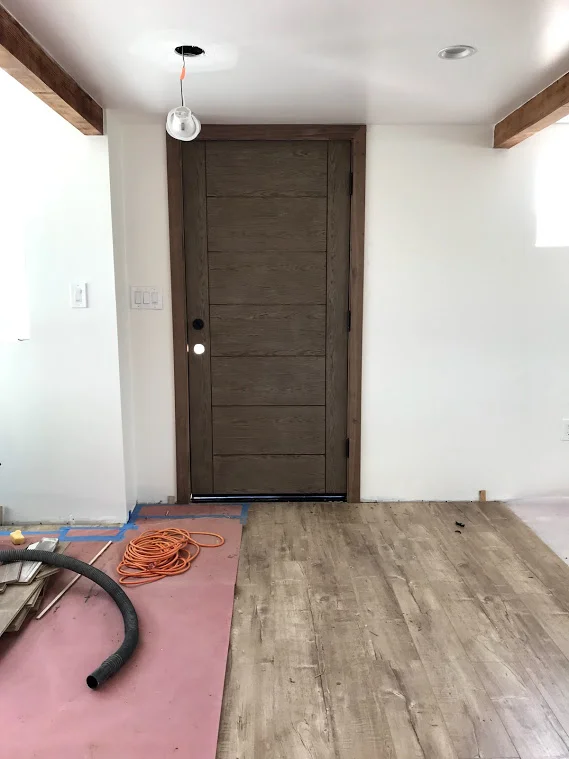
30. Kitchen and fridge delivered
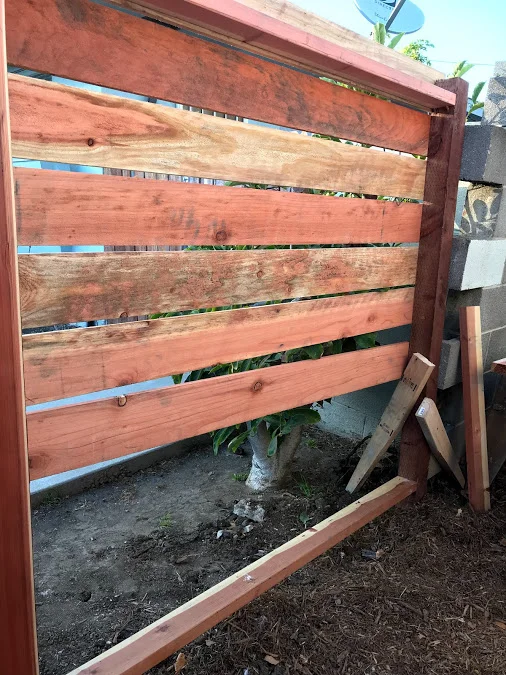
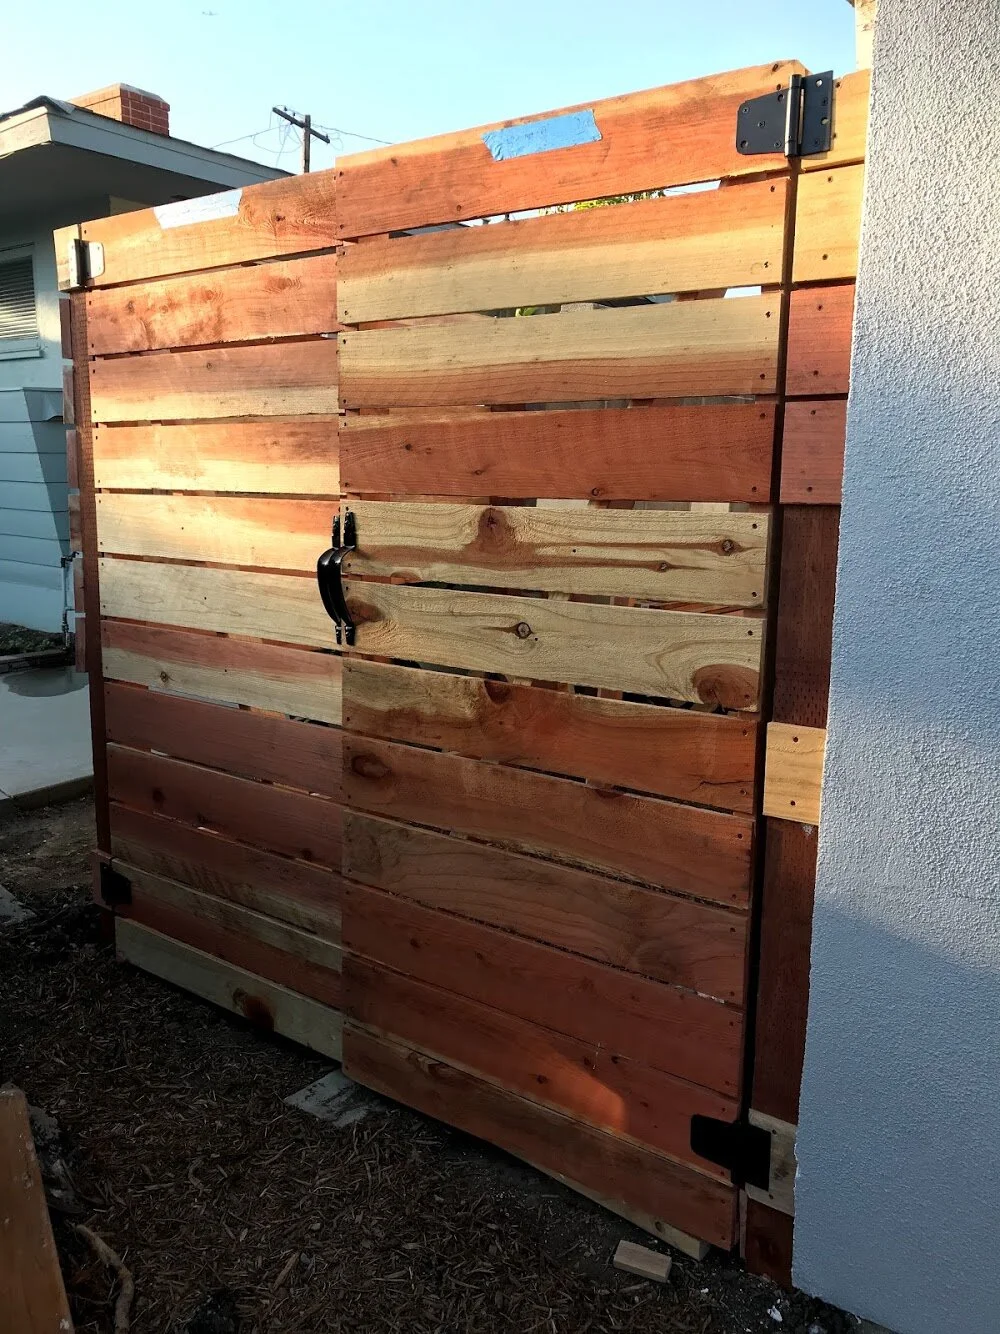
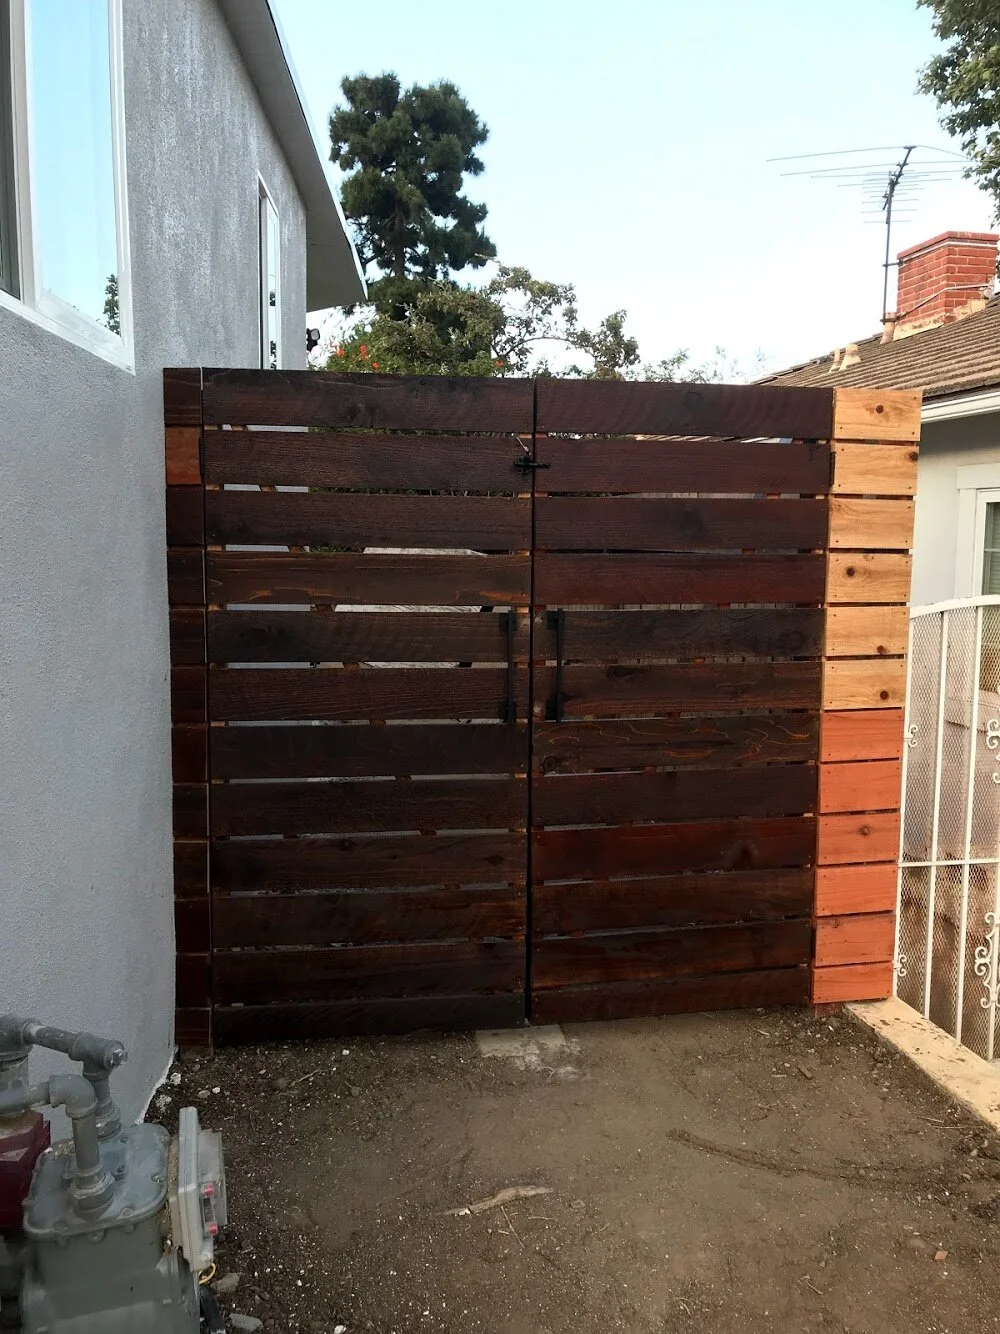
31. Install front door
32. Wood delivered for the two fence doors on the side of the house
33. Choose grout colors
34. Floors went in
35. Install bathroom sink and shower door
36. Install washing machine and dryer in the connecting laundry room


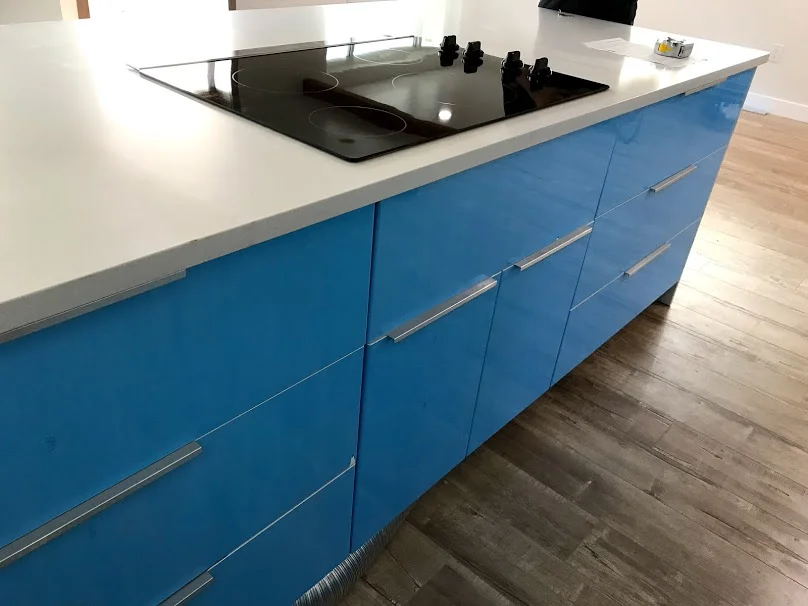
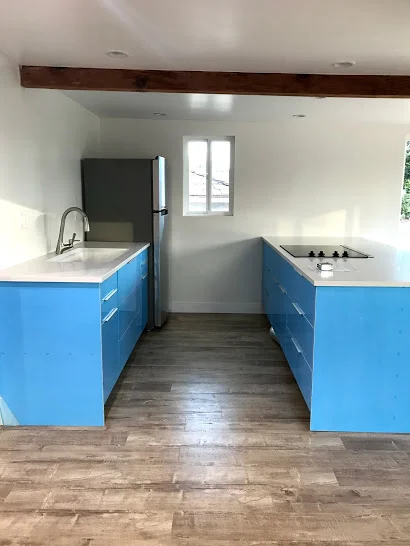
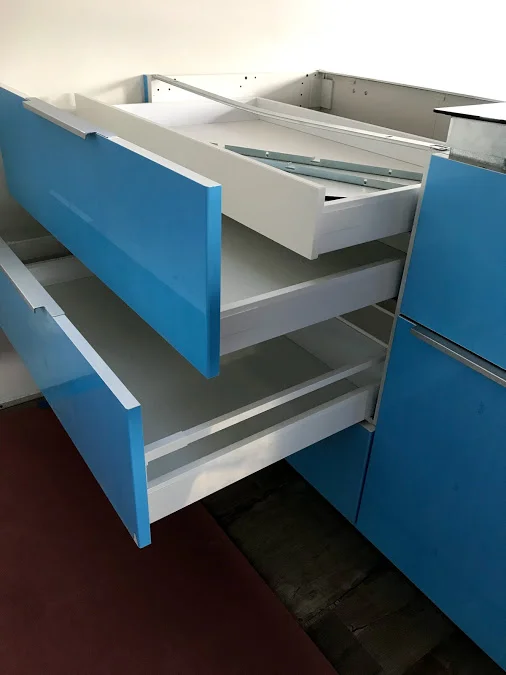
37. The electrician came on a Sunday to work on all lights + switches + floodlight
38. IKEA kitchen cabinets installation (beginning of July)
39. Install Ring Video Doorbell and porch lights
40. Stained beams and side fences with Albert
41. Fabricator remeasured kitchen cabinets before installing countertops
42. Countertops were installed
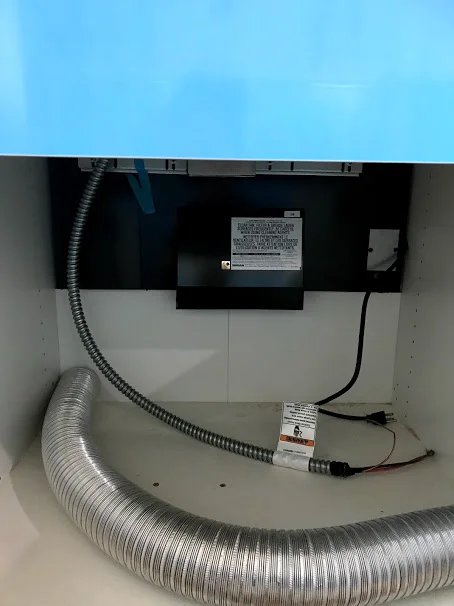
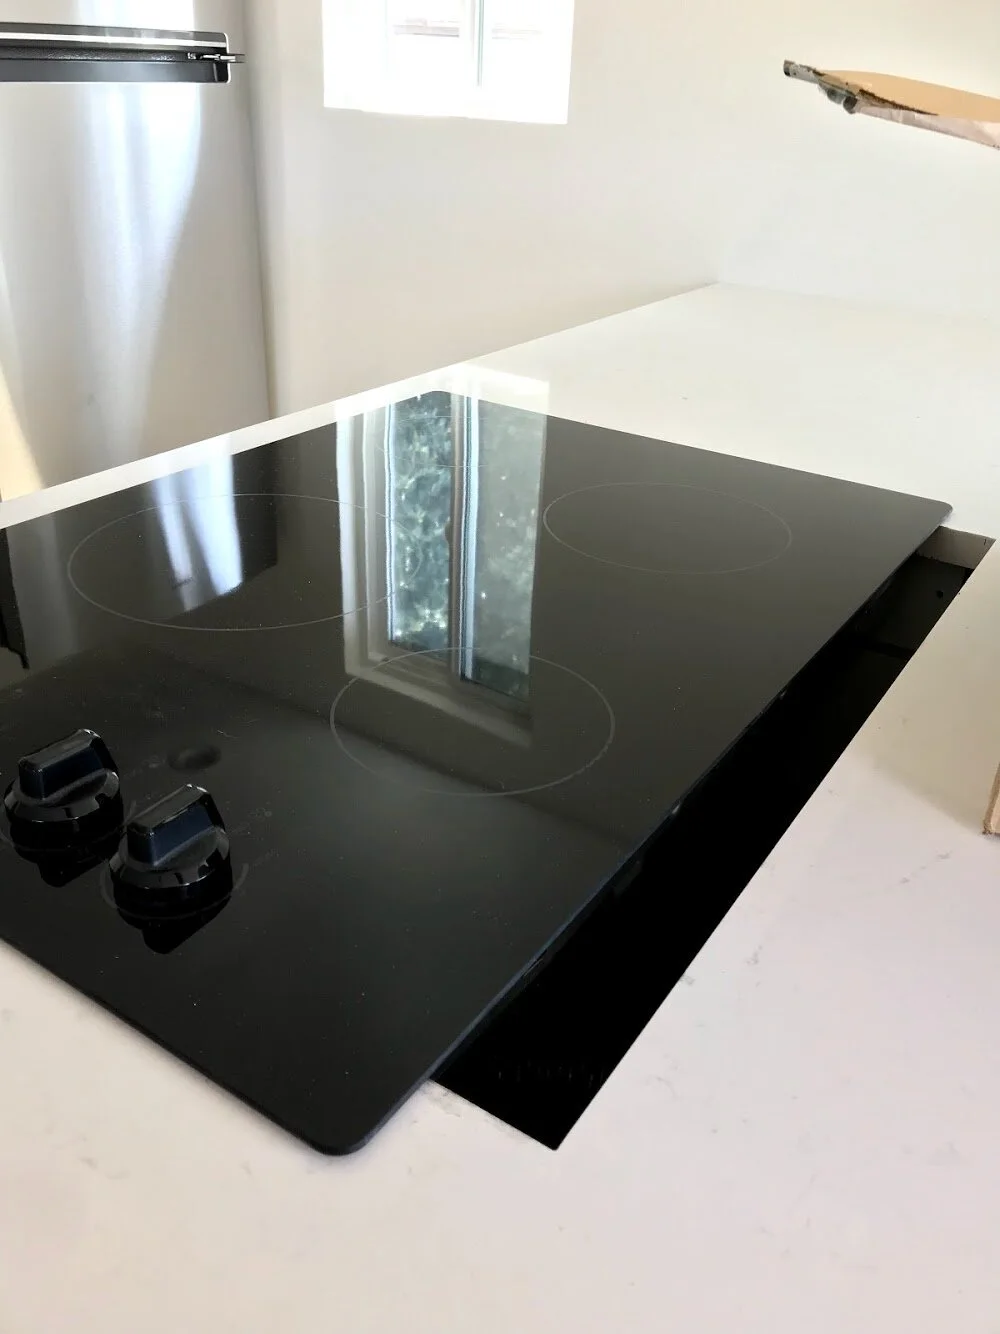
43. Kwikset Smart Lock was installed at the front door
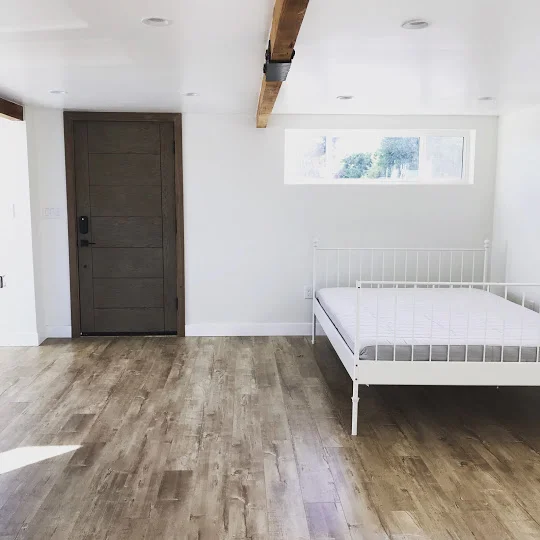
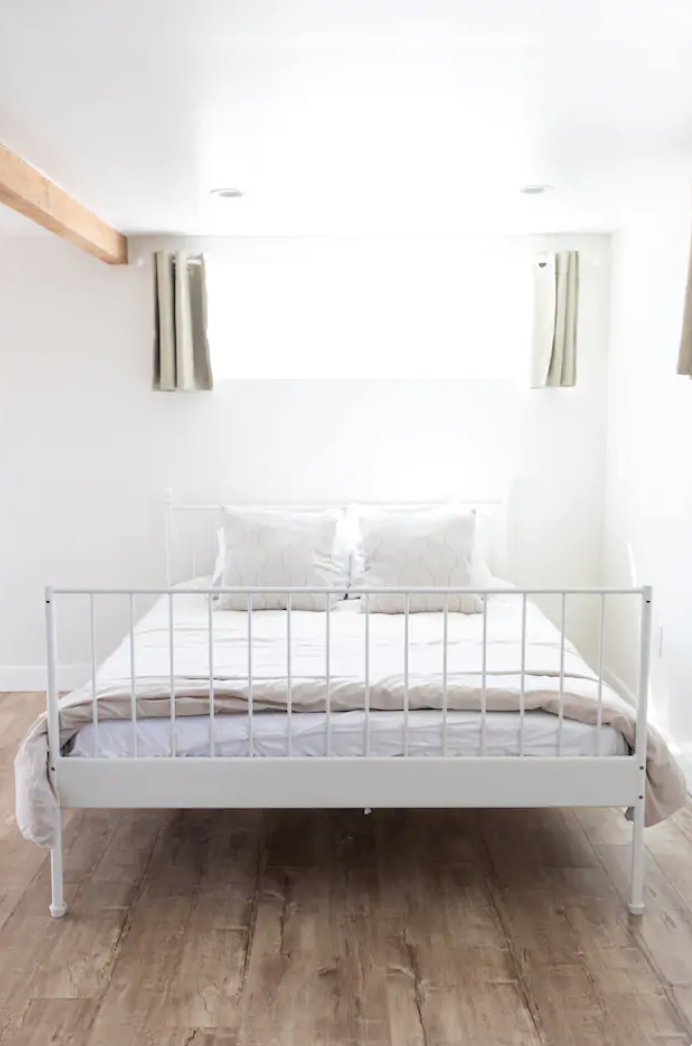
44. Upon installation, we discovered that the downdraft hood vent we got from Sears Outlet was missing the actual vent. Alex spent his entire day calling manufacturers and trying to find the missing part, but instead opted to purchase a new downdraft vent altogether (mid July)

45. Move my old college bed into the ADU + purchase kitchen items from IKEA
46. We created the Airbnb listing, started writing a description, and researched how to be a superhost
47. Downdraft hood vent FINALLY arrives after 2 weeks of waiting (and countless hours of Alex arguing with manufacturers and customer service)
48. Final inspection!
49. Clean clean clean.
50. Take pictures and list the unit on Airbnb.


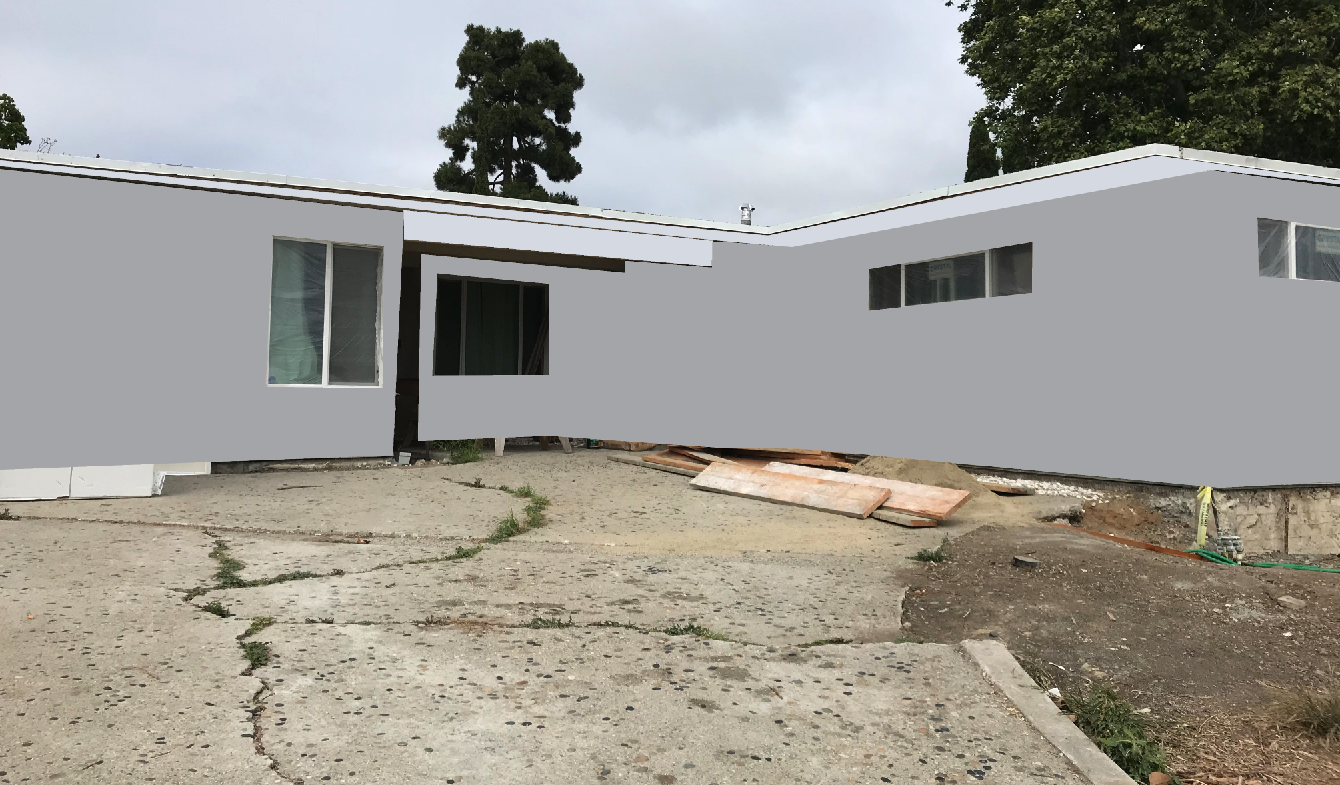
Like any house project, there were hiccups along the way, but nothing as stressful as our initial home renovation. This time around, we had a very clear design vision, budget expectations, and felt much more familiar with knowing which questions to ask and what terminology to use. All in all, it was about a 20-week project (you can see exactly where we started here). Working on the house will always be a labor of love, but one that really brings out the best teamwork between Alex and myself.